


this timelineor Timeline, Google Mapsis a feature that fetches the user’s location history. With it, you can see the places you’ve been, the routes you’ve taken, and even create notes like a travel diary. This information is stored in your account and is not shared publicly.
Today TecMundo explains in detail how the feature works, how you can configure your Google Maps to create a location history, and how to use the app’s Timeline. Payment!
What is Google Maps Timeline?
Google Maps Timeline acts as a kind of feed so you keep track of your recent locations. With it, you can check the routes followed and take notes of the places you visited. It also brings tabs with more specific options such as route statistics, most visited places, cities and even countries.
You can also use other versions of Google Maps, such as the web, to check your Timeline details, as the information is stored in your account. However, it works privately, so anything posted and added to the Timeline is limited to the user.
How to configure Timeline in Google Maps?
1. Open Google Maps on your smartphone;
2. Click on your photo icon at the top of the screen on the right;
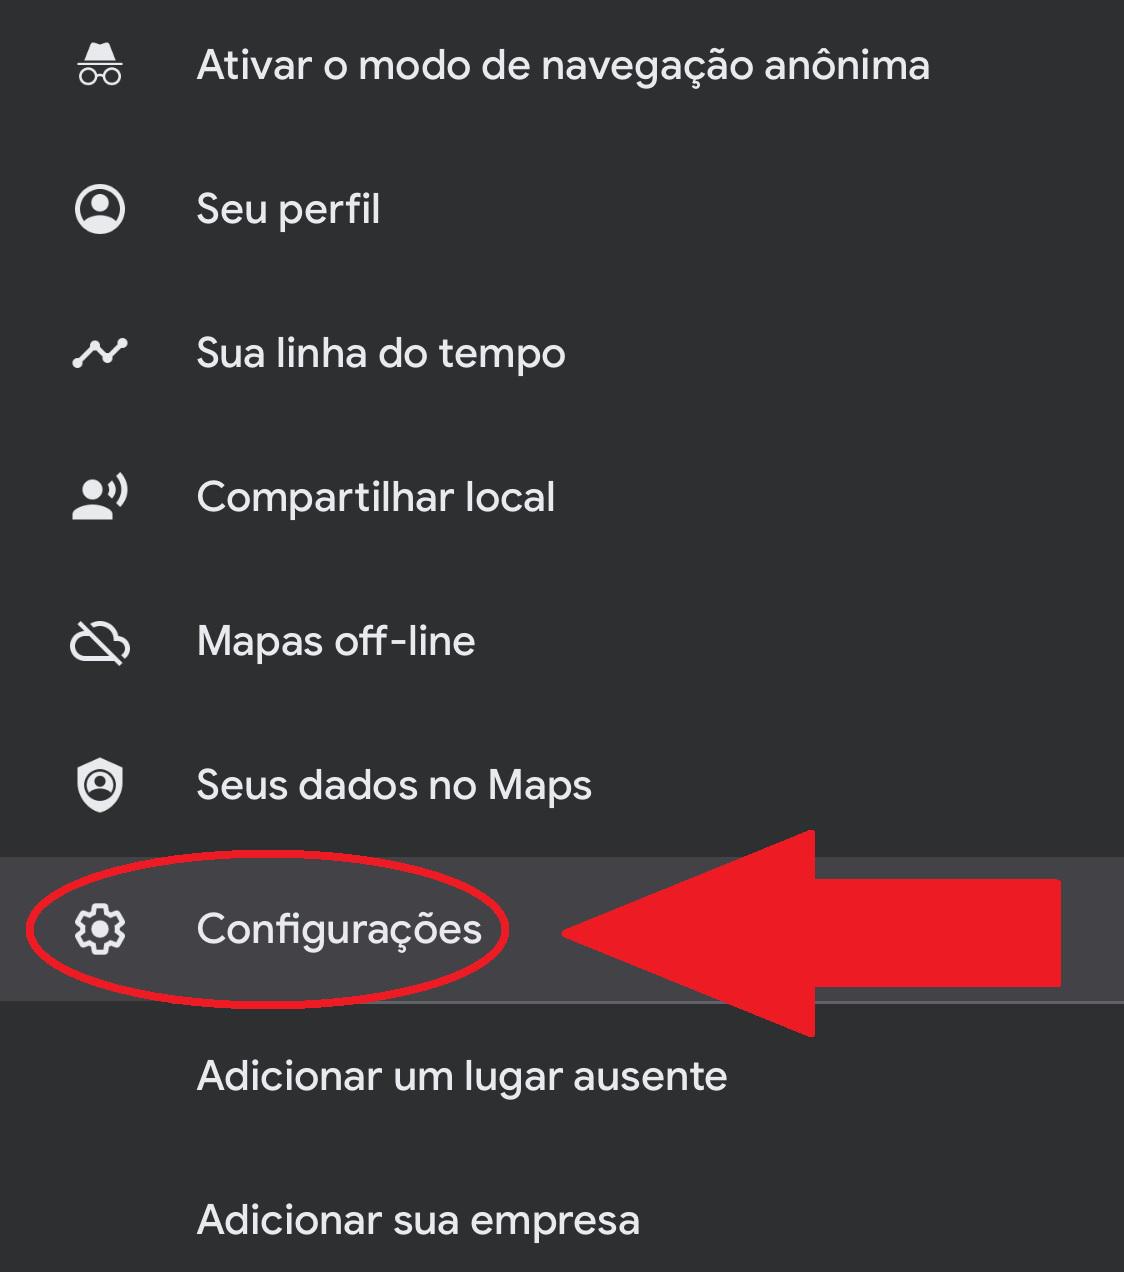
3. Next, click “Settings”;
4. Next, click on “Personal Content”;
5. On the next screen, go to “Location Settings”. In the first option, confirm that “Location Services” is set to “Always”. If not, hit the option and change it on your smartphone system.

How to use Google Maps timeline
1. Open the Google Maps app;
2. On the home screen, at the top of the screen, on the right, tap your photo;
3. Next, click on “Your timeline”;
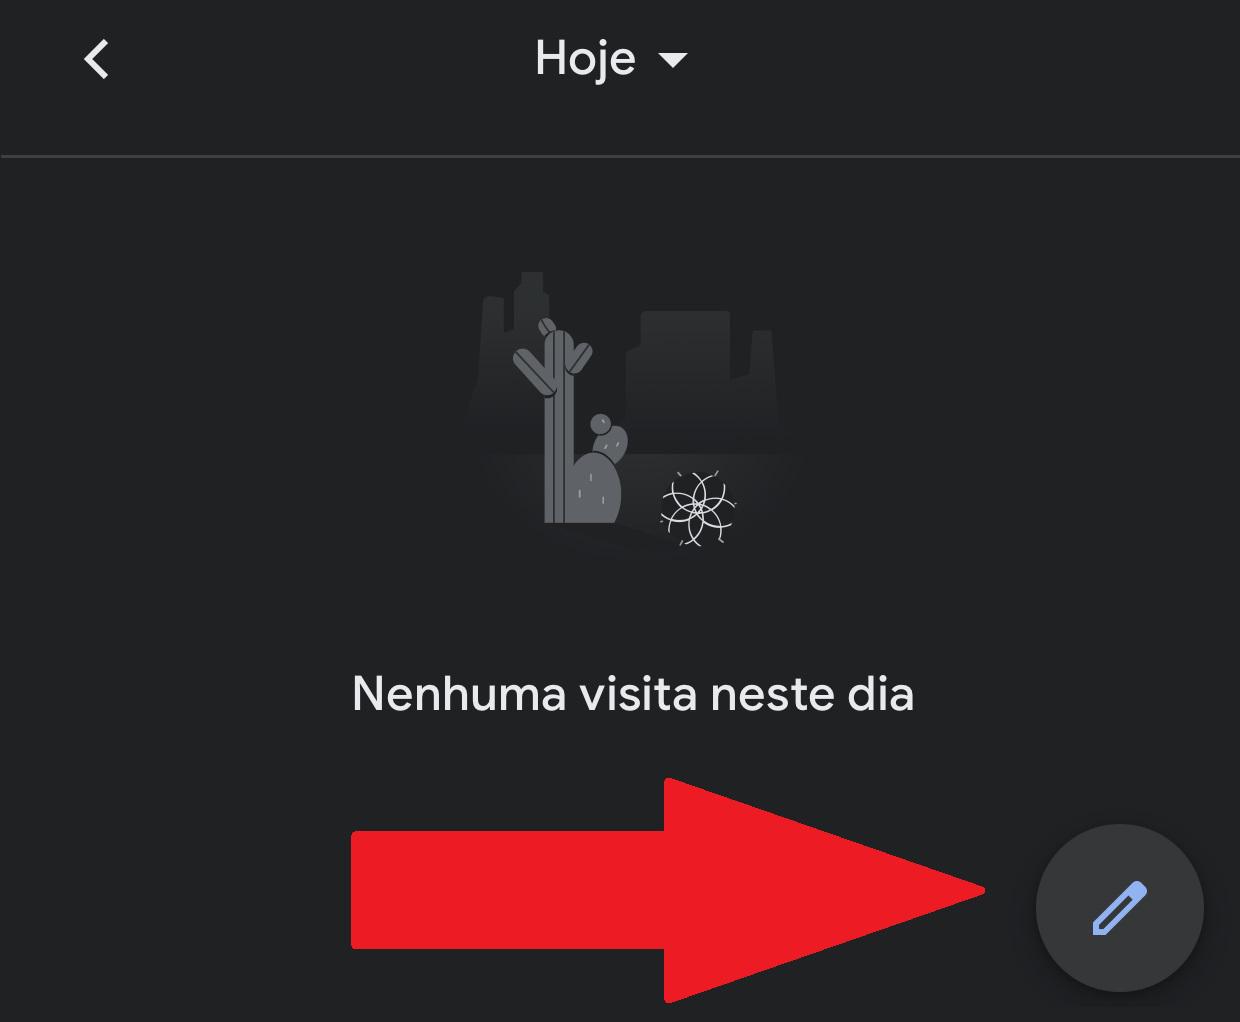
4. The Timeline main screen will show your current location. In it, you can make a recording by pressing the icon with a pencil as shown in the image below;
5. After making a recording, it will appear at the top of the Timeline. As you add more notes, they will be edited one at a time;
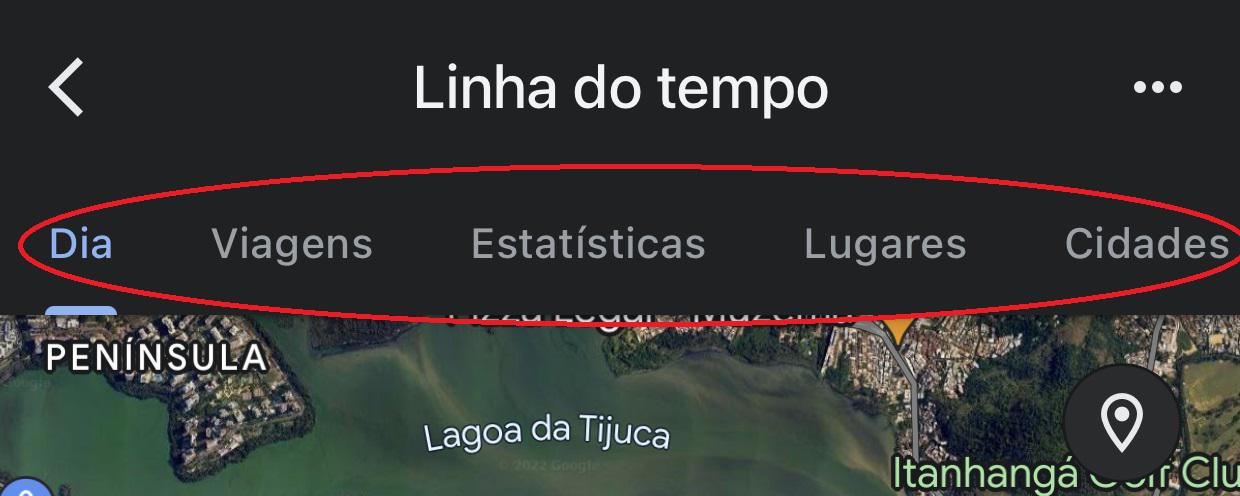
6. The top tabs bring up more specific details. For example, under “Excursions” you can check routes that have been traveled long distances recently. The “Places” tab brings up the most visited places in a given period of time;
7. Finally, if you are traveling to other countries, you can check the routes and places traveled there later, and even make a note of the places you visited but did not write down at the moment.
Now that you know how to use Google Maps Timeline, it’s time to create your Travel Diary and take a series of notes in your app to record the best moments of all the places you’ve been.
Source: Tec Mundo
: Everything we know a week after its release")


