


While desktop and laptop computers already have physical keyboards, it may be necessary to resort to the virtual version of Windows. If the user has a problem with peripheral functionality or needs a digital solution, it can be useful to use the tool on a computer.
With this in mind, TecMundo Brought a tutorial on how to enable virtual keyboard in Windows 11. But the tutorial also works for the Windows 10 version of the operating system.
Check out!
1. Open device settings
The first step to enabling your virtual keyboard is to open the device settings. To do this, click the Windows symbol at the bottom of your computer and then choose settings”.
2. Enter accessibility
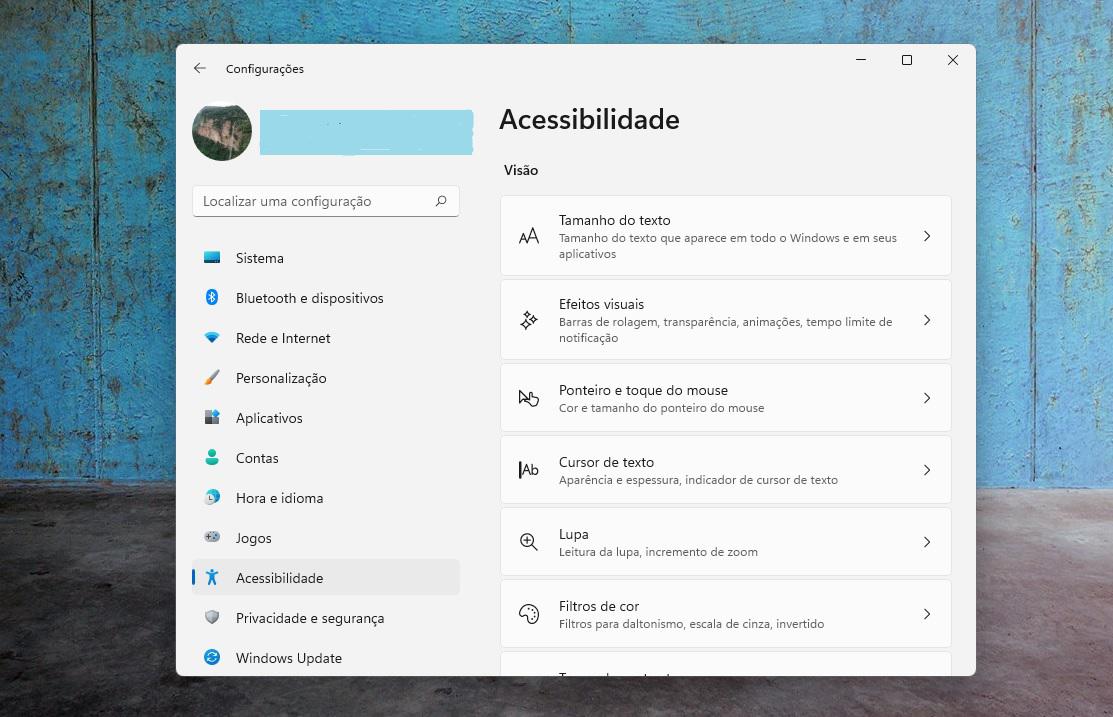
In the Windows settings screen “Accessibility” and then scroll down until you find it”Keyboard“.
3. Activate the virtual keyboard
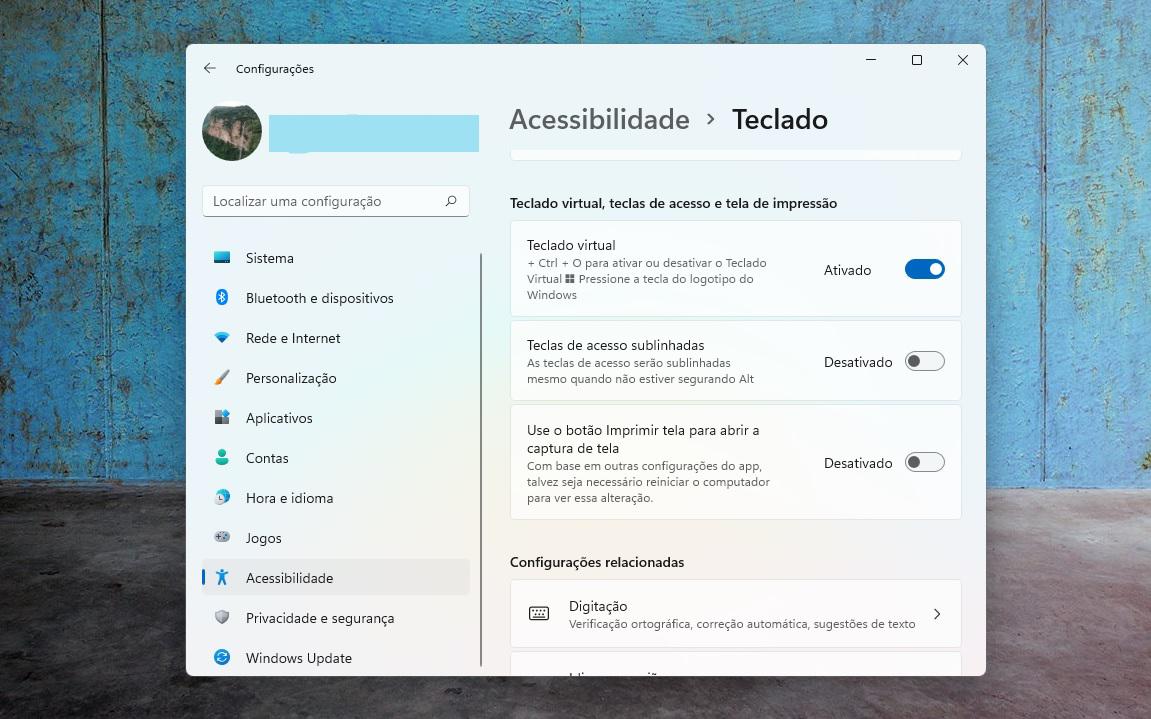
In keyboard settings, Search for “virtual keyboard” and click the gray button next to the name to activate it. Then wait a few seconds for the vehicle to appear on the screen.
The operation of the virtual keyboard is very simple and practical, the user only needs to click on the letters and numbers to compose his text. While browsing or watching content, the user can minimize the keyboard to open it only when needed.
The procedure was carried out on Windows 11, but the step-by-step procedure is also suitable for older versions of Microsoft’s operating system. Did you like the article? So keep following TecMundo so you don’t miss any of our tutorials!
Source: Tec Mundo
: Everything we know a week after its release")


