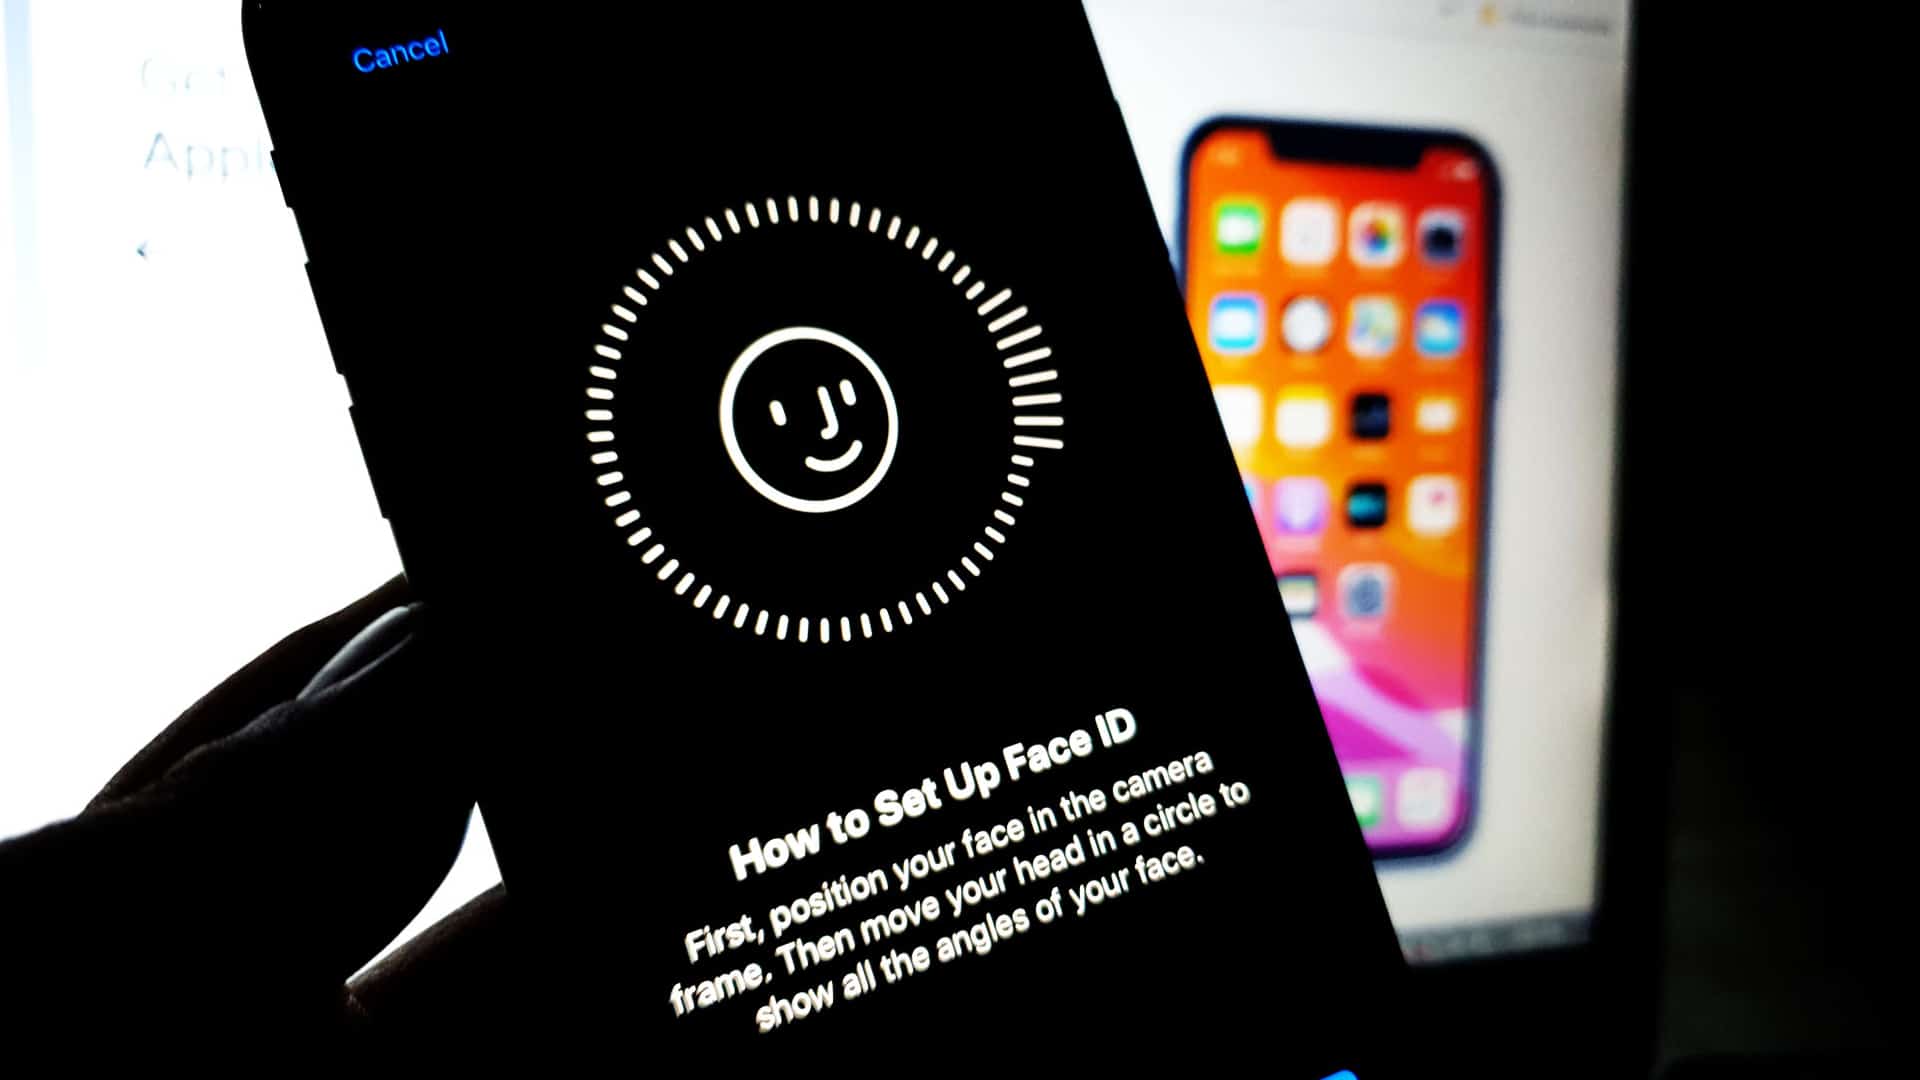
Sharing an iPhone may not be a very common practice. However, some people need to allow third parties access to their devices. Whether it’s for accessibility reasons on your iPhone, or because you have the familiar iPad Pro at home, adding an additional face ID is possible and easy to do.
To get started, you’ll need an iPhone or iPad Pro running a version higher than iOS 12. It was from this update that Apple allowed its users to add an additional face to Face ID. Now you can even customize it to be worn with a mask..
Oh sure this is not a feature specifically designed to add another face to Face ID, yes, that fits the purpose. However, you can also use it to add other types of equipment, such as security and face protection, and this can cause your iPhone to not recognize you.
The process is quite simple and straightforward. You just need to follow the steps belowand in a few minutes you will be all set to unlock your iPhone and iPad with an additional face.
How to Add an Extra Face to Face ID on iPhone or iPad Pro
- Login to the app Settings from your iPhone or iPad.
- Then go to section Face ID and code.
- Enter your unlock pin to access your settings. Once inside, scroll down the screen until you find Define additional appearance.
- It is in this option that you can add an additional face to Face ID. So get in front of the camera and continue to follow the instructions on the screen.
- When the setup is complete, your iPhone or iPad will now be able to unlock the system with this new face.
Can I remove an extra face from Face ID?

The answer is yes, but in the process you will have to remove your own as well. The reason for this is that Apple does not allow face-to-face deletion. Instead of, you will have to completely reset your Face ID settings.
If you want to delete an additional face created on your iPhone or iPad, you can do it like this.
- In chapter Face ID and codelook for an option Reset Face ID.
- Play once. Automatically, Face ID settings will be completely reset.
- Now proceed to tweak it again with your face and that’s it. You will have Face ID activated, and from now on, it will only be able to recognize registered faces.
Source: Hiper Textual
I am Bret Jackson, a professional journalist and author for Gadget Onus, where I specialize in writing about the gaming industry. With over 6 years of experience in my field, I have built up an extensive portfolio that ranges from reviews to interviews with top figures within the industry. My work has been featured on various news sites, providing readers with insightful analysis regarding the current state of gaming culture.


