


TP-Link is the world’s largest supplier of equipment for wireless networks, from more traditional designs like TL and Archer line routers to whole-home Wi-Fi systems.
This evolution follows: Increasing demand for device connectivity. Everything from a lock to a light bulb can be connected via the Internet of Things (IoT). As a result, the computer loses its leading role and alternative ways to access the service configuration are created.
But the equipment that did not lose its importance in this scenario was the router. Correct configuration of these devices is important to provide satisfactory internet access to all devices connected to the local network.
how to configure Acher and TL line router and TP-Link repeater Simply and quickly via mobile phone in 8 steps.
1. Install the router
The first step is very important: Connect the network cable to the modem and the WAN port on the device. And of course, don’t forget to connect the equipment to an outlet. exit. If you wish, you can also benefit from the opportunity to connect other devices such as computers and smart TVs via cable.
2. Connect to Wi-Fi
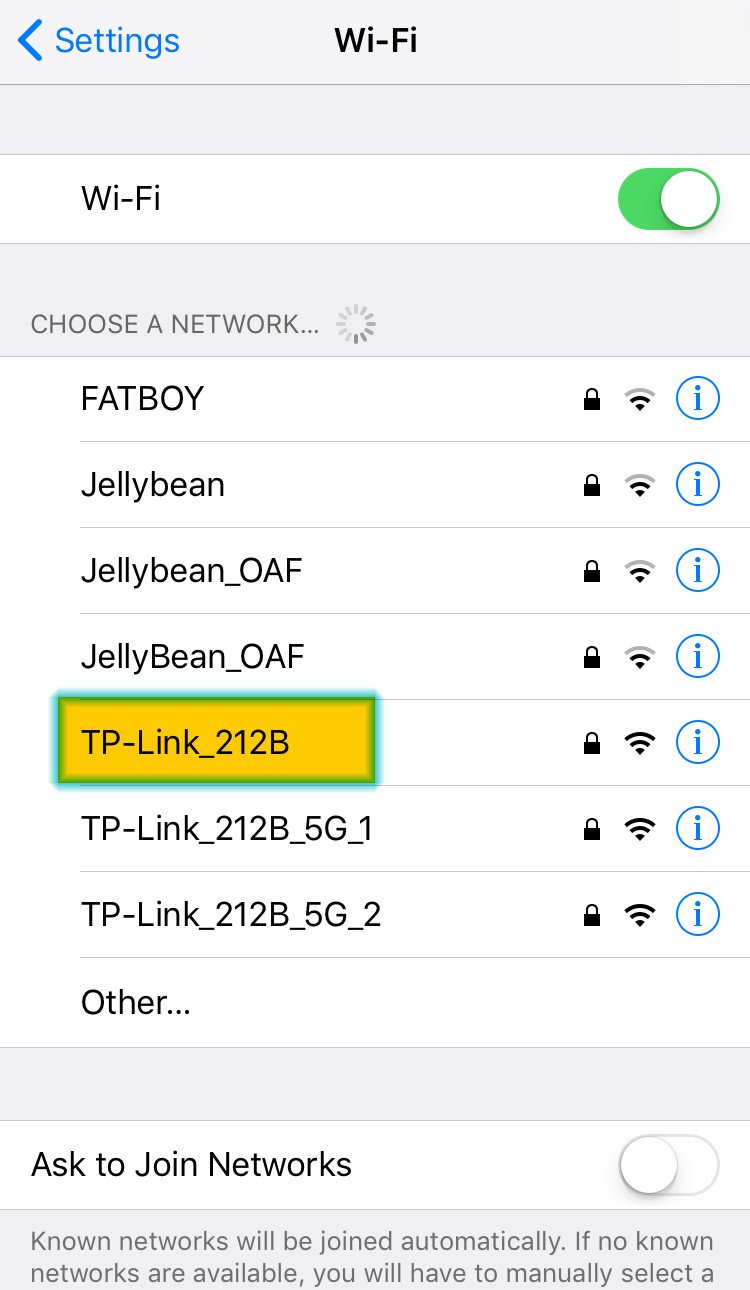
check out You can find the network name as well as the default password on the bottom or back of the device. Then access your smartphone’s Wi-Fi settings, find the wireless network corresponding to your device, and connect to the network.
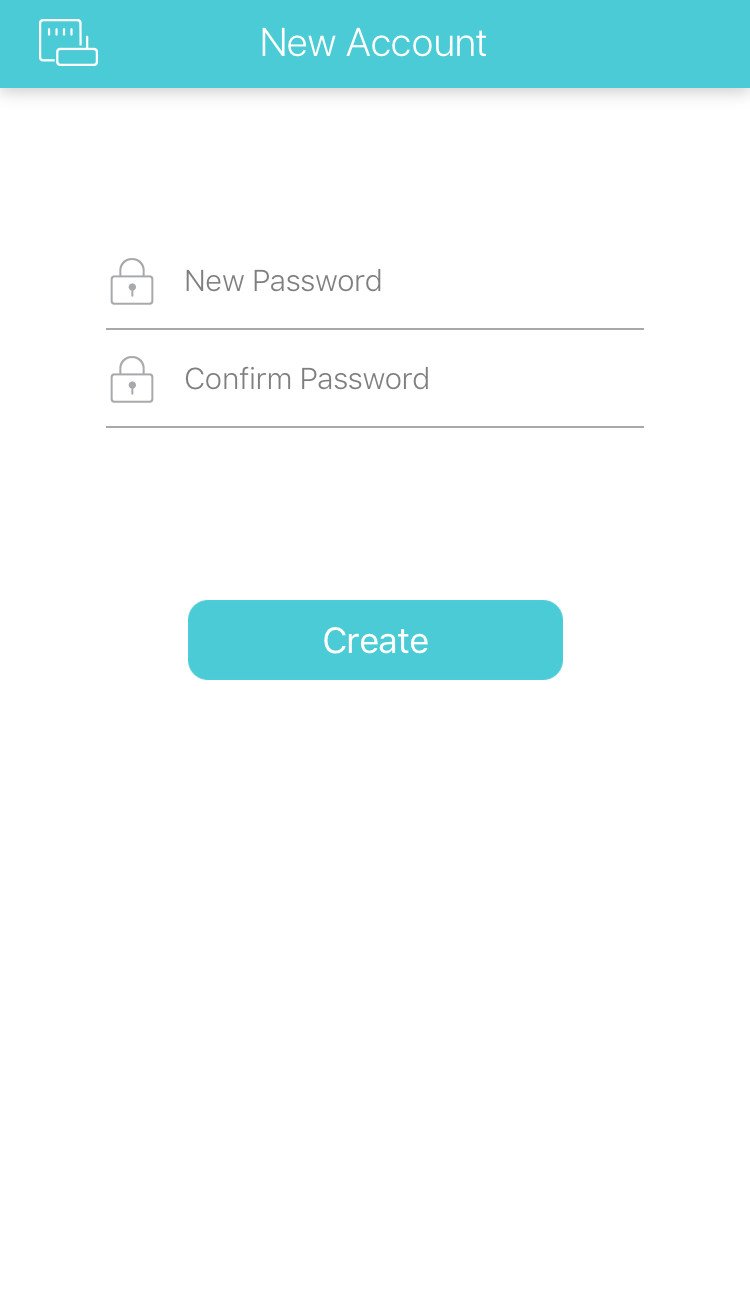
3. Download the Tether app
 (Source: App Store/Reproduction) The application for controlling devices via mobile phone is available on Android and iOS mobile phones.
The company offers the Tether app to easily and intuitively configure devices with the parental control option. The app can be downloaded from Google Play for Android phones or the App Store for iOS.
4. Access settings
Access the Tether app to start configuring the equipment. For the device model, see the “Local devices” section. You may be asked for a username and password to access the settings. By factory default, the credentials are “admin” for both domains.
5. Select connection type
Quick Setup should open automatically. The first choice to make is the type of connection to use. It is recommended that you select the option. Dynamic IPbecause it is harder to invade.
Another configuration that needs to be done is to select the Mac Address (Media Access Control or Media Access Control) used by the devices to be connected. Don’t worry if you haven’t heard of this before, just ““Use Default MAC Address” and tap “Next”.
6. Change network name and password
 (Source: Play Store/Reproduction) Value the security of your network.
The next step that the quick setup of the Tether app offers is the ability to change the network name and password.
You can customize the credentials however you want, but keep in mind that there must be a matching password. uppercase and lowercase letters, numbers and special characters It makes life difficult for anyone trying to infiltrate the wireless network.
The application allows the use of different passwords on each frequency offered by the equipment. This is useful specifically to set different credentials for visitors.
Once everything is configured, tap “Save” and wait a few minutes for the network to be ready for use.
7. Change admin password
How can anyone know the password to access the router’s settings? Sharing this information is an additional step in ensuring wireless network security. To do this, tap “Managements” in the bottom right corner on the Tether home screen. Then tap “System” and enter the default credentials. Finally, simply choose a new username and password and tap “Done.”
8. Set parental controls
Another extra option that can be very useful, especially when you have children at home, is Parental control that blocks access to content unsuitable for minors on selected devices.
To do this, simply access the “Tools” option on the main screen of the application and select “Parental Controls”. In the list of devices connected to the router, you can choose which of them the control should be applied to.
On this screen you can also view the screen time of each device, as well as limit and block access to the router’s network.
So, did you like the content? Repost on your social networks and tell your followers. Until next time!
***Article updated by Ligia Parize on 27.11.2024
Source: Tec Mundo
I am a passionate and hardworking journalist with an eye for detail. I specialize in the field of news reporting, and have been writing for Gadget Onus, a renowned online news site, since 2019. As the author of their Hot News section, I’m proud to be at the forefront of today’s headlines and current affairs.
: Everything we know a week after its release")


