


Large iPhone Plus and Pro Max can be used with two hands. There is nothing to even argue here. However, this is not always possible.
When one hand is busy there, you have to excel: throw the smartphone back a second time, reaching out to the top of the screen. At such moments, he begins to regret that he did not buy a standard-sized mobile device. But do there is nothing…
However, there are plenty of useful features in the latest versions of iOS that can use a large iPhone with one hand. There are obvious ones and not so obvious ones. Here are the most helpful ones.
📌 Thanks reestablish for useful information. 👌
1. Activate Easy Access and learn how to use it
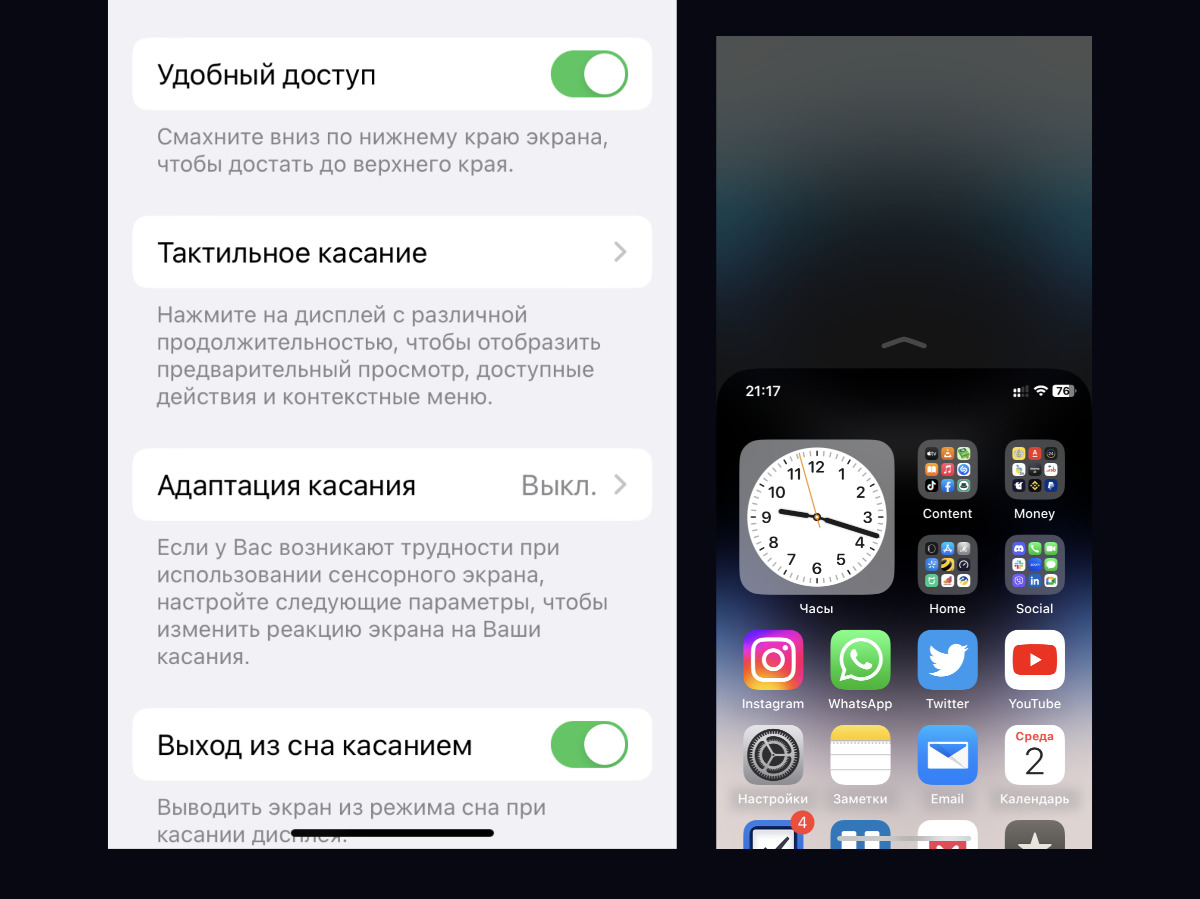
“Easy Access” lowers part of the budget
▶︎ What to do: settings “Settings”, open the “Accessibility” section, expand the “Touch” menu, toggle the “Ease of Access” switch to the active position.
To slide the top elements of the screen after activating the function, you need to swipe down in the central part closer to the top of the screen.
Try it, very convenient!
2. Try the language option for one-handed use
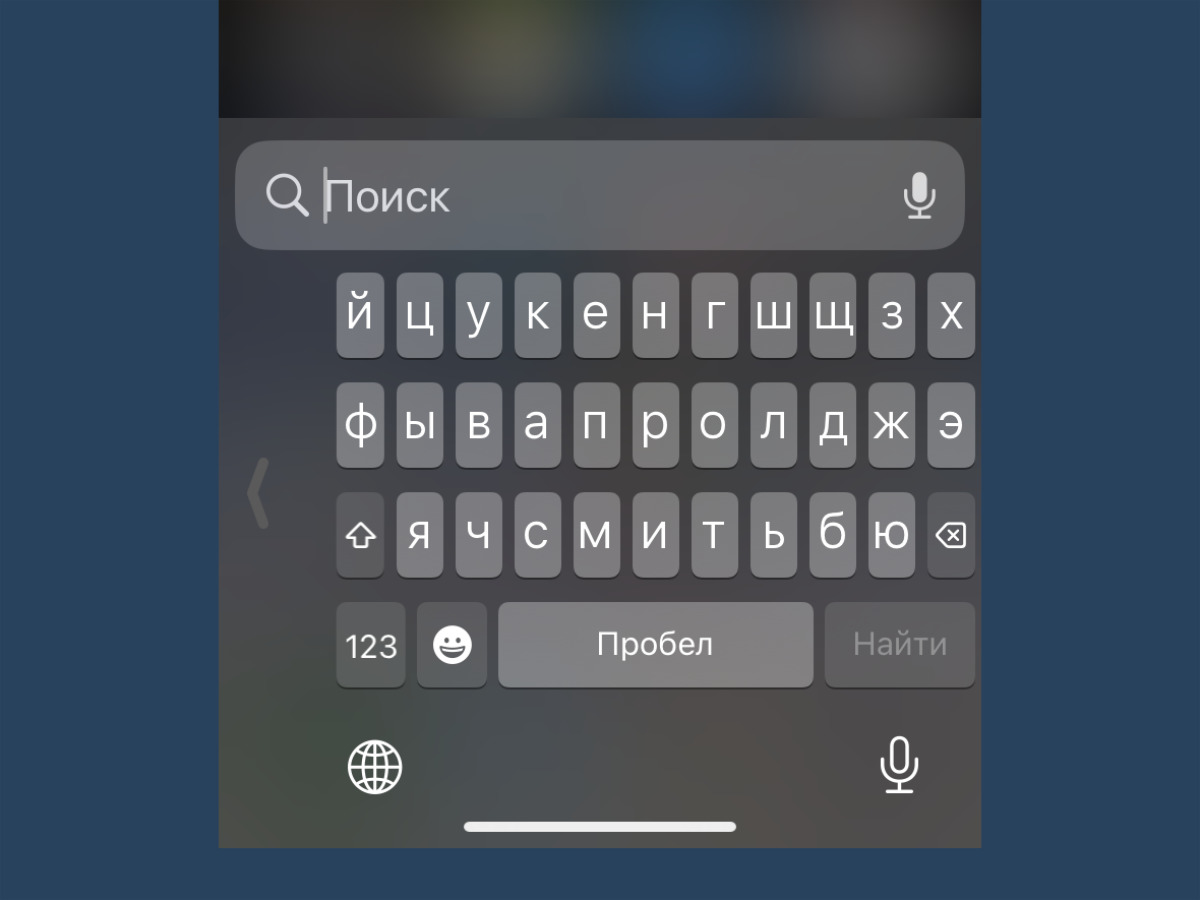
The keyboard can be moved to one side
▶︎ What to do: settings”, select in the “General” section, expand the menu “Keyboards” → “Keyboard for one hand”, select the option – “Left” or “Right”.
The keyboard can be located on the left or right.
You can also activate it by holding down the language switch button.
3. Activate full screen for incoming call
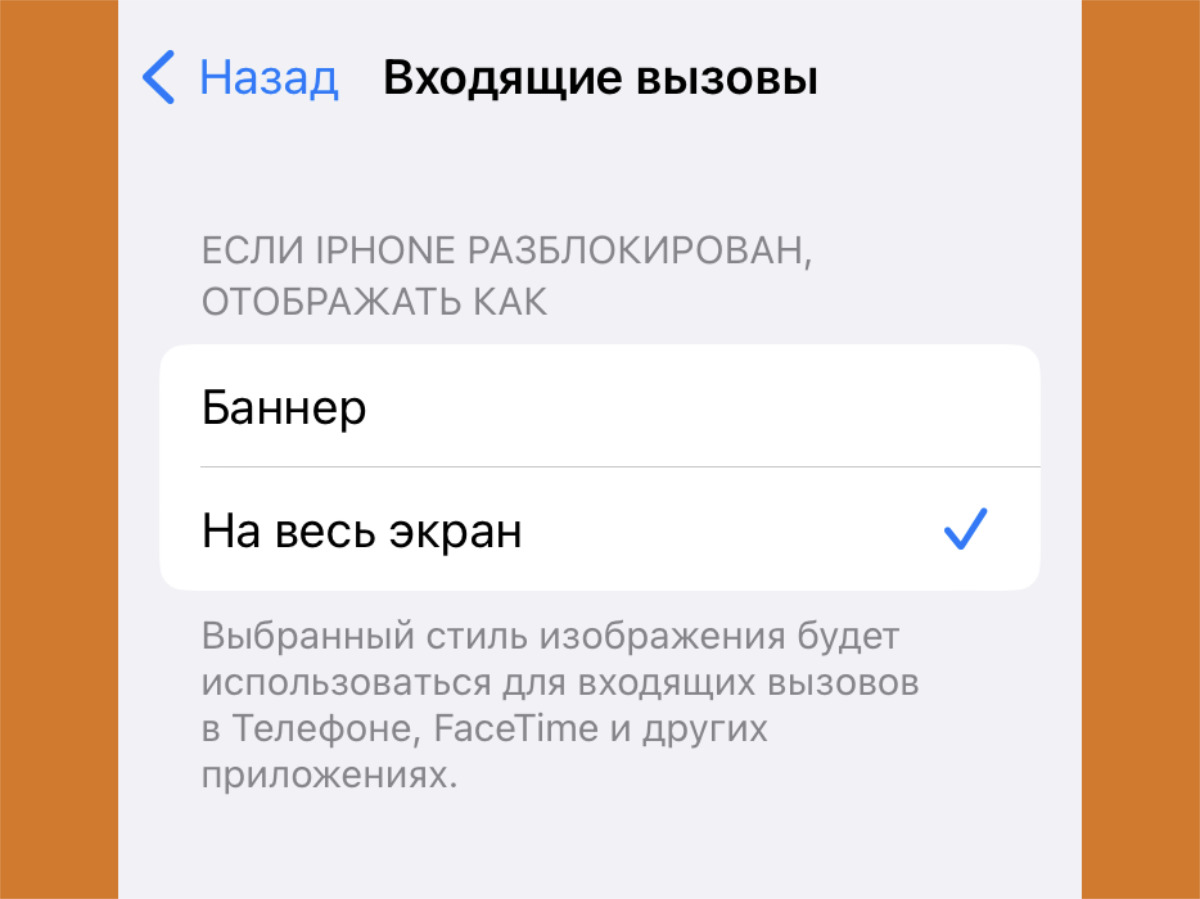
In full screen mode call button below
▶︎ What to do: “Option Settings”, turn on the “Phone” section, expand the “Incoming Calls” menu, select “On Screen”.
Incoming calls in the view at the top of the screen make it difficult to identify characteristics when collecting a large smartphone with one hand banner.
4. Switch to a larger version of the iOS front
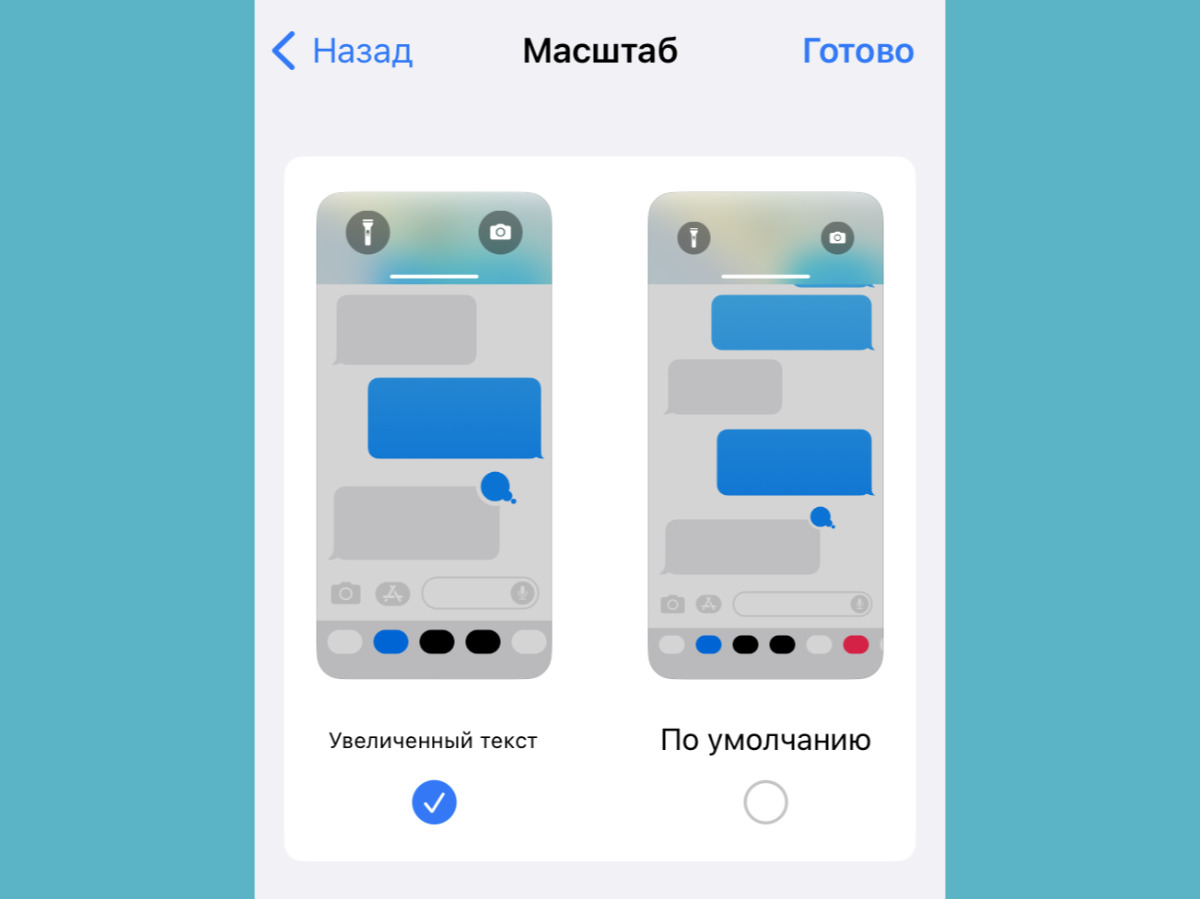
Larger format makes it easier to use the iPhone with one hand
▶︎ What to do: settings “Settings”, select in the “Display and brightness” section, expand the “Scale” menu, select the “Increased text” option.
The more surface elements, the easier it is to hit them manually.
5. Turn on AssistiveTouch and add a universal button
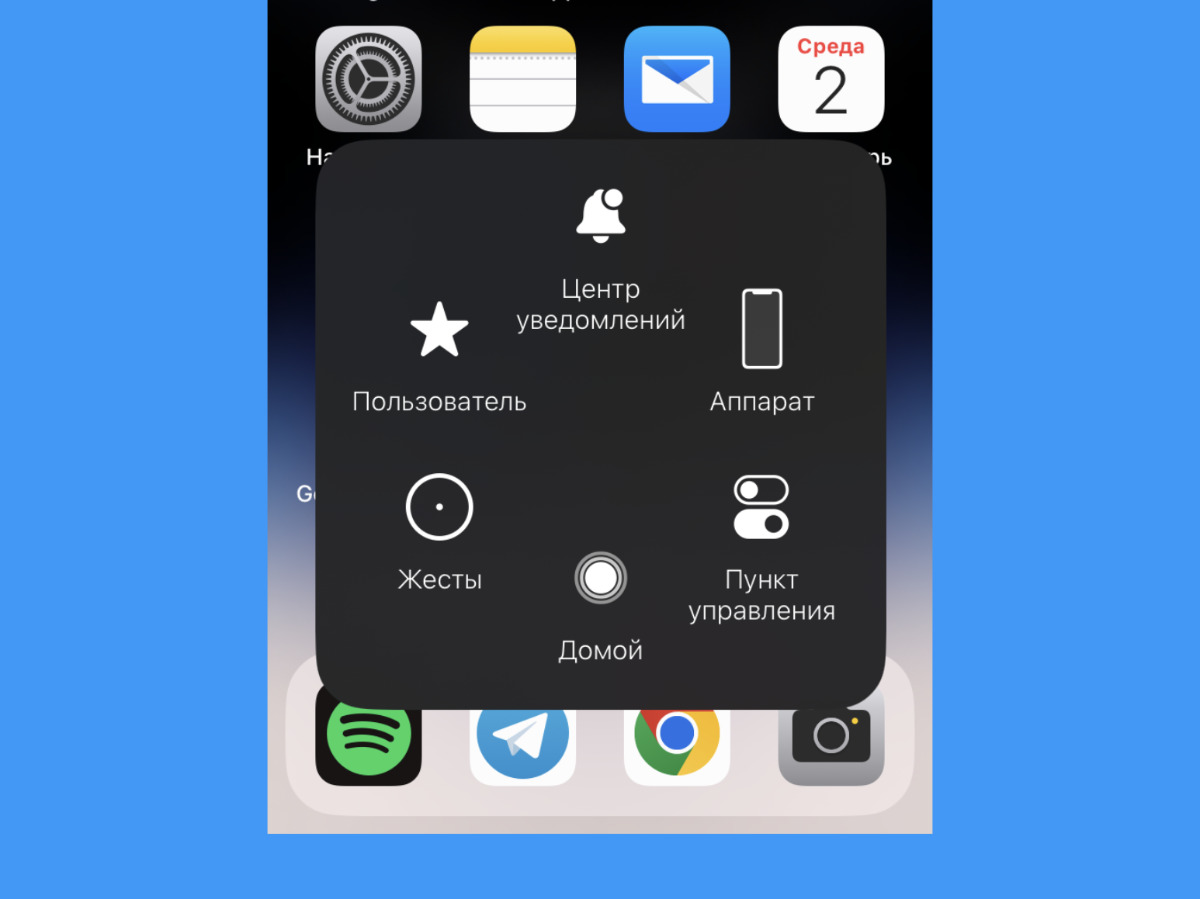
Universal installation will get a link anywhere on the screen
▶︎ What to do: settings “Settings”, open the section “Accessibility”, expand the menu “Touch” → AssistiveTouch, activate AssistiveTouch and configure the action.
With the help of a universal button, which can be forwarded closer to the bottom of the screen, a menu with quick actions opens.
The set of features of the presented menu can be customized.
6. Switch between apps via the surface strip
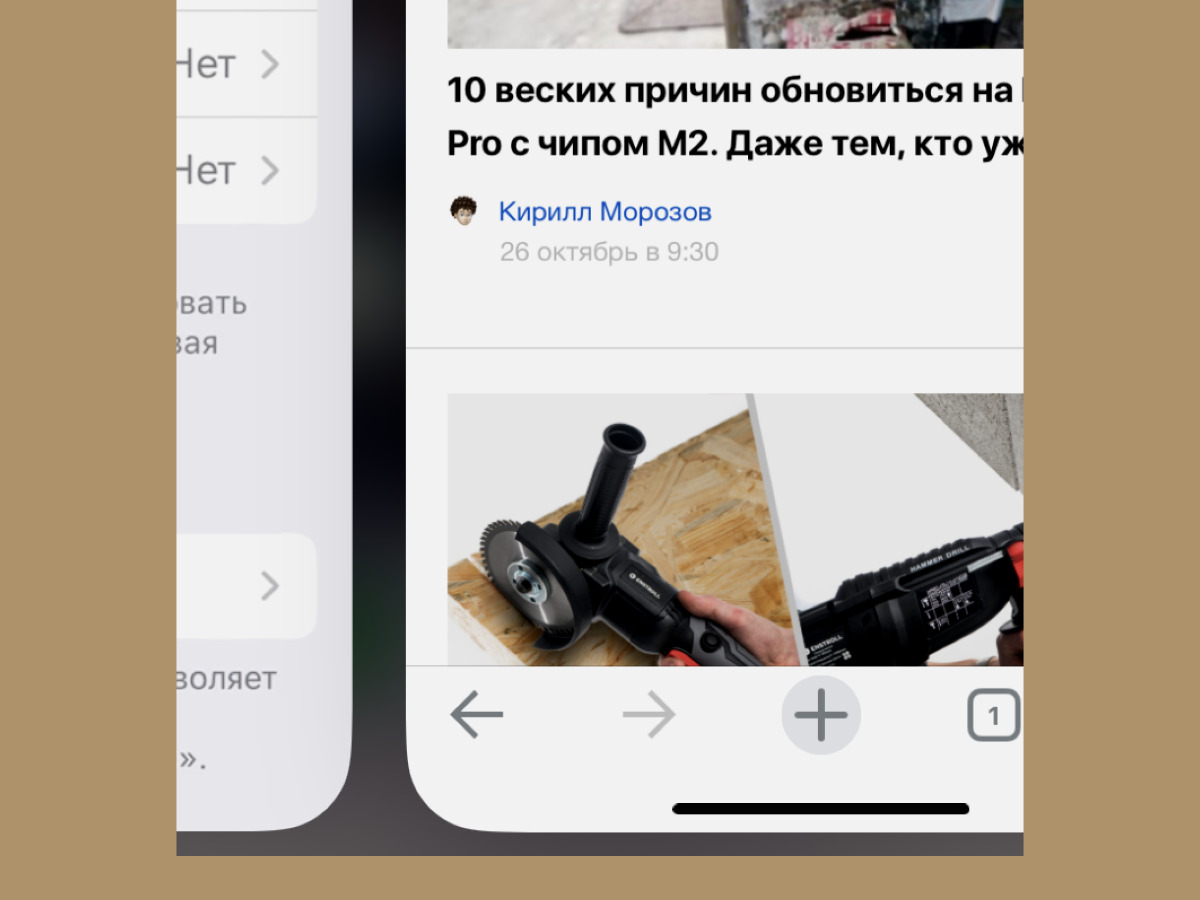
This strip is only available on bezel-less Apple smartphones.
▶︎ What to do: just swipe the surface bar to the left or toggle to switch between apps.
Surprisingly, not everyone knows about this possibility.
7. Train yourself to use system perception gestures
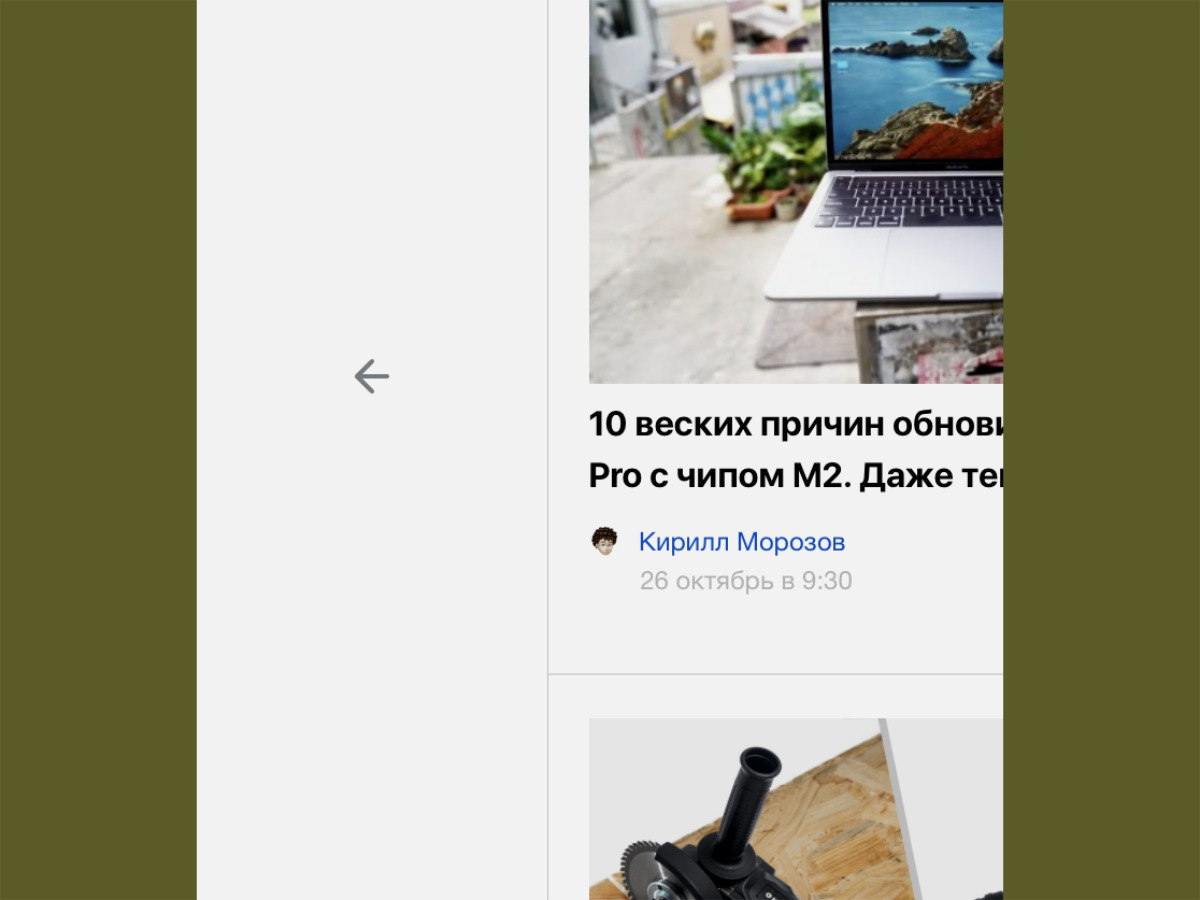
Go back with a gesture works in almost all applications
▶︎ What to do: swiping from the left edge of the screen to the right, for example, almost always approaches the menu overview.
The back button is usually found at the top of the screen, which is not very convenient. However, a simple gesture will help you deal with certain parameters.
8. Assign a two-tap screenshot to the back of your iPhone.
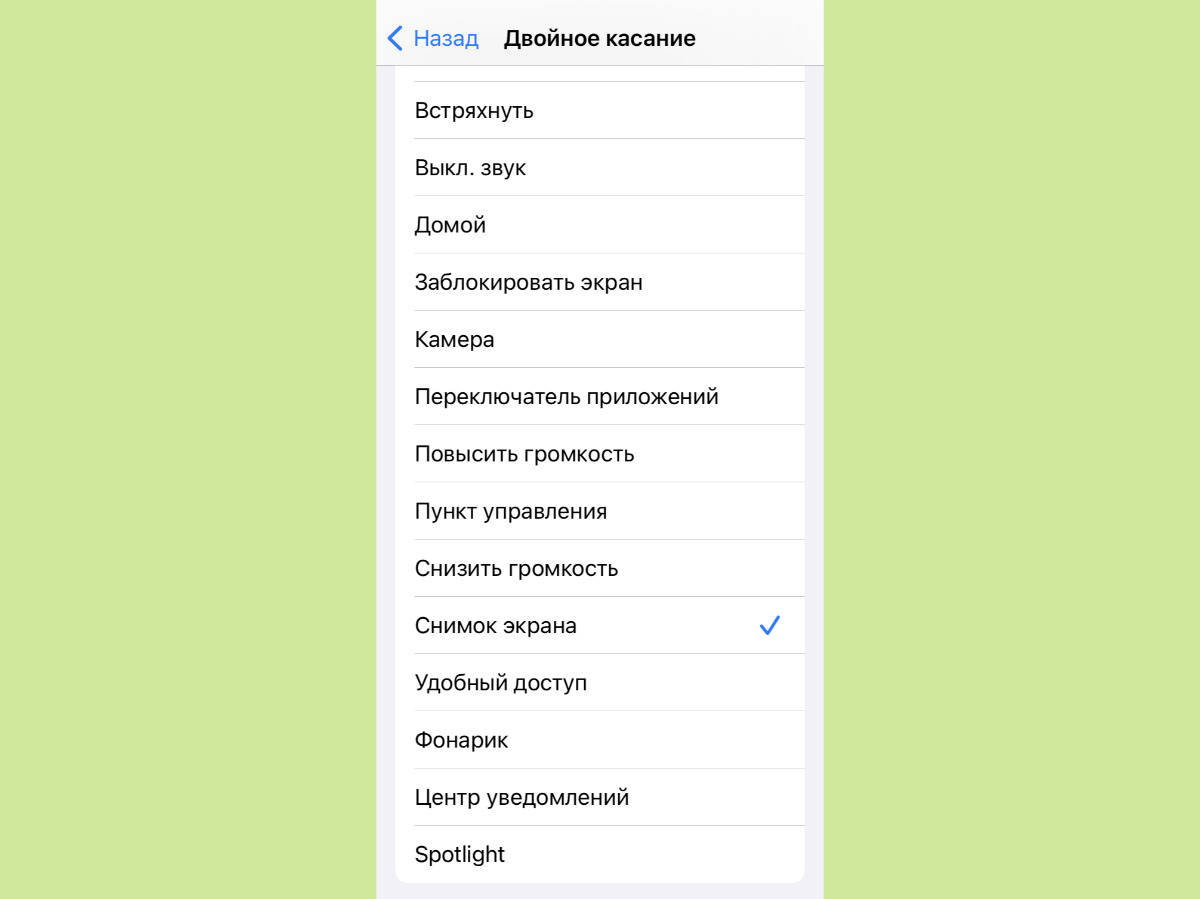
Changing the screen with buttons on one handle is still a pleasure
▶︎ What to do: “Settings”, open the “Accessibility” section, expand the menu “Tap” → “Back panel tap” → “Double tap”, select the option “Screenshot”.
A screenshot is useful to quickly capture any information. But doing it somehow with the other hand is very inconvenient.
9. Leave three parcels to launch one of the “curtains”
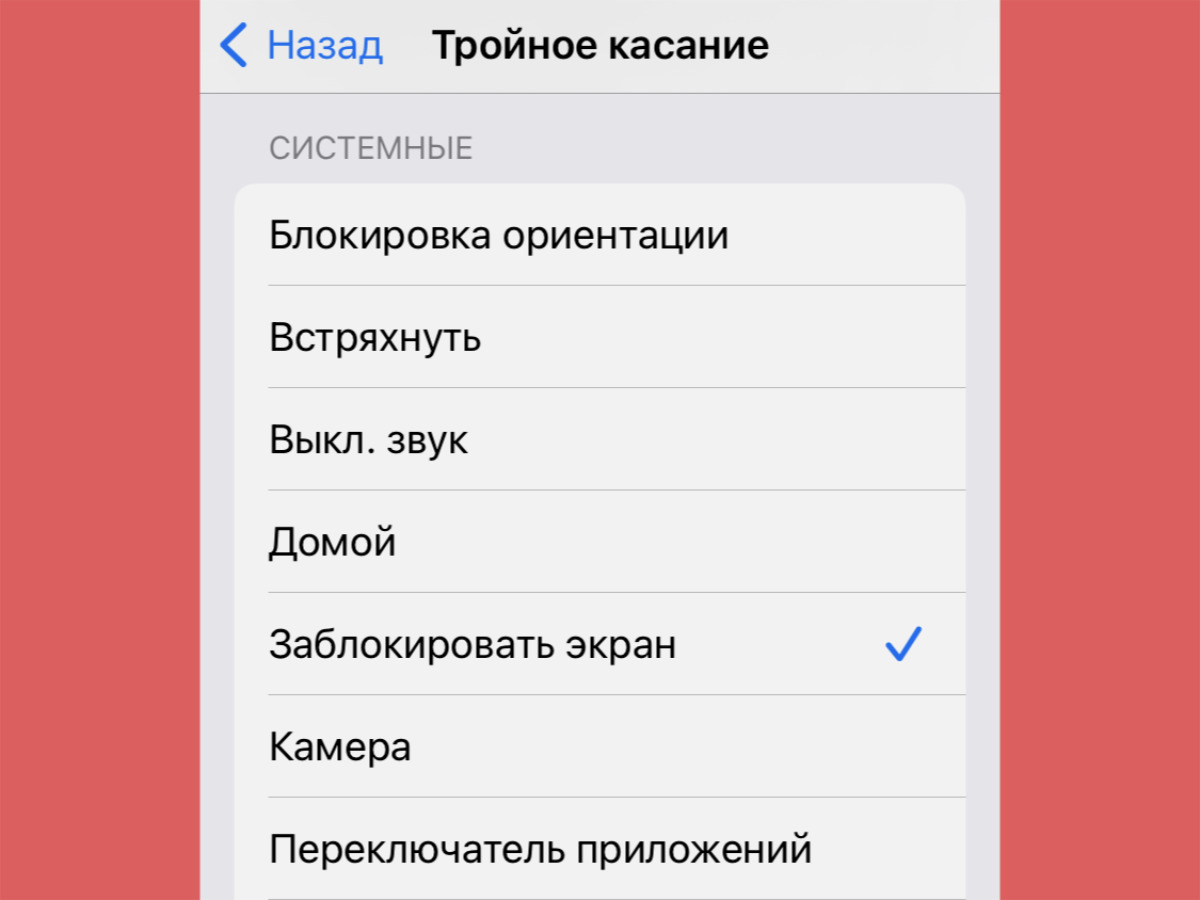
Reaching for the top of the screen on a large one-handed iPhone isn’t very comfortable
▶︎ What to do: “Settings”, open the “Accessibility” section, expand the menu “Tap” → “Back panel tap” → “Triple tap”, select the option “Accessibility message” or “Control Center”.
In the standard “blinds” rise from the top corner of the iPhone screen. Obviously, reaching them with one hand is very inconvenient. But a way out has been found.
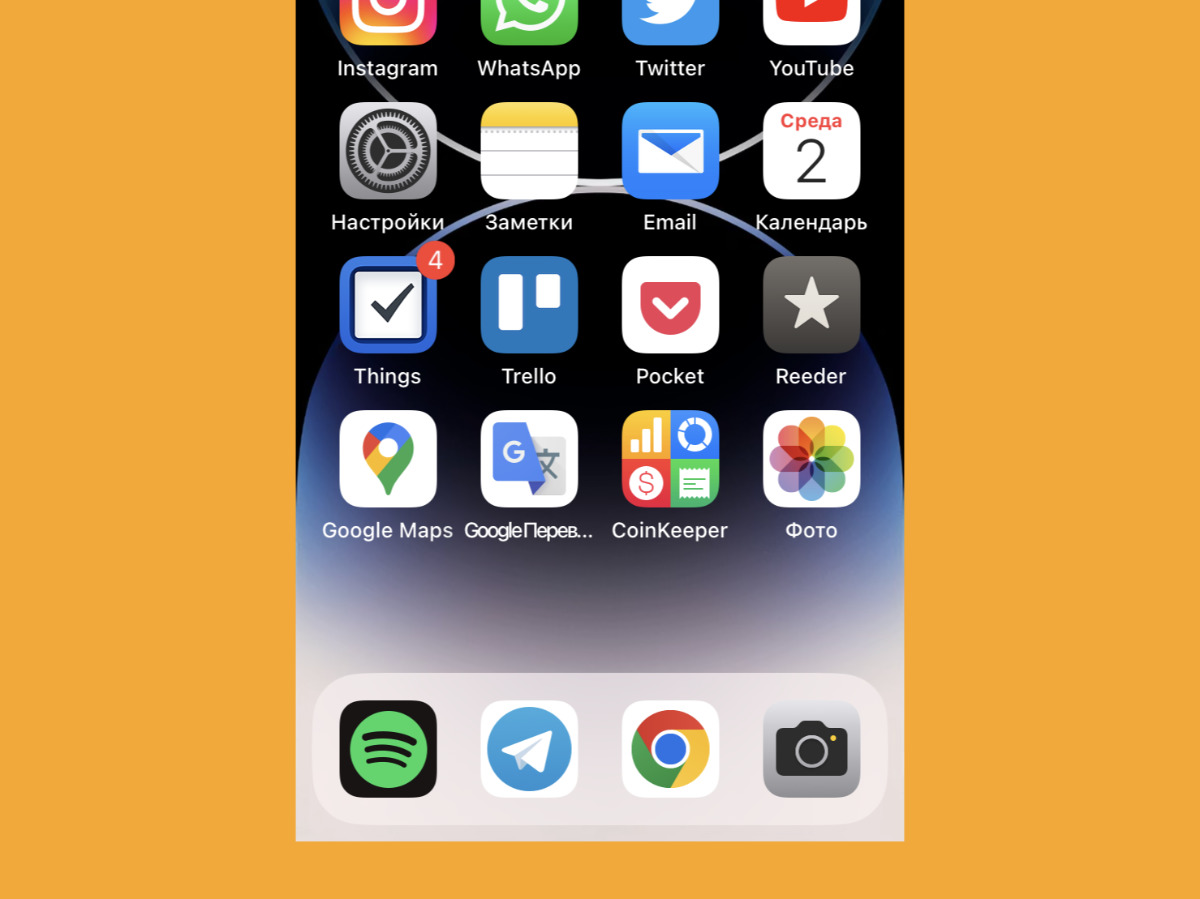
10. Spread Useful Widgets at the Top of Your Screen
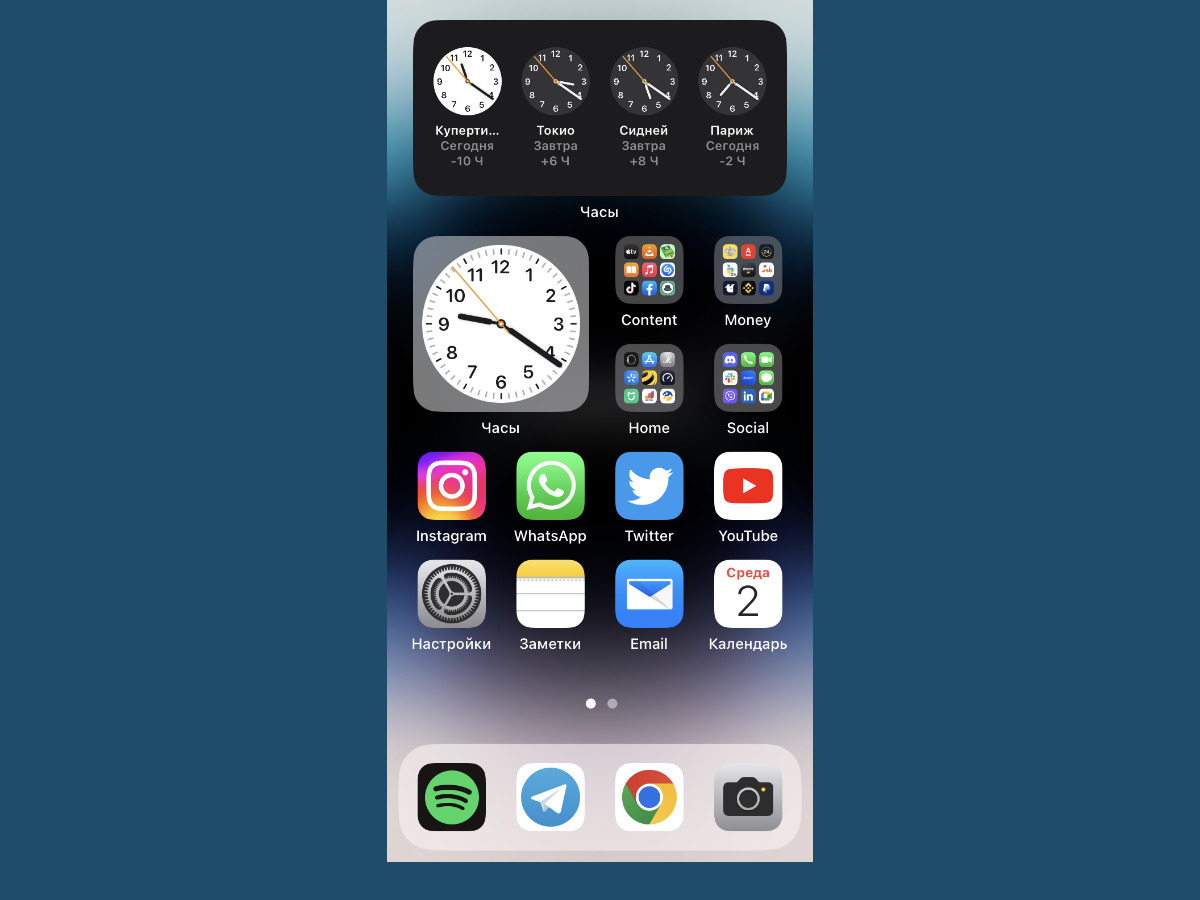
Widgets at the top of the screen
▶︎ What to do: pin the case to your desktop and add some widgets.
For closing from above, world time or a weather informer will definitely fit.
11. Use Widgets to Launch Functions in Apps
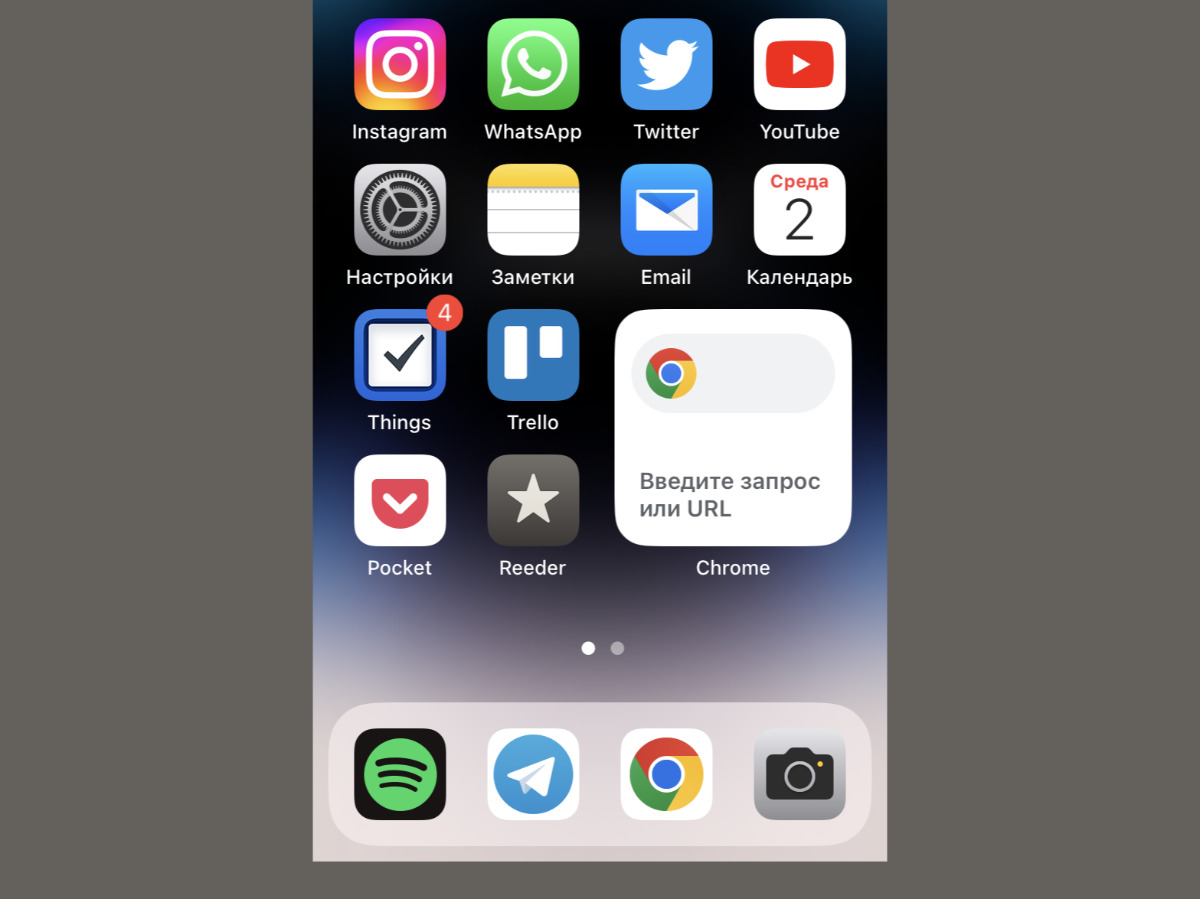
This widget, for example, helps you quickly navigate to the Google search bar
▶︎ What to do: move the widgets with the most popular objects in the accessible part of the screen.
The branded Google widget is transferred to the search scheme, which in the application itself is displayed on the top of the screen.
12. Try a transparent widget if you don’t need widgets
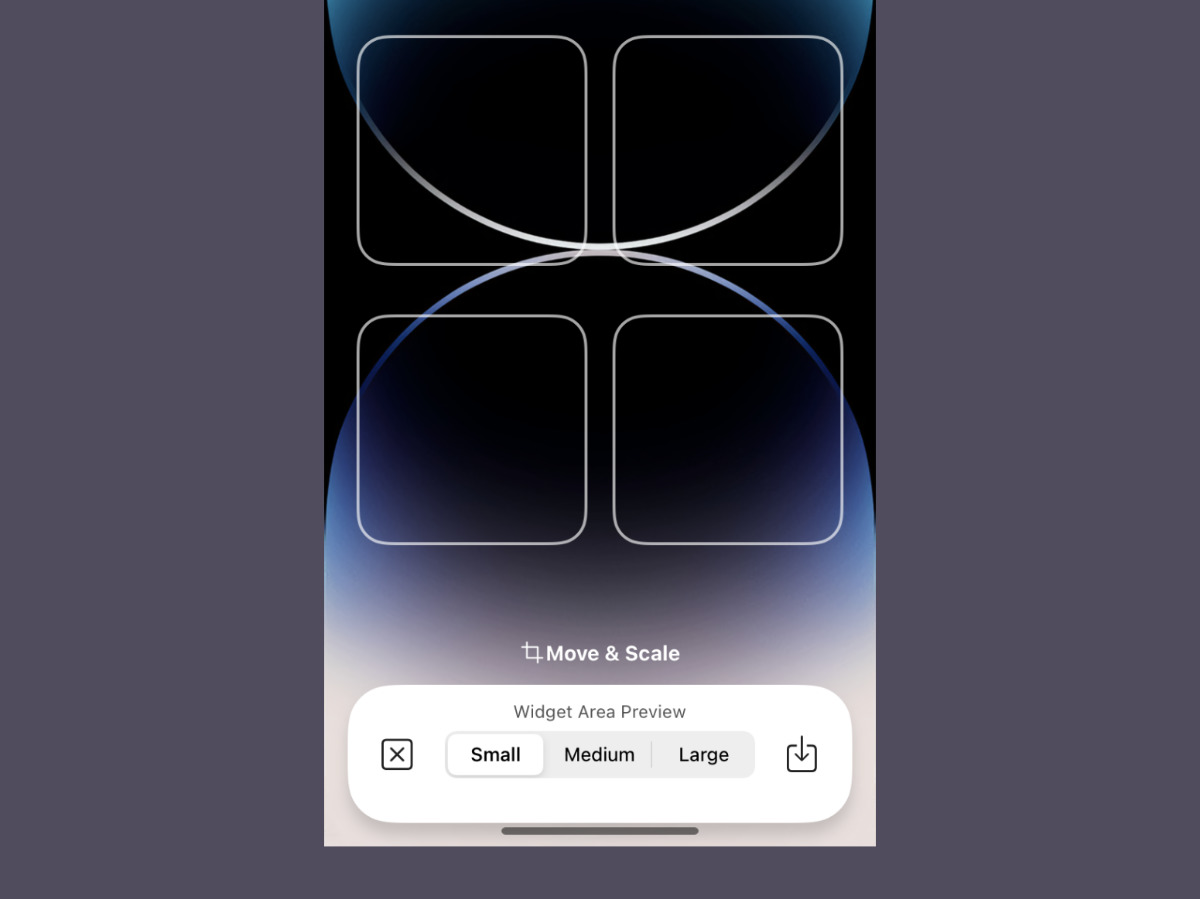
Transparent widgets can be of any shape and size
▶︎ What to do: With this transparent widget, you can add an empty space to the part of the airport.
The application creates widgets with part of the table picture to create an empty space effect.
Another great option is to move app shortcuts closer to one edge of the screen.
13. Duplicate app shortcuts on the bottom screen of the second screen.
You can transfer some important functions by returning part of the screen to some working computer.
▶︎ What to do: just drag and drop program shortcuts from the Application Library to any part of any desktop – you can make as many shortcuts as you like.
In recent releases of iOS on desktops, you can add any number of shortcuts to the same app.
It would be logical to link closer to the nearest edge of any additional desktop shortcuts to in-demand applications for which there was no place in the main places.
14. set up a few commands to quickly launch something
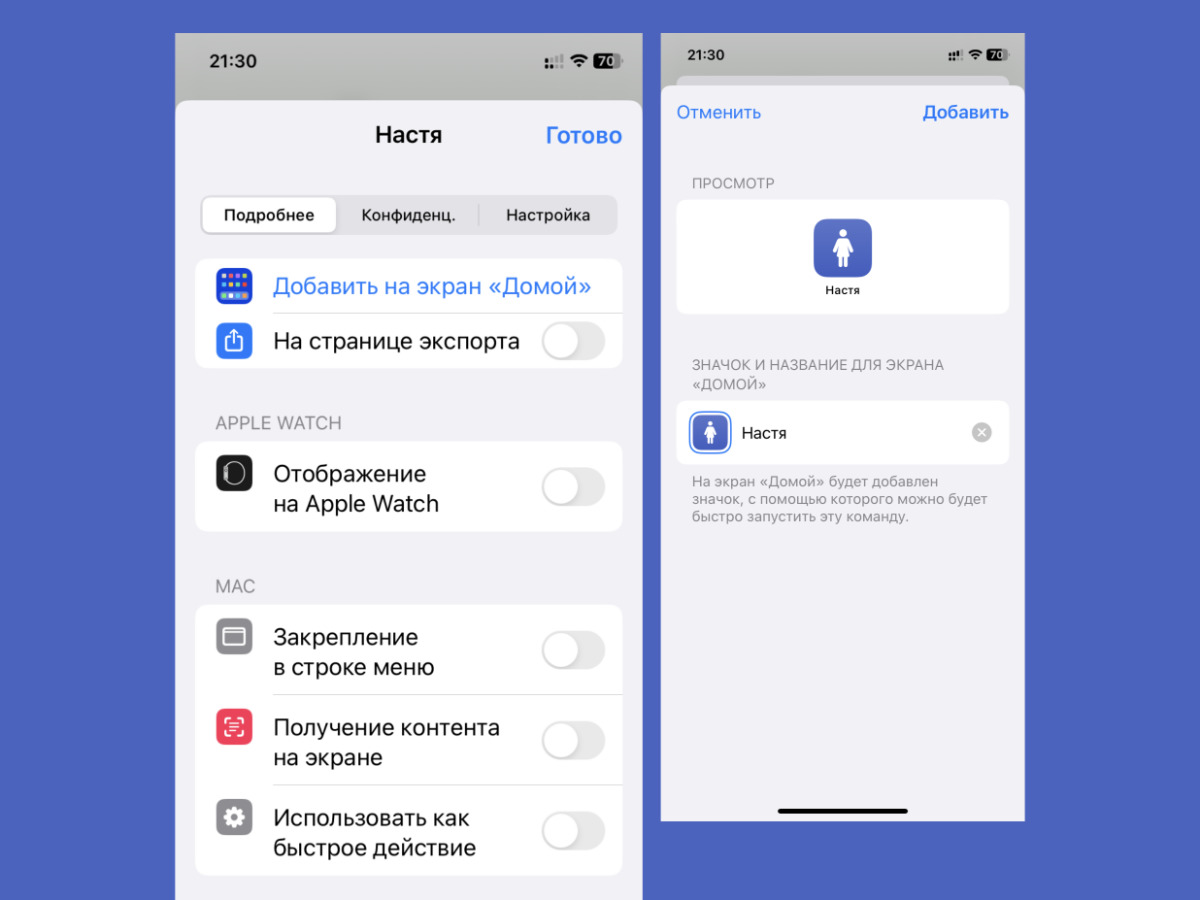
Calling someone can link at the bottom of the screen
▶︎ What to do: commands are added to launch the requested functions and are added as part of any desktop.
Using the quick launch command, you can call up the challenge of selected opponents directly with desktop icons.
They are also logical, where the link is something obvious to easily reach with one hand.
15. Organize a separate desktop for one hand
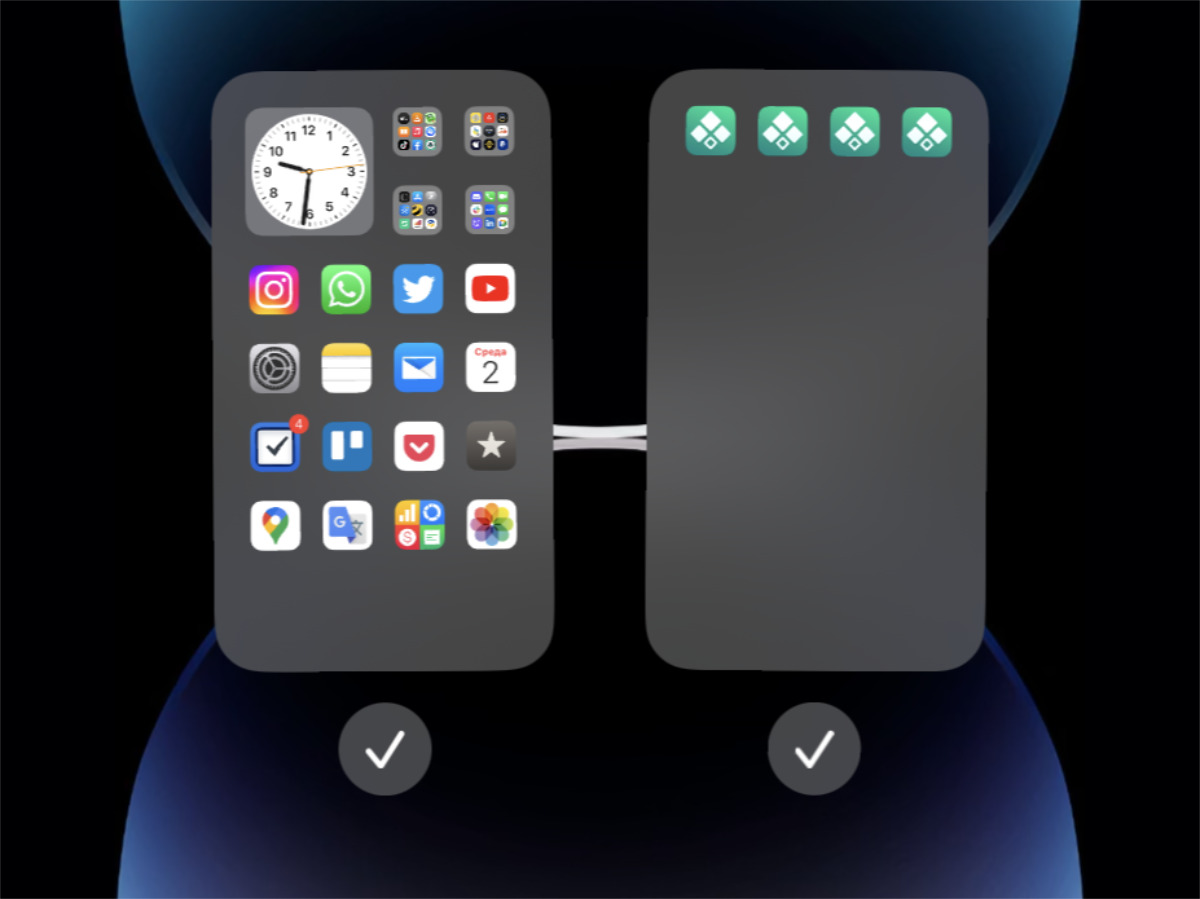
When the second hand is busy, you can use a whole separate table with the help of the first
▶︎ What to do: organize a desktop for one hand on any additional desktop, duplicating shortcuts and widgets if necessary.
You can work not even one, but work several tables, which is quite possible to manage conveniently with one hand.
By and large, they can even be hidden if they are not needed for some time.
16. Increase the number of icons in Control Center
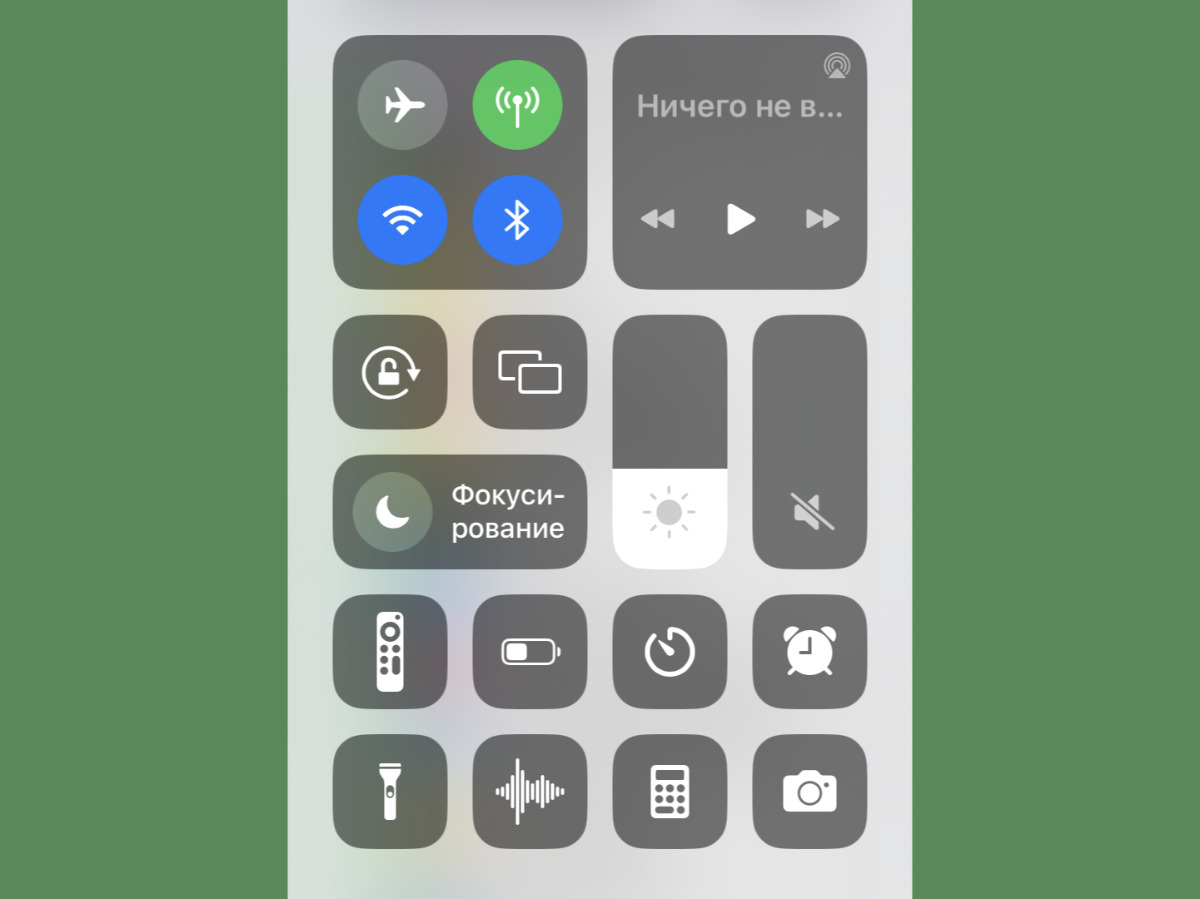
The more icons in Control Center, the closer they are to the bottom of the screen
▶︎ What to do: settings “Settings”, section “Control Center”, add more values with the ⊕ button and move the most popular in the search part of the screen.
The icons and switches in Control Center are arranged from the top of the screen to the bottom. Therefore, if there are not many of them, they are too high for one-handed use.
17. Activate Siri and start asking her for any help
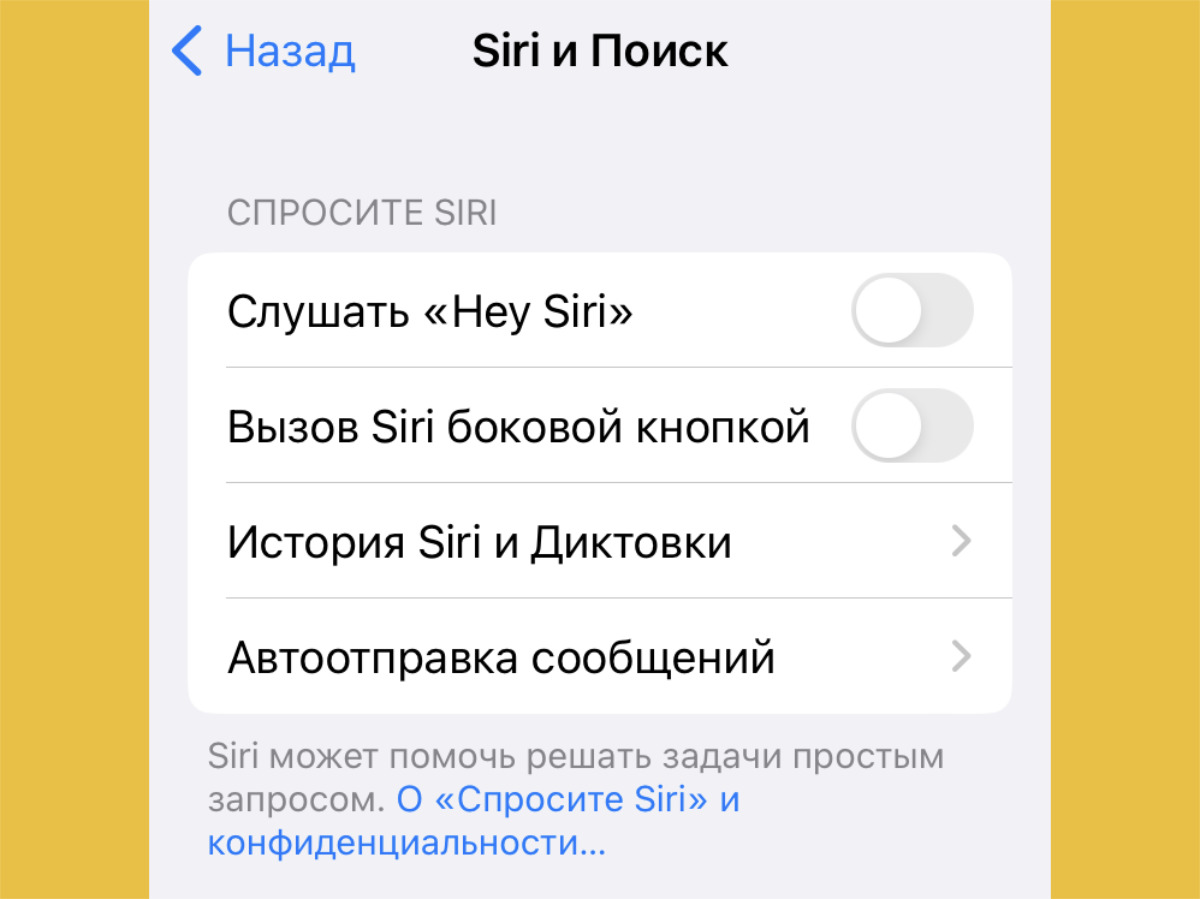
You can only use your voice to launch Siri.
▶︎ What to do: settings “Settings”, important in the section “Siri and Search”, turn on the active position “Listen to “Hey Siri” and “Call Siri sidebar”.
You can use your voice or hold down the power button to start the voice assistant. It can also be handy when picking with one hand.
18. Protect software in Search, not App Library
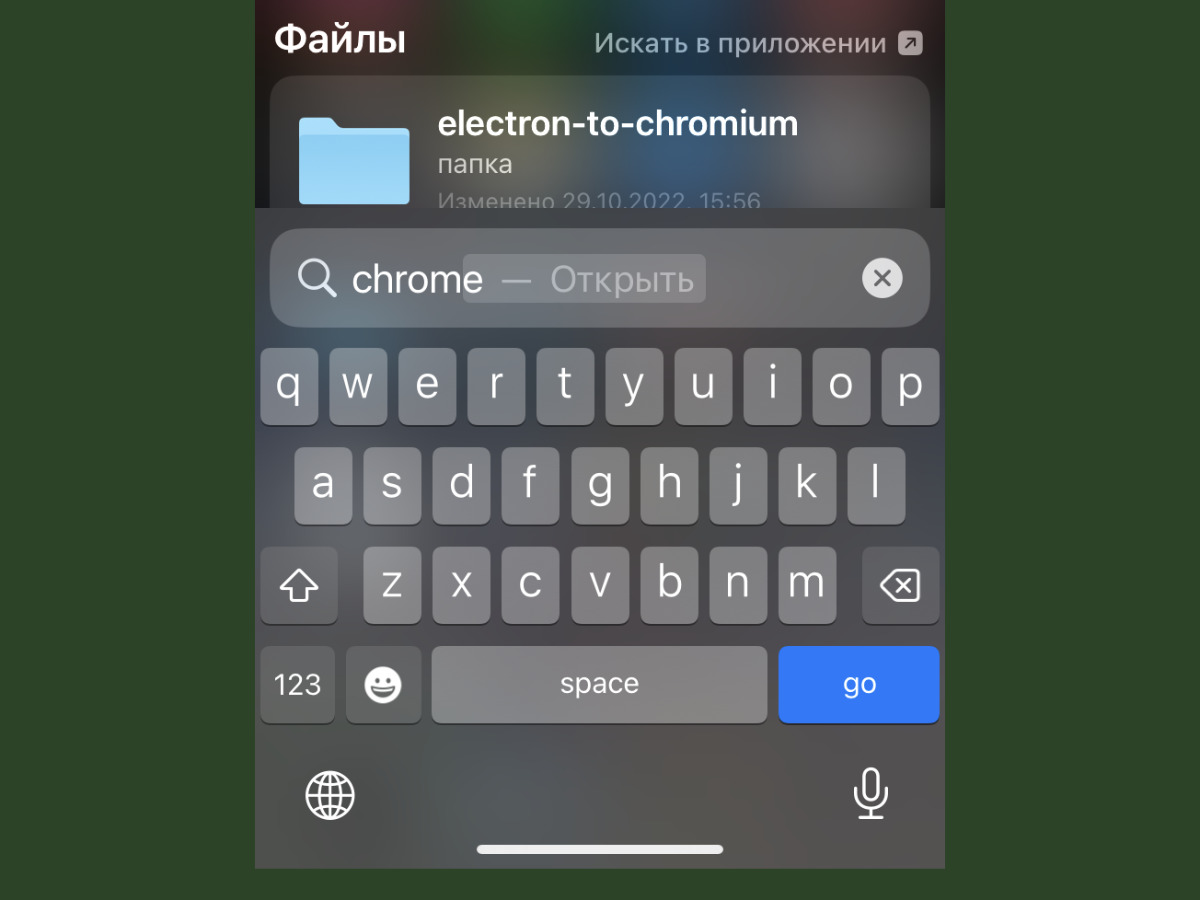
Get the application directly through the search bar
▶︎ What to do: swipe down on the old desktop and type in the first couple of letters of the desired application.
Please note that after entering a few letters from the name of the application, it will be possible to open it directly using the “Find” button.
19. Switch Safari to the New Tabbed Format
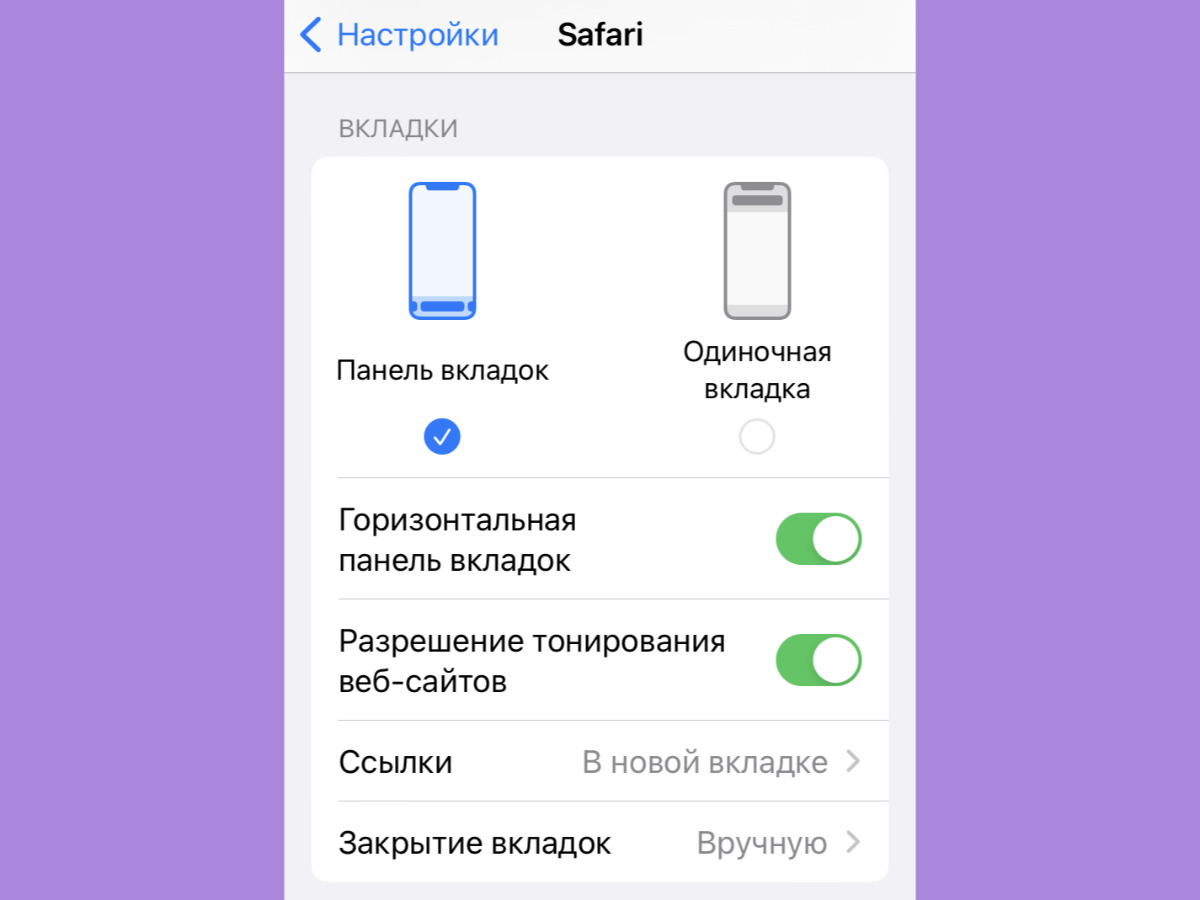
In the new tabbed format, all controls are located on the surface
▶︎ What to do: the Preferences settings available in Safari, select the Tab Bar option from the Tabs menu.
In the new Apple-branded tabbed format, all controls are at the bottom of the screen, which is very convenient for one-handed use.
20. Only Use Dynamic Island as an Informant
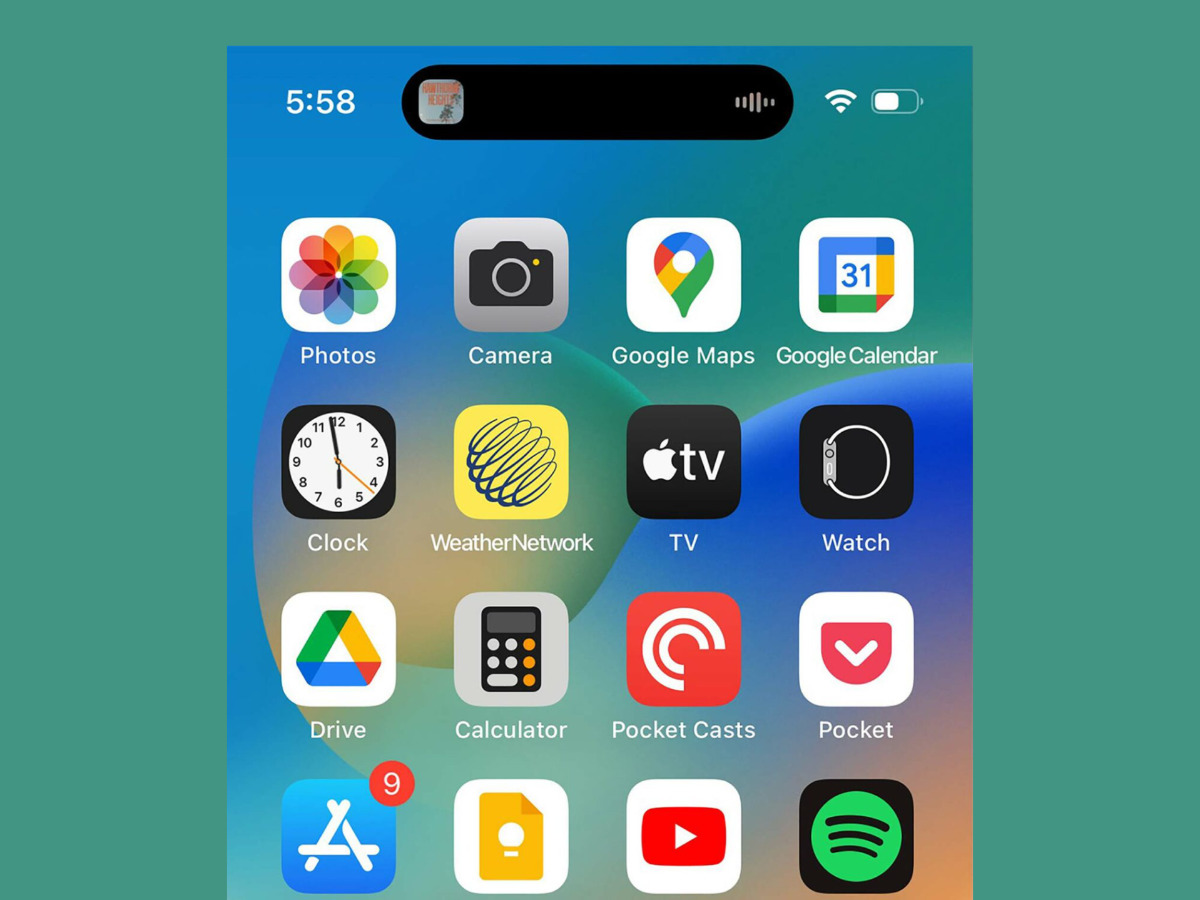
Trying to reach for Dynamic Island to control something is not a good idea.
▶︎ What to do: do not try to manage public processes in the system through Dynamic Island on iPhone 14 Pro and iPhone 14 Pro Max.
After all, if you’re using the new iPhone 14 Pro or iPhone 14 Pro Max with one hand, don’t even think about managing your usage through Dynamic Island.
The notch is too high, so for this task it will definitely not be even on a small “firmware”. Let it remain an ordinary informer if it occurs.
▪ 20 useful iPhone tricks that everyone forgot about. Or didn’t even know
▪ 20 tips that make any Mac faster. Earn much faster
▪ 20 tips to improve iPhone battery life. Yes, it’s better to use a light theme
▪ 20 unusual Apple Watch tips. Control the clock by clenching your hand into a fist
▪ 20 tips to boost the autonomy of your MacBook. Plus 2-3 hours guaranteed
Source: Iphones RU

: Everything we know a week after its release")


