


If you’ve decided to automate where you live, an important step is to invest in a smart speaker or screen to control all your connected devices, and when it comes to smart assistants, Alexa is one of the best. Start using it right now: in this tutorial we will explain how to set up amazon echo right from the start.
You might be interested in:
- Amazon Echo Vs. Echo Studio
- Tips and tricks for Amazon Echo
- How to set up Alexa for calls
How to Set Up Amazon Echo Using Alexa
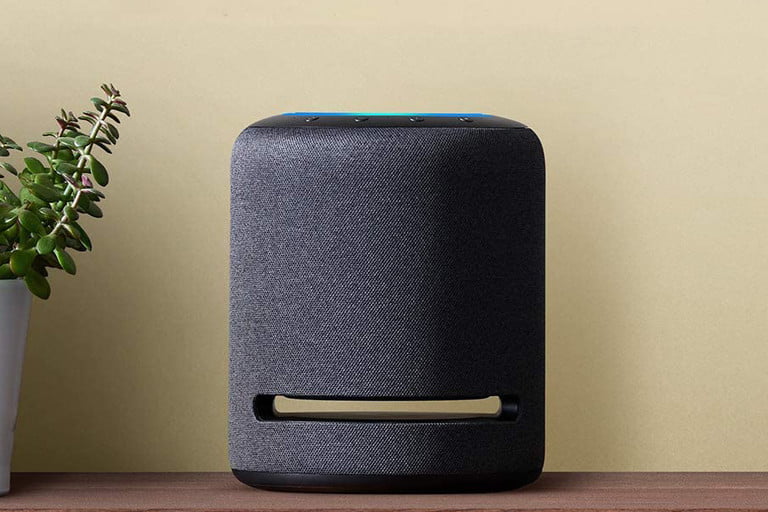
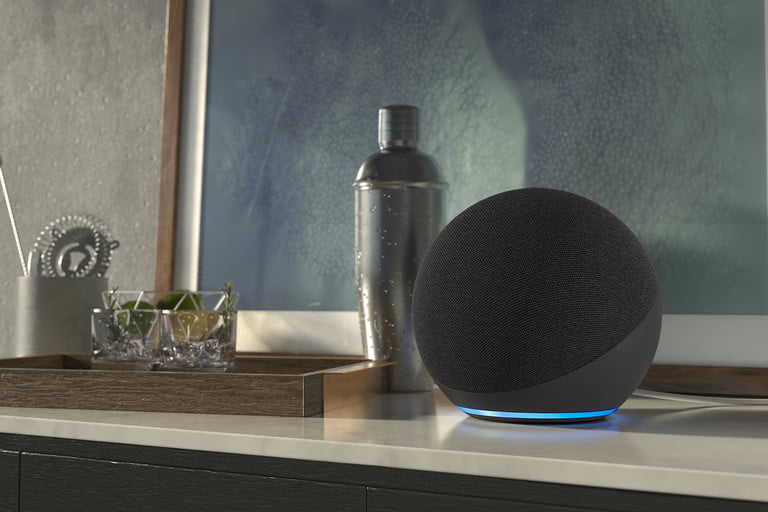
One of the most feature-rich lines of smart hubs on the market is the Amazon Echo family. Consisting of the standard Echo speaker, Echo Dot, Echo Studio and several other display options, the Echo family features Amazon’s all-knowing voice assistant Alexa.
If you’ve just purchased your first Echo product or might need a reminder of some of the basics, we’ve put together this helpful guide to getting your new Echo up and running. Let’s dive right in.
Step 1: Download the Alexa app.
The free Alexa app is a must if you own an Amazon Echo. You will need it to configure your device. Download it on any smartphone or tablet running iOS 11.0 or later, Android 6.0 or later, or Fire OS 5.3.3 or later.
Simply open the app store that came with your device and search for “Alexa app.” Can I download the application to my computer? Make sure you’re connected to Wi-Fi, then go to the Amazon Alexa website to download it.
Step 2: Connect Echo
This is probably the easiest step in the entire setup process, since the Echo doesn’t require batteries to operate. Simply plug the included power adapter directly into your Echo and plug it into an outlet.
When the light ring turns blue, it means power is connected. Then wait until it turns orange, as this is a sign that Alexa is getting ready to greet you. When everything is ready, you will hear Alexa’s voice telling you that everything is ready to be set up.
Step 3: Connect Echo to Wi-Fi from the app.
Next, you need to connect your Echo device to your home Wi-Fi network. The latest versions of Echo should help you with this process. However, if you get stuck, just open the Alexa app and search for available networks until you find yours.
If you have multiple Echo devices, be sure to go to the Alexa Devices menu and select the appropriate one. under the heading Wireless connection You should see the Wi-Fi network connection status. Once connected, you have the option to save your Wi-Fi password to Amazon, making it easier to connect other smart home devices.
If you decide to save a password, it will also make it easier for you to set up a new Echo on the same network in case you decide to buy more devices for other rooms. You also have the option to connect your Echo to a public network, although the password won’t be saved by Amazon.
Step 4: Start talking to Alexa
To begin, say the activation word, which by default is “Alexa.” Perhaps you already have a human Alexa in your home and want to switch teams to a different one. Just tell Echo, “Alexa, change your wake word.”
You can also configure this setting in the Alexa app by tapping Help & Feedback and selecting Change wake word. Currently, you can change this command to respond to “Echo”, “Amazon” and “Computer”. There’s no word yet on when Amazon will let you personalize Alexa so you can call her by whatever name you want.

Step 5: Start using your Echo
Congratulations! Your Amazon Echo is set up and ready for everyday use. To make sure it’s working correctly, you can run a simple test. For example, say the trigger word and “hello.” If your Echo is set up correctly, Alexa should respond with a simple “hello” in response.
But of course, Echo can do much more than just greet you. In the Alexa app menu, you will see two sections called Skills and gamesAnd What’s worth trying“It’s a great way to see what you’re capable of.”
In particular, skills can help you personalize Alexa by giving her specific abilities; Think of them as mini-apps from different authors that you can use for entertainment, organization, news, and more.
You can start using your Echo device with a to-do list, check the weather, check traffic conditions, call friends, text your family, stream podcasts or connect smart home devices.
Alexa has thousands of important skills (and other not so important ones) that you can add as well. These are some of the most useful tasks that Amazon Echo can help you accomplish.
Step 6 (optional). Connect other smart devices or an external speaker.
Open the Alexa app on your tablet or phone and go to the menu. Select an option Devices. We found that Alexa usually allows ads to show at this point, but you can click to close them.
Select sign + (more details) located in the upper right corner of the application, then click Add device. After that, select the device you want to join from the list. If you cannot find a suitable one, you will need to click Another.
At this point, Alexa can connect to any smart device nearby. Create higher-level scenes where multiple devices interact simultaneously and you can arrange accessories around Groups.
We recommend that you read our publication on routine for more details, tips and tricks on setting up these interactions. Additionally, the setup apps for many smart home products will offer the option to skip setting up a new device through the Alexa app.
We think it’s worth considering connecting an external speaker to your Echo device if you want a high-quality listening experience while jamming with your favorite songs or listening to audiobooks.
To do this, we suggest connecting a Bluetooth speaker to your Echo to improve the sound. Remember that your Echo can only connect to one Bluetooth device at a time. So if you already have a device paired with your Echo, you’ll need to unpair it first.
Only then can you begin the entire setup process with your new accessory. However, other smart home devices cannot connect via Bluetooth, so they remain connected. An example would be your home security camera, which uses your Wi-Fi connection to communicate with your Echo device.
Step 7 (optional). Set up groups for Alexa.
The Alexa app has a great way to separate your Echo speakers and other smart home devices based on the rooms in your home where the devices are located.
It’s a feature called Smart Home Grouping that allows you to control multiple objects at once with a single voice or app command. This is especially useful for devices like smart lights, where instead of asking Alexa to manually change each bulb, the assistant will apply on/off commands to all the lights in the same room.
To create a new group, in the Alexa app, tap Devices. Then click on the icon Further and then in Add a group. From here you can click Create a room or device group.
If you want to merge one or more existing groups, you can also select Combine rooms or groups. You’ll then be asked to choose Alexa pre-generated names for places in your home, or you can create a custom name for a group. Then select the devices you want to add to each group. When you’re done, click Hold.
To test out a new group, give the room’s Echo speaker a simple command to turn on/off the various smart devices you’ve assigned to the room. If everything turns on/off correctly, the grouping was successful.
Step 8 (optional): Set up music streaming with Alexa.
One of our favorite features of the Echo speaker is that you can use the hub to stream all your favorite music and audio services. By default, the first time you ask Alexa to play music, the assistant will try to fetch tracks from Amazon Music.
If you want to connect your Echo speaker to another music service, you can do so through the Alexa app. Launch the application, then click Further. Then click Settings > Music and Podcasts > Link a new service.
Select the service you want to add and follow the in-app instructions to pair it with Alexa. From the screen Music and podcasts, you can also change the specific provider. This way, you can ask Alexa to play a song or artist without specifying which music service you want to use to play your favorite songs.
Source: Digital Trends
I am Garth Carter and I work at Gadget Onus. I have specialized in writing for the Hot News section, focusing on topics that are trending and highly relevant to readers. My passion is to present news stories accurately, in an engaging manner that captures the attention of my audience.

: Everything we know a week after its release")


