


Receipt It is a website where you can get your playlists from the main music streaming services and invoice with your most played songs, albums and artists on the platforms.
What started with a simple joke ignited today. Millions of people around the world “make” playlists and share them on their social networks. And of course, Spotify has emerged as the streaming service where most people print their music bills due to its popularity.
And today TecMundo teaches you how to join this game and shows you how to create Spotify Receiptify and share it on your social networks. Check out!
How to create Spotify Invoice?
1. Access the official Receiptify website;
2. Once there, click on the option to sign in with your Spotify account as shown in the image below;
3. Next, you need to authorize the website to access your Spotify profile. To do this, click on the green button that says “I Agree”;

4. On the next screen, you will be presented with your favorite songs in the standard Receiptify option. However, you can change the view to different shapes as we will explain;
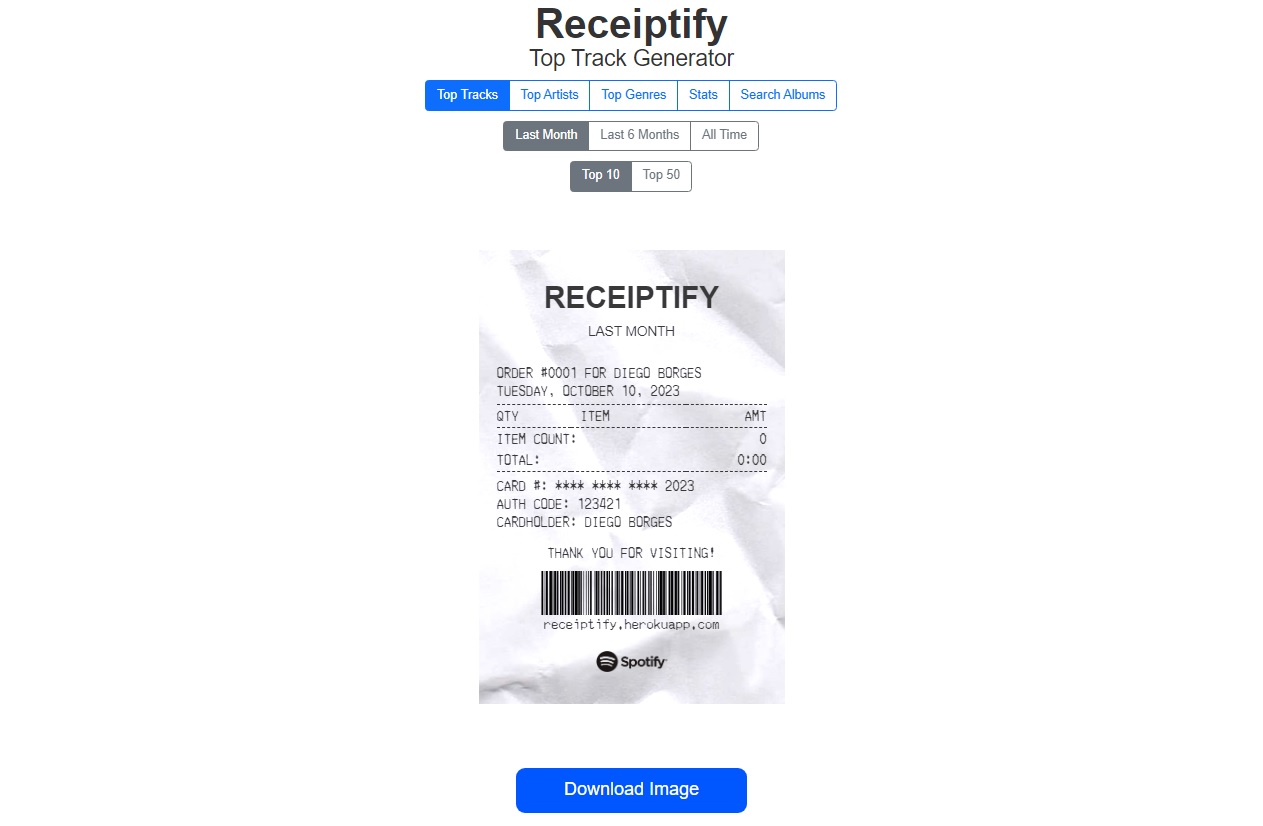
5. In the first line you can filter the result by the following options:
- Best Tracks – The most popular songs on your profile;
- Top Artists – Top artists on your Spotify account;
- Most Popular Genres – The main genres played in your playlists are;
- Search Albums – You can search for a specific album. To do this, you need to write the relevant name in the text field that will appear under the option.

6. The second line contains options to filter the songs played in the selected periods. Them:
- Last month – Last month;
- Last 6 Months – Last six months;
- Always – The entire usage period of your account.

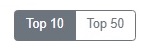
7. Finally, the last line allows you to filter by the Top 10 or 50 songs your Spotify profile plays;
8. After selecting the filtering you want, scroll down and click the button.

9. Then the image with the selected filter will be saved on your computer to view your playlists on Spotify.
Now run and get your “music bill” and share it with your friends on social media. To the next one!
Source: Tec Mundo
I am a passionate and hardworking journalist with an eye for detail. I specialize in the field of news reporting, and have been writing for Gadget Onus, a renowned online news site, since 2019. As the author of their Hot News section, I’m proud to be at the forefront of today’s headlines and current affairs.
: Everything we know a week after its release")


