


If you are using the free mail client from Google, gmail, of course you are aware that it offers a large number of usage options. You probably don’t know how to take advantage of all that is included, as it stops bothering you by blocking an email address. Well, we will tell you how to achieve this easily and above all very quickly.
One of the important things to know is that you can achieve this on both the client and the client. network In Gmail and the app available for both iOS when it comes Android. Therefore, regardless of the device you use the client on, it can achieve the goal of directly trashing anything that comes from an email address. In this way, you will not lose it, but you will not see it in any of the mailboxes offered by the application developed by the Mountain View company.
How to block in Gmail from phone
The process is very simple because you don’t have to go through many menus to be able to block an email address that sends messages that don’t concern you at all. What you need to do is as follows:
- Open the Gmail app
- Enter a message sent by the address to be blocked as usual.
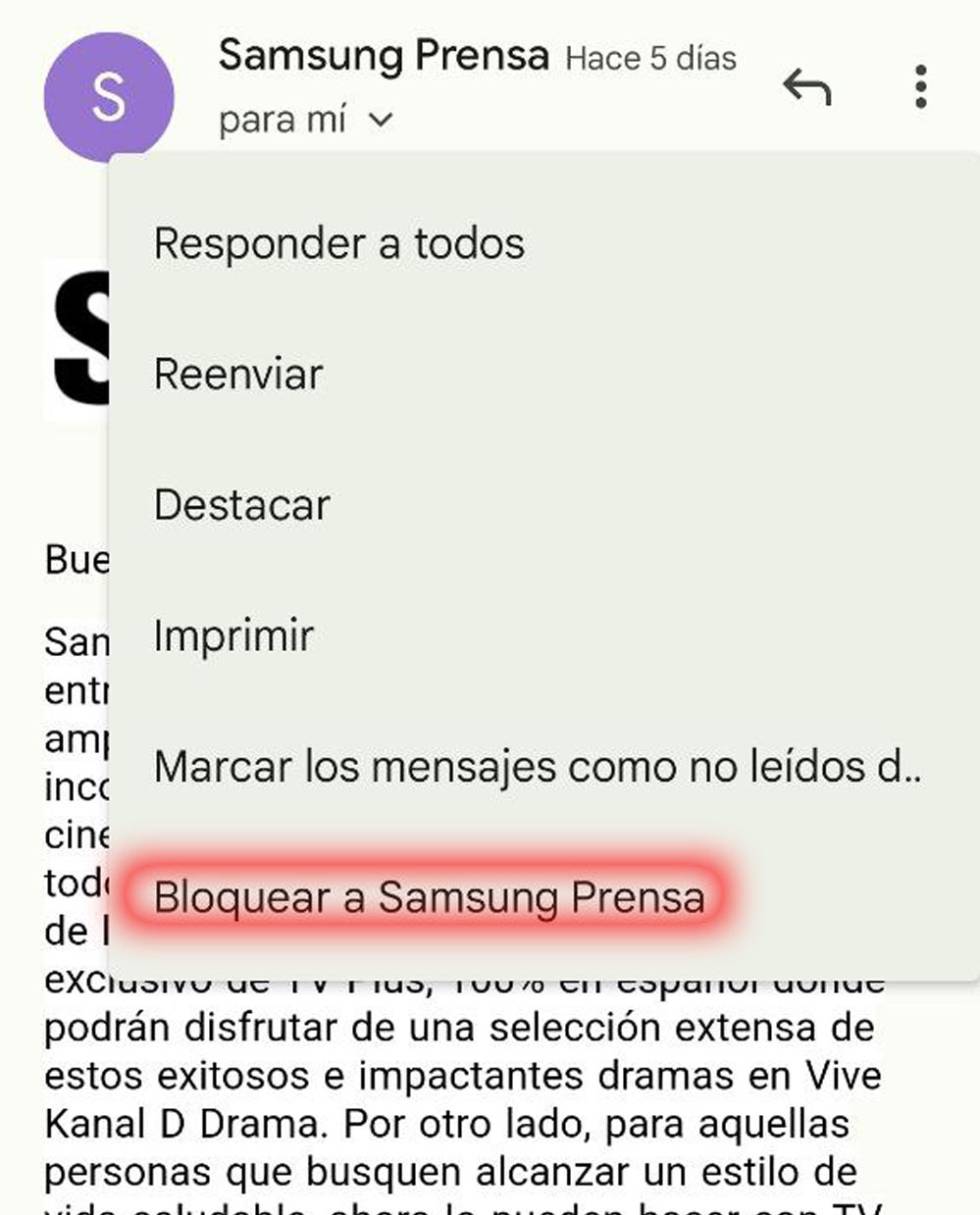
- Next to the sender information, you will see an icon with three vertical dots on the right. You must press as usual for a popup menu to appear.
- You will then see an option called Block…. and the name in question. Press here.
- You are done and from this point forward you will not see anything from this sender in your inbox.
Do the same, but from the computer browser
The operation is a little more comfortable using the mouse, but the simplicity is just as high. Follow these steps:
- Sign in to Gmail with your credentials as usual.
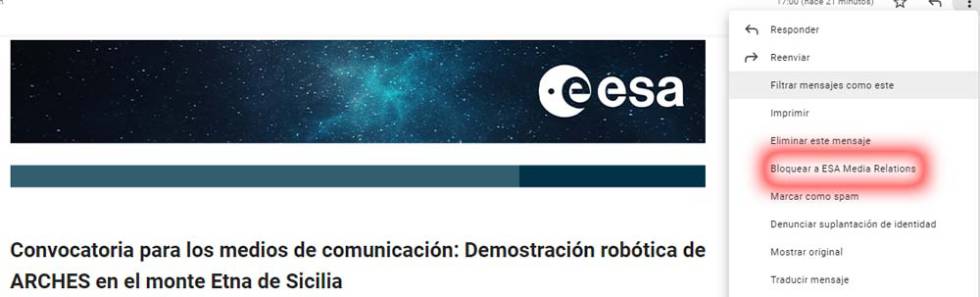
- Enter an email from the address you are going to block and click on the icon with the vertical three dots in the upper right corner.
- Now, you just have to select the Block option…
- You’re done, simple and very effective.
By the way, at any time you can remove the address from the block you were exposed to. This reverses the situation you have created, and using a computer is ideal to achieve this. Once in your account, access Settings and you can see a section called as you go through all the available options. Filters and blocked addresses.
Access and use the call option unlock which is just on your right. Confirm the action and that’s it, now you have no barriers in Gmail to see the emails you receive from this address as normal.
Source: Cincodias Elpais

: Everything we know a week after its release")


