


At work, I periodically need to open a video editor and edit some small video. To do this, I have several applications installed on my MacBook: standard iMovie and slightly not grateful Final Cut is some kind of antediluvian version, in which many functions no longer work.
So every time there was a problem have fun mini-blockbuster, did it for quite a long time, with guides. After all, you want to like the result first of all for yourself, and for this it is not enough just to throw pieces of video files onto the track. Need it here the transition is beautiful slap it there subtitles insert, and even with some shadowand much more.
And then, in the vastness of the Mac App Store, a real diamond was discovered called CapCut. This is a video editor that covers all the basic standard users want make a video quickly, beautifully and without in-depth study of the intricacies of settings and menus.
👉 download CapCut from Mac App Store
And most importantly – it’s absolutely free. And the final video is saved without any watermark. I have been using this editor for several months now and making sure that there are no pitfalls, I am sharing my findings.
Now you too can create cool videos in a few taps.
What CatCup looks like, what it can do
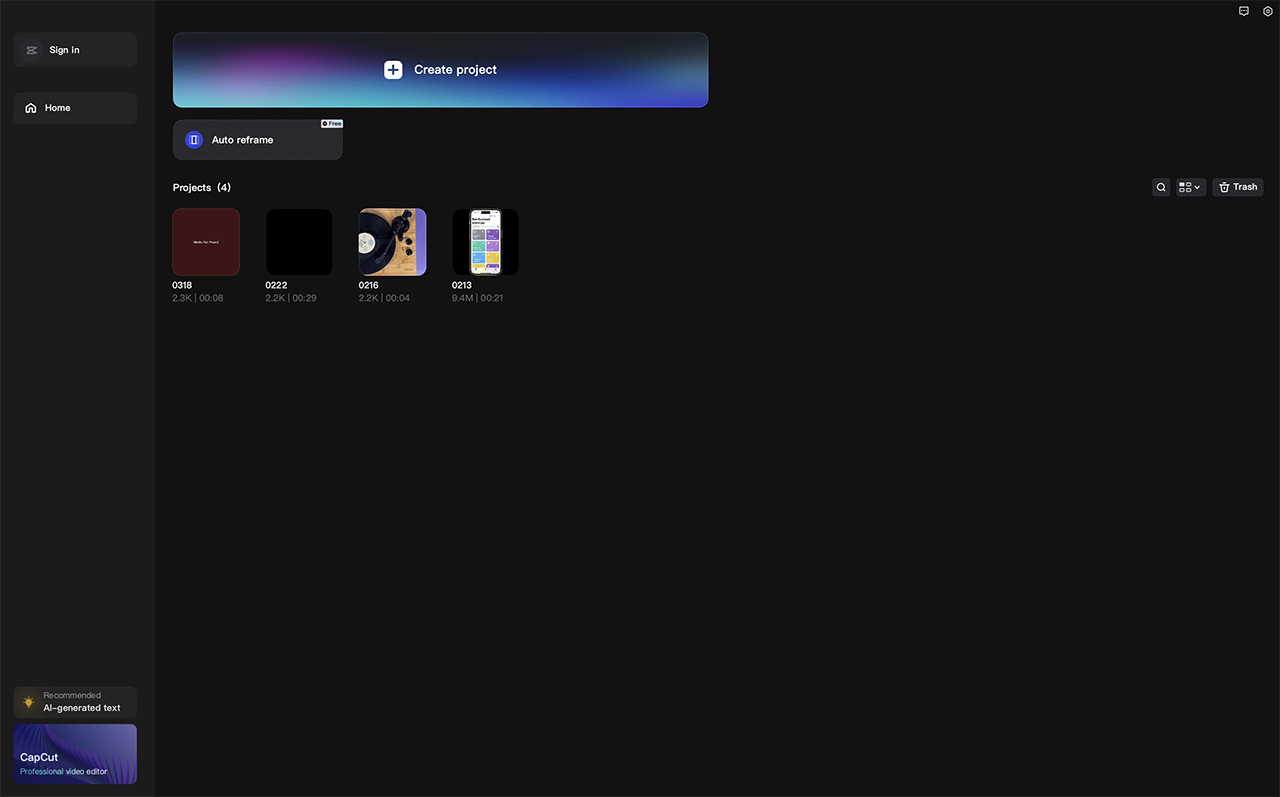
To get started, you need to click on the big blue button.
The main screen welcomes you with a large tool for creating a new project. In the left menu there is even an option to generate video footage using AI, but this is not always necessary.
If you wish, you can create a personal account, although its meaning remains unclear to me. Plus, I can’t register an account using AppleID, other methods that I tried didn’t work, and everything works fine without an account.
The main menu items with effects and decorations are highlighted in red.
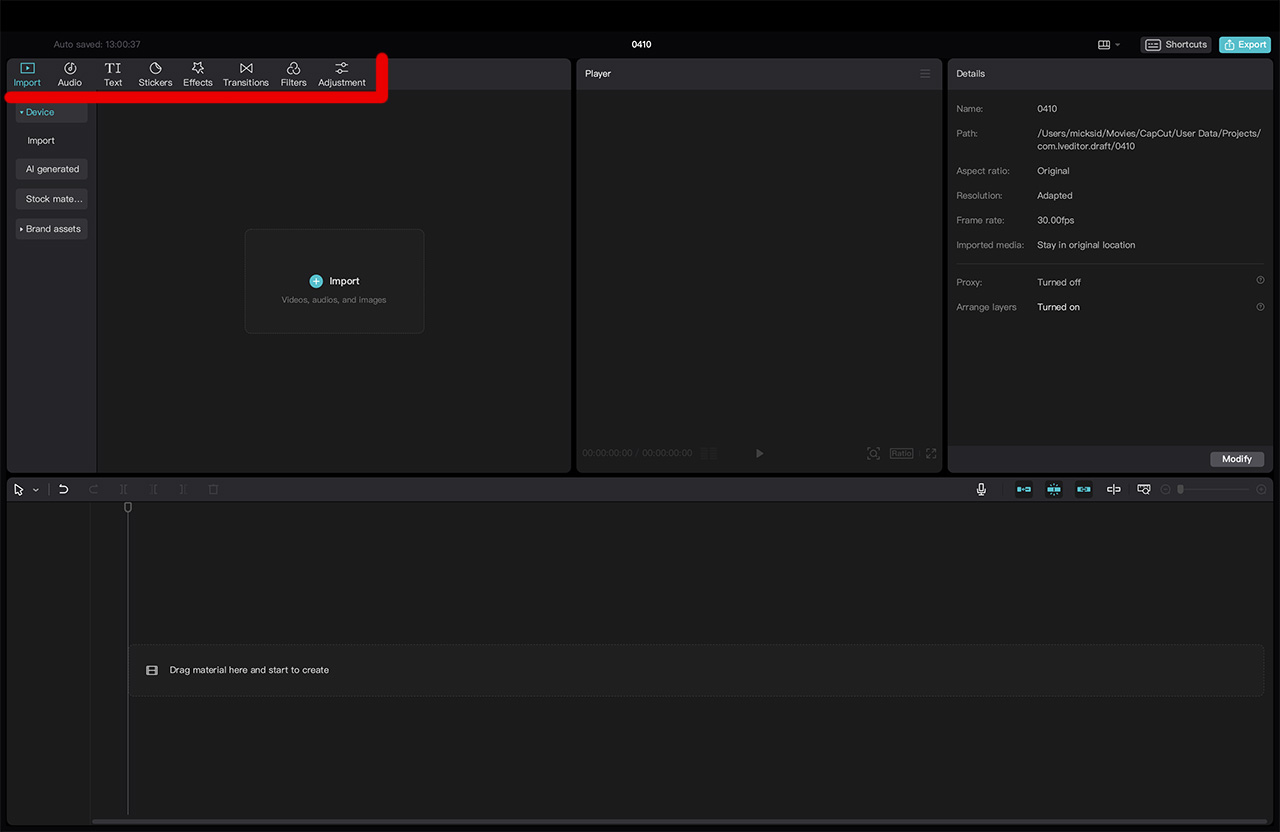
If you click “Create a project”, the main video editing window will open with a menu in the upper left corner, which consists of the item:
● Import
● Audio
● Text
● Stickers
● Effects
● Transitions
● Filters
● Adjustments
Next, I will briefly show each point what is there.
1. Import (import video, photo and audio into the project)
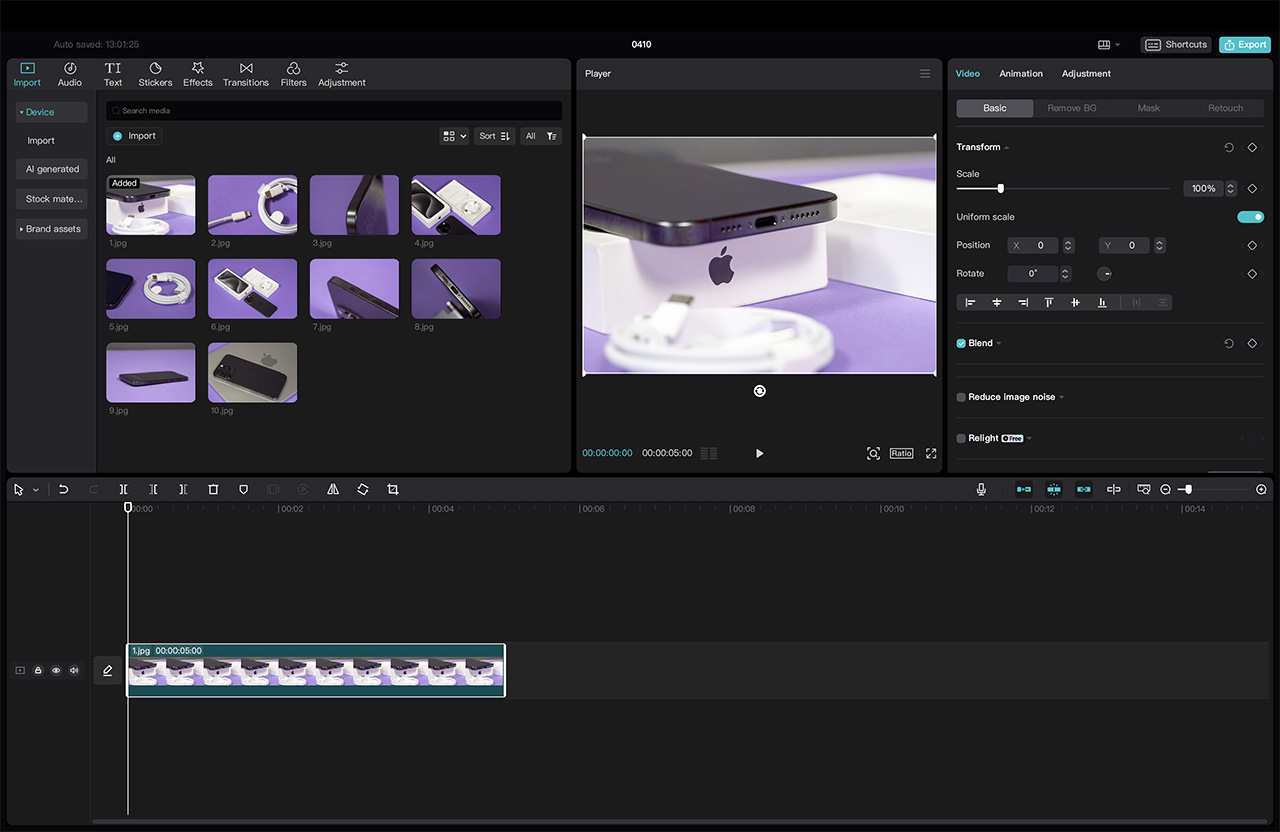
Click on the plus and select a video. There is no integration with the Photo application, find out.
The most important point that allows you to add your materials to the editor, from which the video will be assembled.
Click on the plus sign, select the required videos from the folder, they are transferred to the storage, from which you can then drag them in sequential order and place the mouse on the track.
2. Audio (built-in music and sound library)
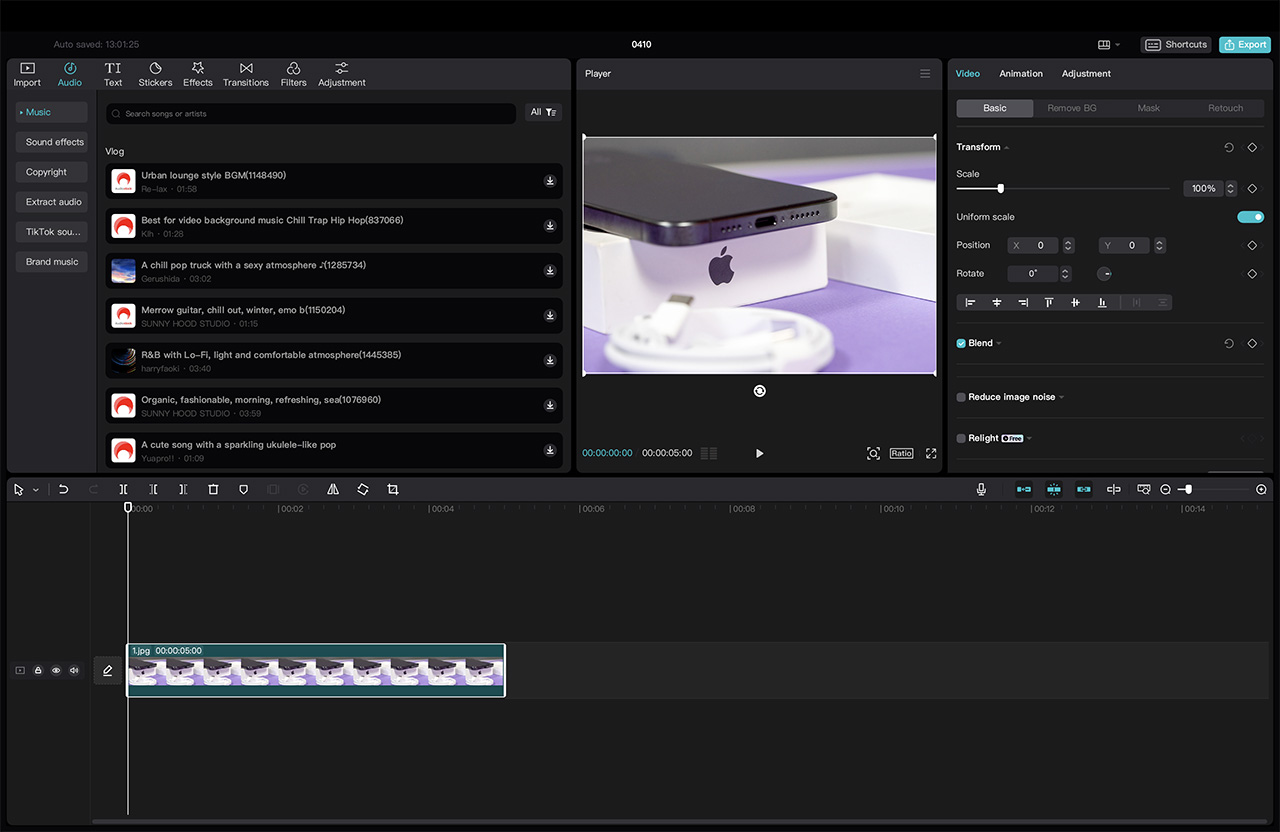
Large library of audio material announcements.
If you want to soundtrack your masterpiece with music and sounds so that the resulting video is not blocked on YouTube for violating someone’s copyright, this section will help you move on to audio design with a free license.
There are quite a lot of sounds and tracks, they are of different tempos and genres; they are perfect for adding to cutting photos with some resolution.
3. Text (overlaying captions and subtitles on the video)
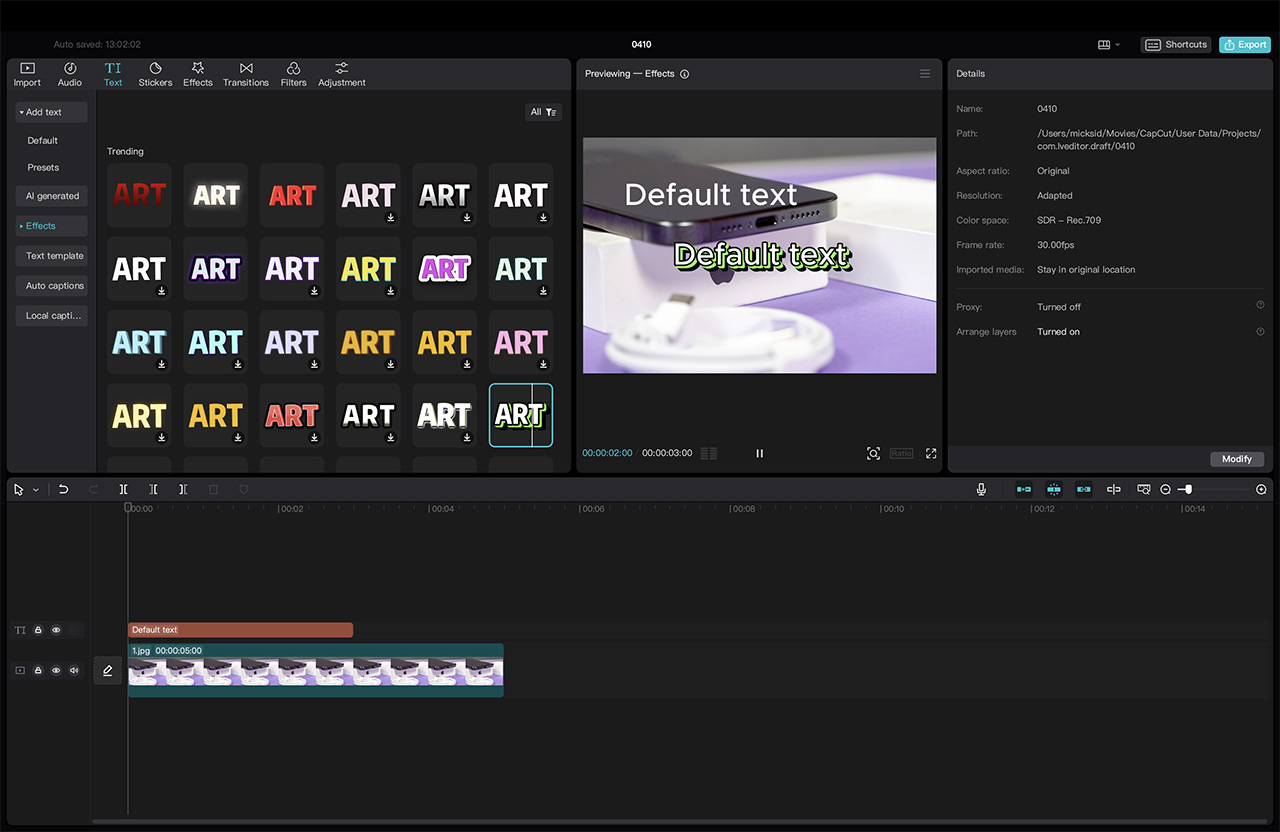
Subtitles of any size, color and style.
This section allows you to write and limit your video text. Moreover, you can move it around the screen with the mouse, where the section is, Google will be there.
There are also ten copies of the design of your text; it’s nice that they all work and speak Russian.
4. Stickers (overlaying emojis and stickers on the video)
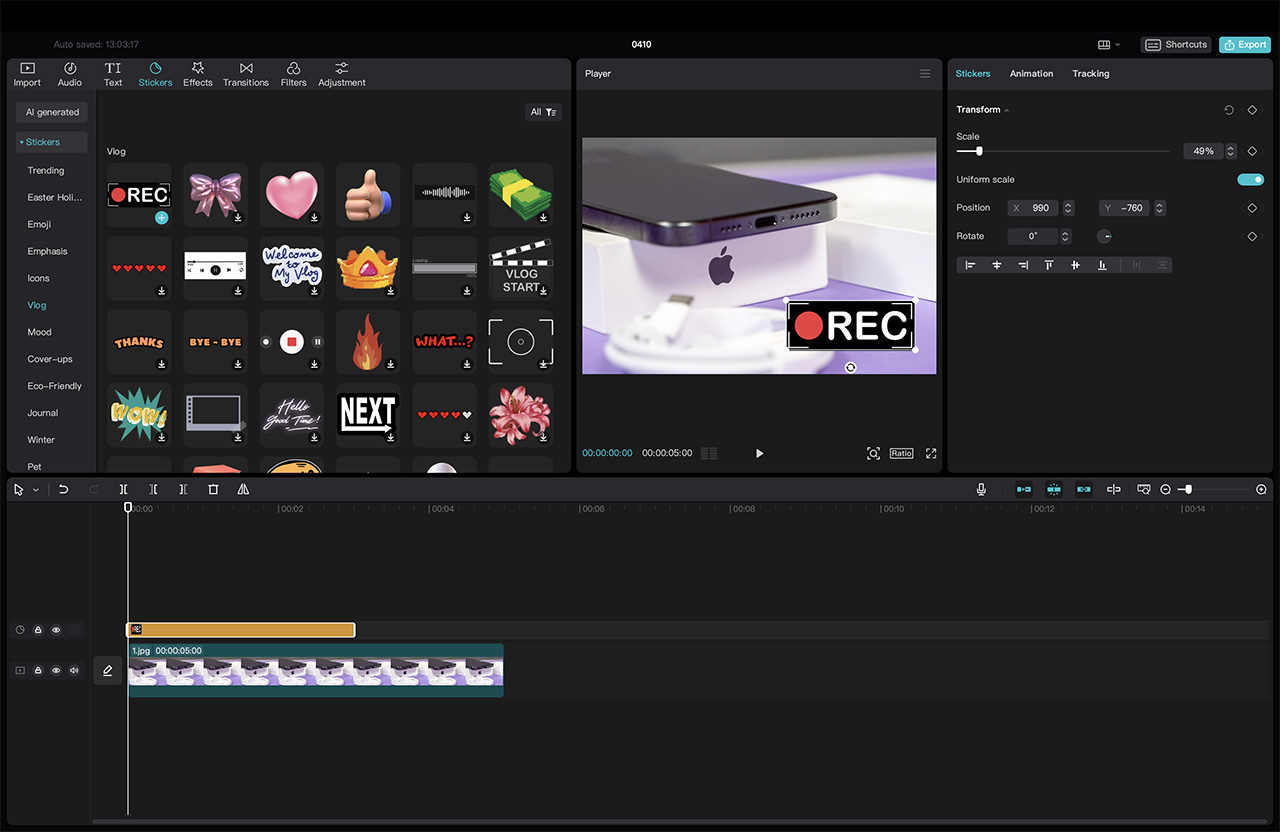
Huge scope for creativity.
If you want to add madness, this section will allow you to fill your movie masterpiece with emoticons, all sorts of icons, stickers and other icons.
Moreover, the library contains both static and animated ones.
5. Effects (video effects library)
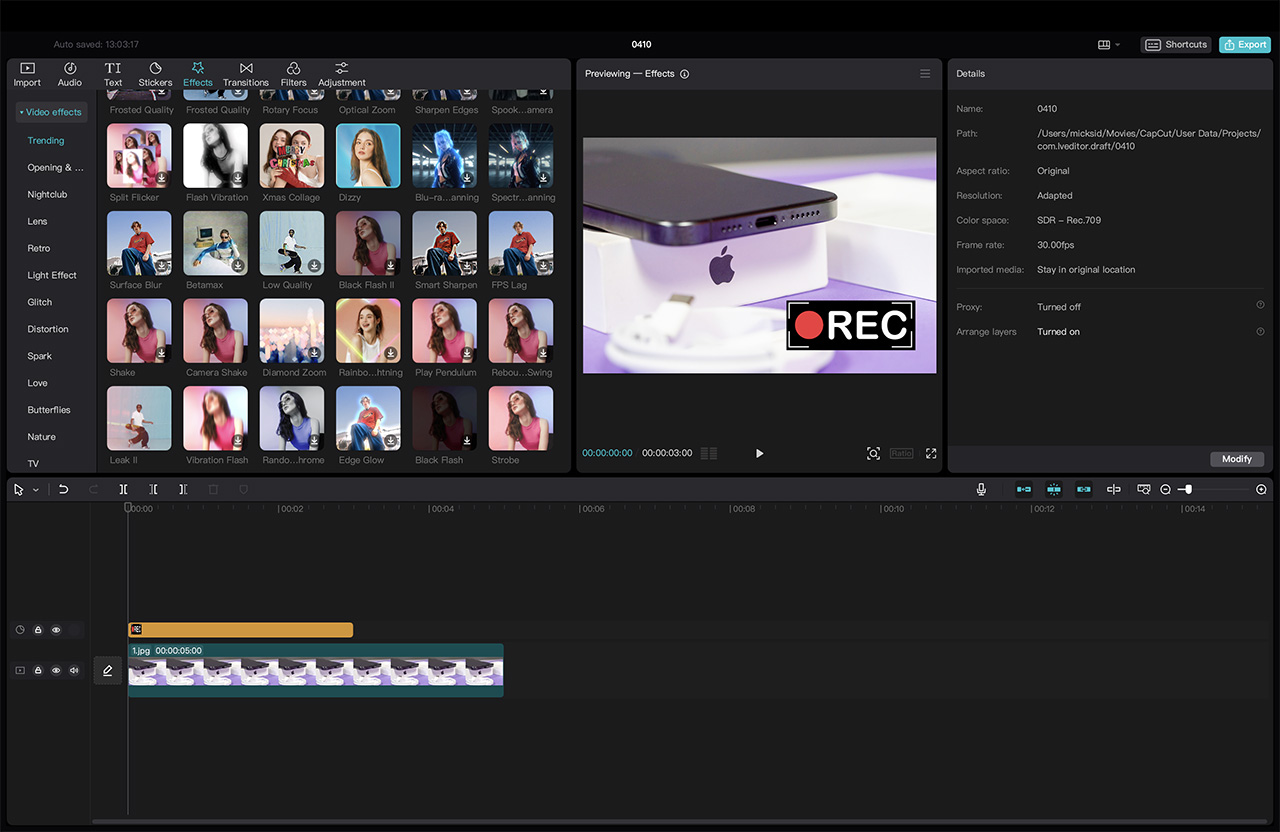
You just take your mouse and drag it onto the video. That’s it, the effect is applied.
Want to age your video so it looks like an old VHS tape? In this section you will find many similar video effects that you just need to move the mouse to the video track.
It’s convenient that when you place the mouse on each “square,” its preview is played with effect.
6. Transitions (library of transitions between video fragments)
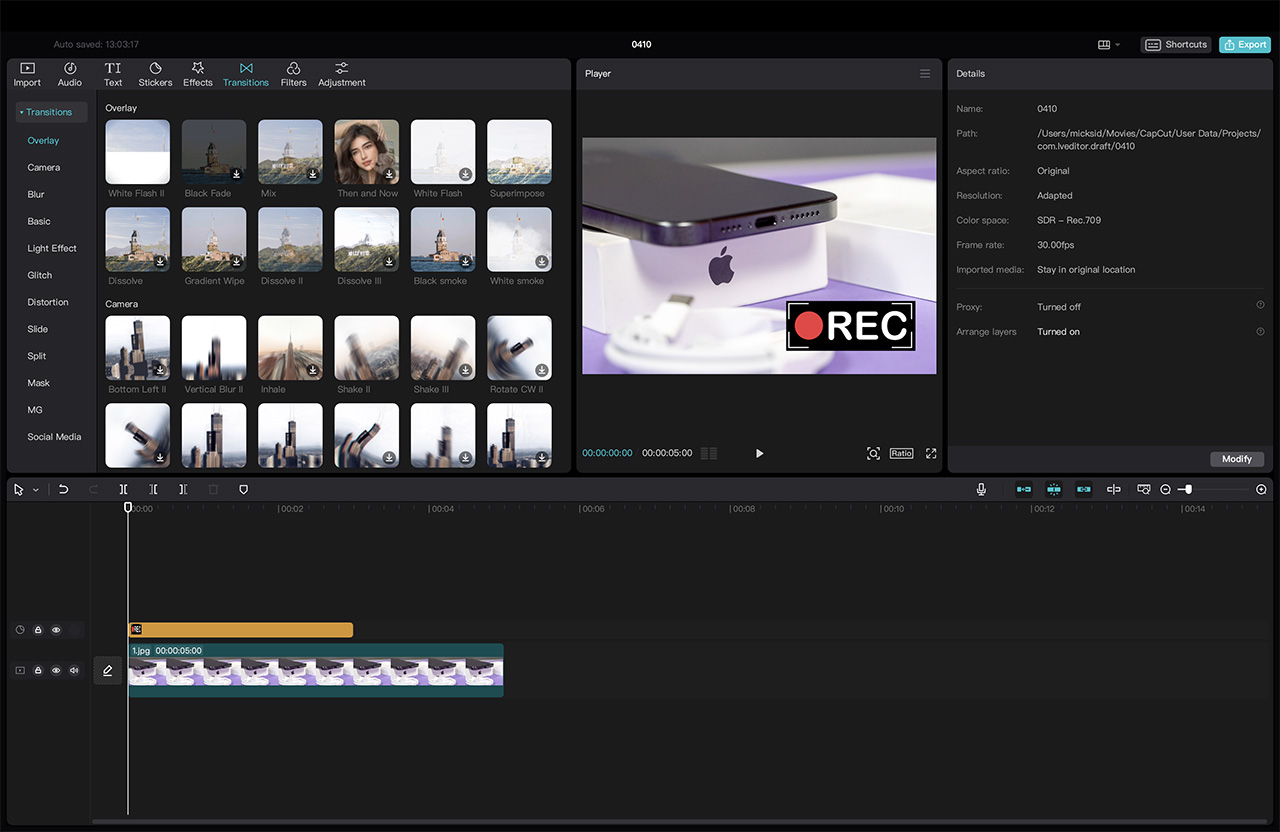
The transitions between the pieces were truly epic.
The purpose of this section is to add dynamics to the final film. At the moment of gluing two fragments, you can insert the effect of blackout, trembling, backpack and many others.
You can also view a preview of each result by hovering your mouse over it.
7. Filters (library of color filters, dozens of them)
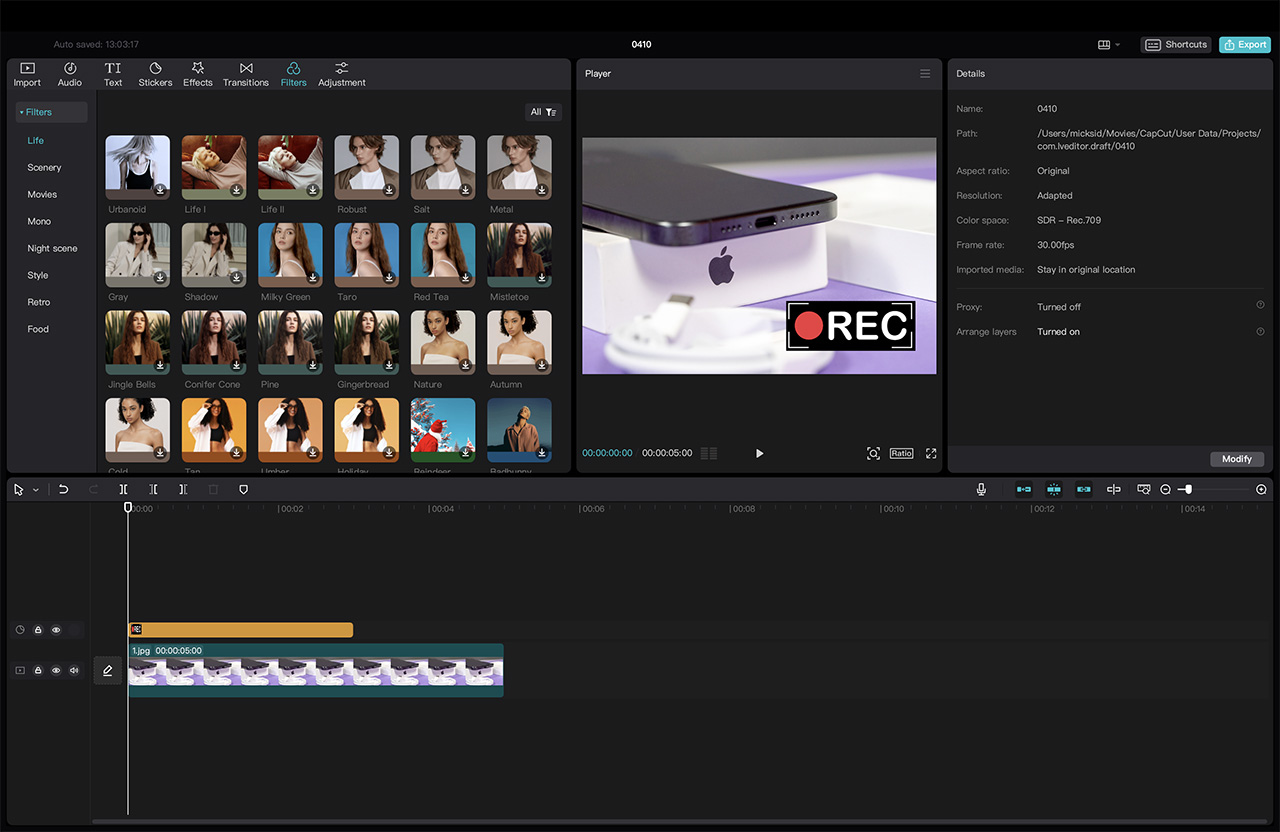
To give your video a special mood using color.
If you don’t want to bother with color correction, in this section you can choose a ready-made filter like “sepia”, vintage and many others.
Want to see what your project would look like in black and white? Use the appropriate filter and move its mouse and electrode onto the track.
8. Adjustments (manual color correction)
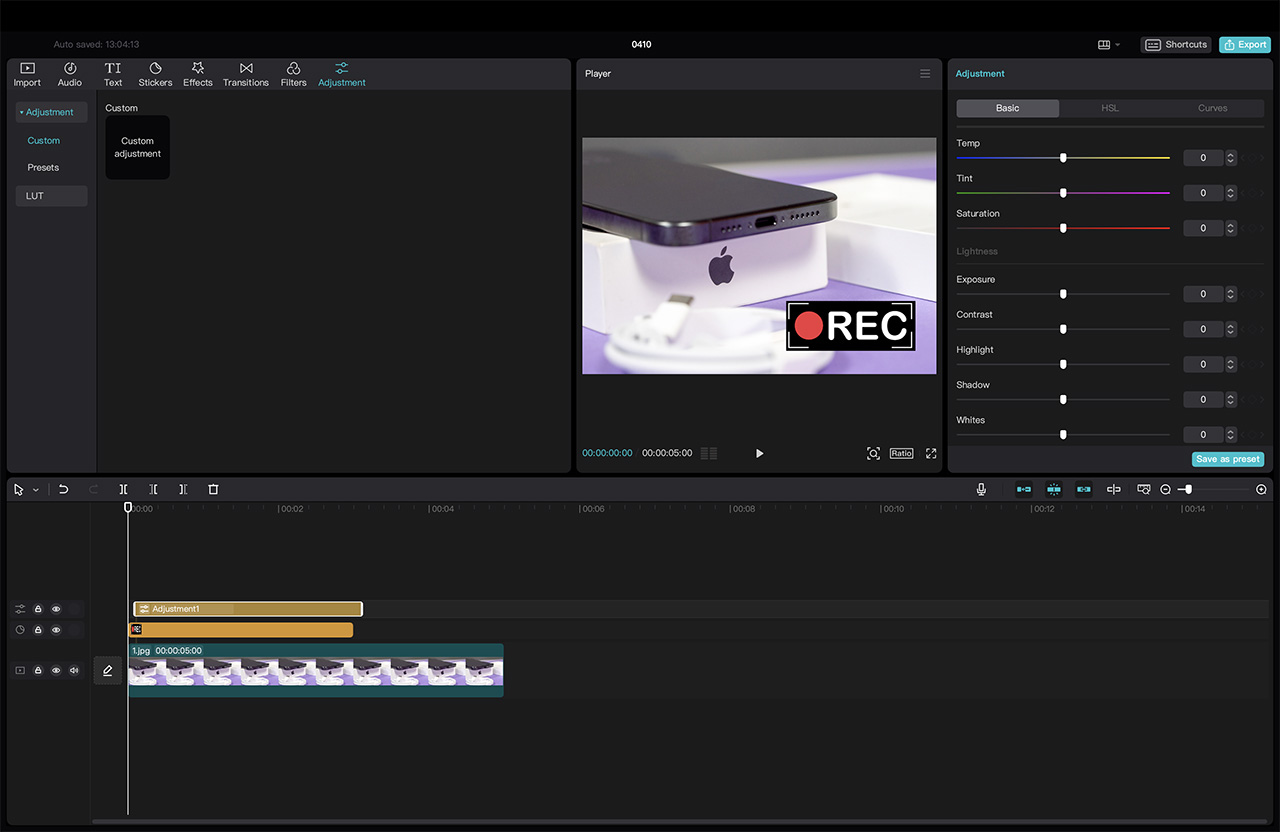
For those who are very interested in post-processing videos.
If you still want to be painstaking, you set the white balance, blue level and other colors in your video – this section allows you to fine-tune these parameters with sliders and even in curved images.
Of course, these are only the main menu items of the application; after getting acquainted with the experience, you can already create a good film of your own composition. Among other fine adjustments there are Ability to select the image format, speed up and slow down stages, take still pictures and much more.which I didn’t even use as unnecessary.
But if you are interested, learn CapCut easily and pleasantly: you hover your mouse over any icon, see a hint about what this item is, figure out whether you need it or not, and use it.
Save your blockbuster without registration and SMS
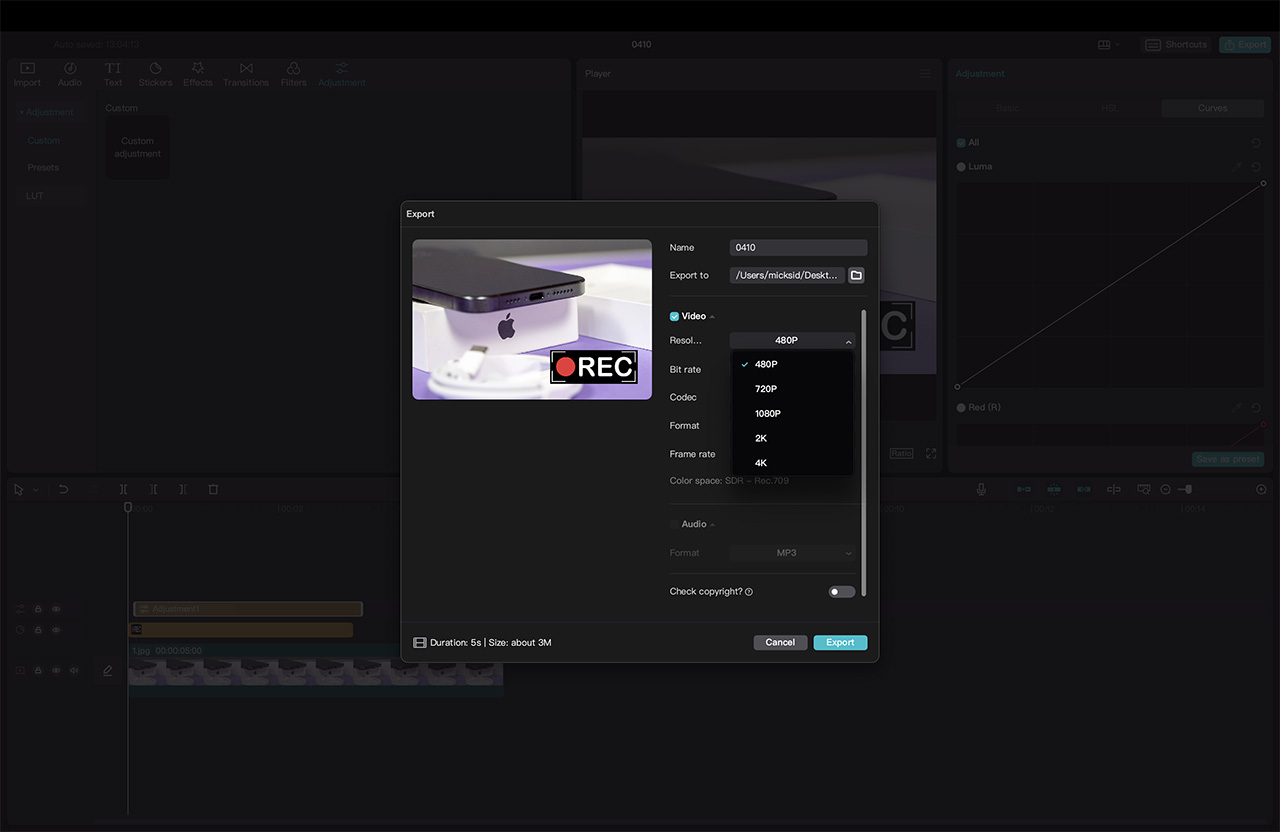
As a result, when all the videos are arranged, the effects are applied and the audio is loaded, your creativity is preserved. To do this, there is a small “Export” button at the bottom.
In the menu that appears, you can select the final core resolution up to 4K, codec, format and desired FPS.
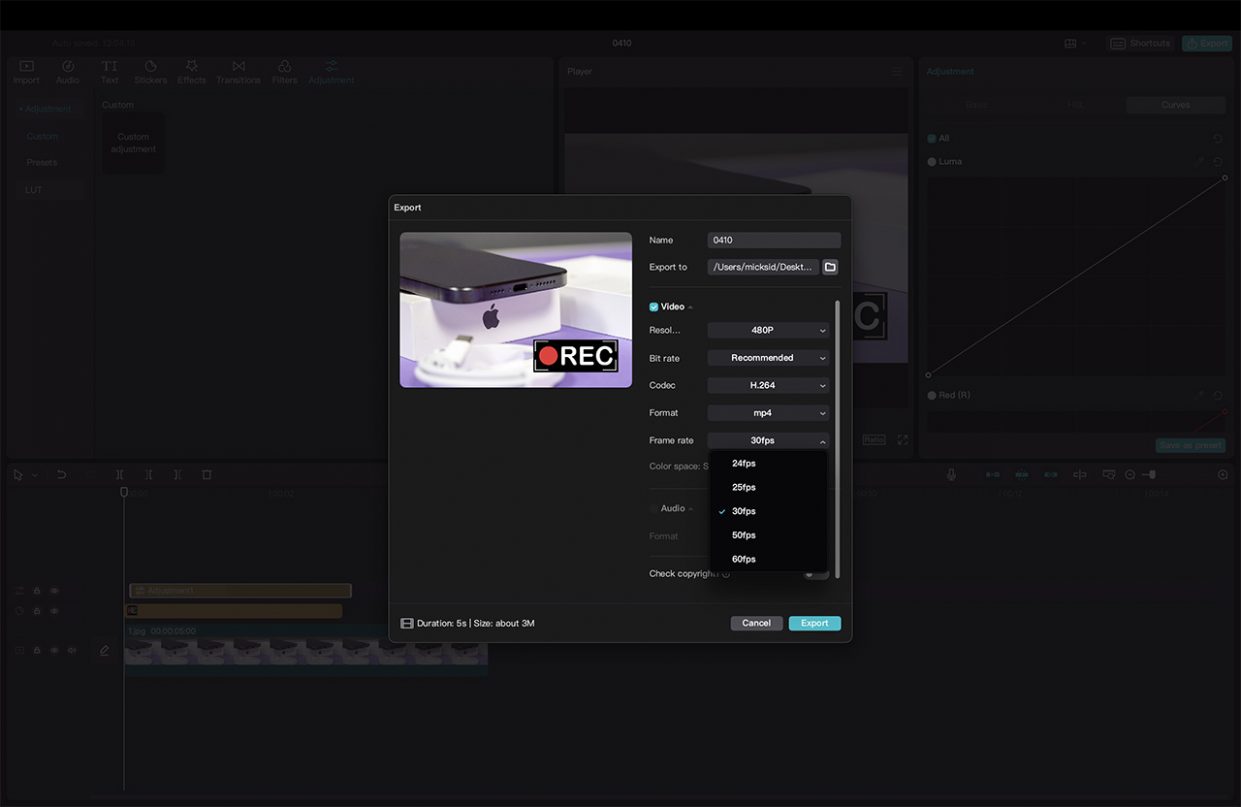


The conversion and saving process is very fast, much faster than in Final Cut.
All that remains is to find the resulting masterpiece and upload it to social networks or share it with friends and family in instant messengers.
Let me remind you that the CapCut program is absolutely free and has rich functionality. You can download it from this link. Save yourself, be sure to use at least once at the end of this summer season to save your holiday adventures in a beautiful format.
Source: Iphones RU
I am a professional journalist and content creator with extensive experience writing for news websites. I currently work as an author at Gadget Onus, where I specialize in covering hot news topics. My written pieces have been published on some of the biggest media outlets around the world, including The Guardian and BBC News.

: Everything we know a week after its release")


