


Microsoft Designer is an application that aims to help. Create and edit images using artificial intelligence as the main mechanism. With an interface very similar to Canva, you can create anything from simple posts for social networks to more specific visual projects in just a few steps.
Besides, You can also edit projects created in other toolsand export to the most different types of image formats. Finally, it has integration between PCs and other devices, allowing you to work on the same project via the cloud.
And today TecMundo teaches you how to use Microsoft Designer. Check this out!
How to create images with artificial intelligence with Microsoft Designer?
As we mentioned before, the main focus of Microsoft Designer is creating visuals using artificial intelligence. To do this, simply send instructions to the platform; This will create a drawing based on the entered fields.
However, it should not be forgotten that This procedure uses virtual currencies. Well, Each image creation costs a certain amount. Once they run out, you can buy new ones using real money or by completing tasks imposed by the platform, such as obtaining Microsoft Copilot, one of the company’s artificial intelligence tools.
To create an image with AI, follow these steps:
1. Access the Microsoft Designer website or open its official application;
2. Select the type of image to create on the home screen;

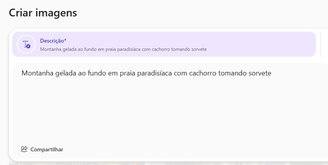
3. Then you need to send a description and relevant format for the image to be created;

4. When submitting the description, provide as much detail as possible about the image you want to create;
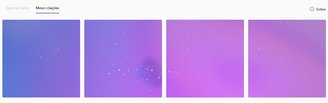
5. Then you need to wait until the image is created. This time may vary depending on the number of instructions submitted for creation;
6. Then the process creates some images, any of which you can use. To do this, simply click on the desired(s);
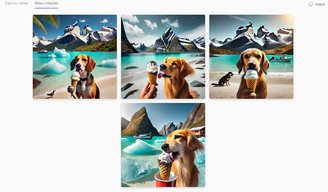
7. Once you click on the image, you will have the option to download the created item or even add or remove items. To do this, you need to click “Edit” and then make the changes in the Microsoft Designer editing screen;

8. That’s it, now repeat the process as many times as you want, but always depending on the amount of coins you have in your hand.
Did you like the content? Repost on your social networks and tell your followers about this tutorial. Until next time!
Source: Tec Mundo
I am a passionate and hardworking journalist with an eye for detail. I specialize in the field of news reporting, and have been writing for Gadget Onus, a renowned online news site, since 2019. As the author of their Hot News section, I’m proud to be at the forefront of today’s headlines and current affairs.

: Everything we know a week after its release")


