


Unfortunately, in recent years, the macOS operating system has not shined with stability. It is noticeable that the Cupertinians have a difficultly developed and massive desktop OS for two current platforms (processors Intel and HAND apple chips). Periodically water bugs or glitches.
Just an update system over the air noticed that the Mac starts to work slowly and unstable. Especially if you sit on test builds for several months before that.
In this case, a complete reinstallation of the system is required. This is exactly what I have been doing for the past few years, right after the final release of the new macOS in the fall.
In the same way, you can prepare a computer for sale or transfer to another user, although macOS already has an alternative way to do this.
To the point: How to quickly erase all data and computer settings in macOS Monterey
In the same way, it is similar to a computer factory setting out of the box, deleting the accumulated system cache and trash.
Attention! This method of reinstalling the system removes all data, settings and applications. You will have to worry about backups in advance, and then reduce the amount of data recovery from backup.
Create a backup queue of all the necessary data
To begin with, you should save everything that is presented on a clean OS. This can be data, documents, or media files stored on the Mac. Set up your computer and use applications manually.
Of course, you can roll a backup after a clean installation of the system, but with it you will transfer the very cache, application data and external garbage that interferes with the fast operation of the system.

1. Setting up an up-to-date backup created in Time Machine.
This should be done if, nevertheless, quickly taken measures and system parameters are applied, or in case of a possible recovery (if something goes wrong).
◈ external or network drive on which the backup develops Time Machine.
◈ Go to System Preferences – Time Machine.
◈ Click Create a backup (the option is available through the indicator in the launch menu, if it is activated).
2. Save the necessary documents from your computer.
Such manipulations can be performed both with distant cloud storage and with a sub-directional removable disk.
Paid seat holders iCloud Include one useful information in the system and all the necessary data is automatically stored in the cloud.
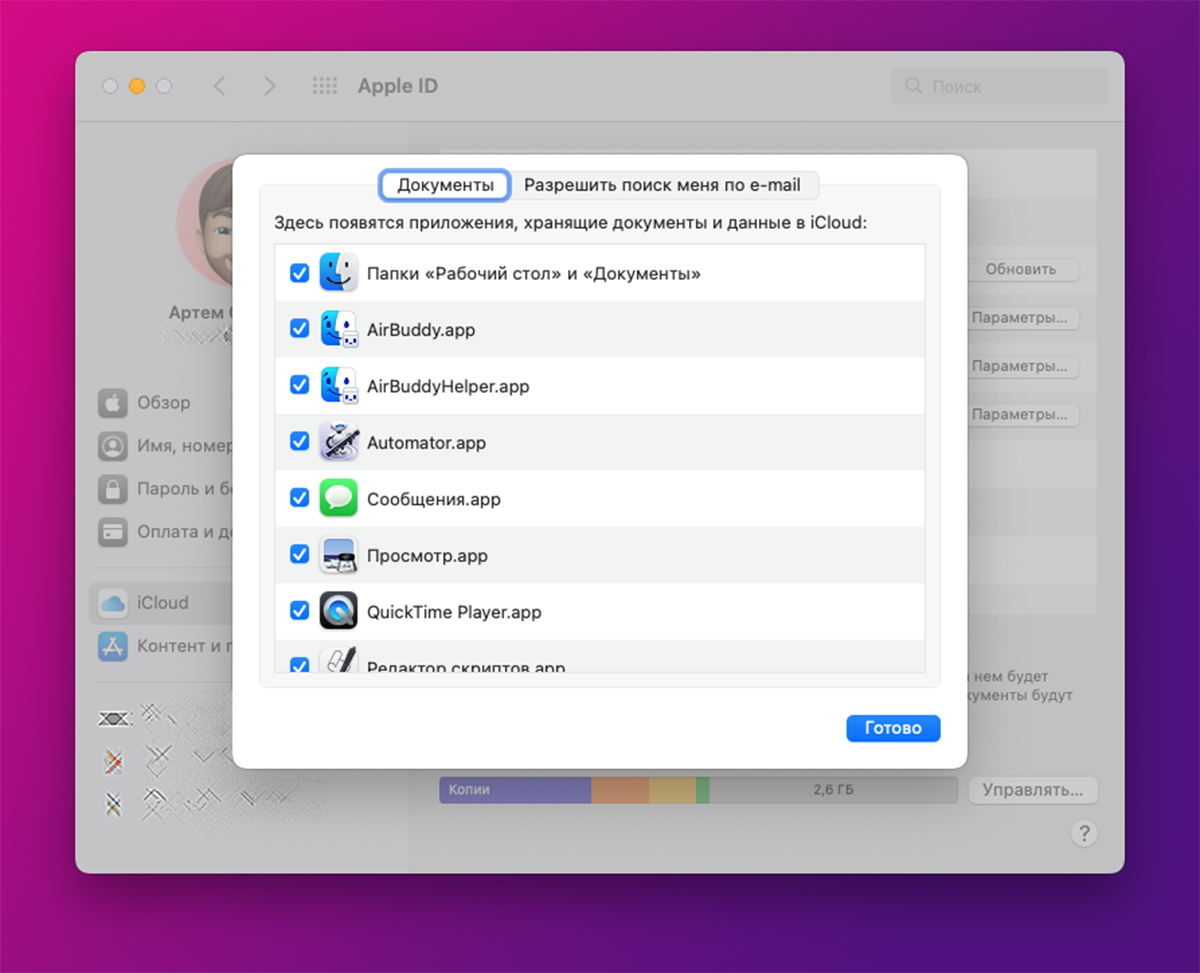
◈ Go to System Preferences – Apple ID – iCloud.
◈ In the menu on the right, select the section iCloud Drive and press the button Options…
◈ Check the flag Folders “Desktop” and “Documents”.
◈ Wait until all data is uploaded to the cloud.
After reinstallation, the system can return all data to the same place.
3. Copy the necessary documents and files.
If some data is too big or you just don’t want to store it in the Apple cloud, then this is due to the storage capacity of the information.
◈ You can save the desired files to a USB flash drive or remove a disk of a suitable size.
◈ Data can be found on the network storage or another computer.
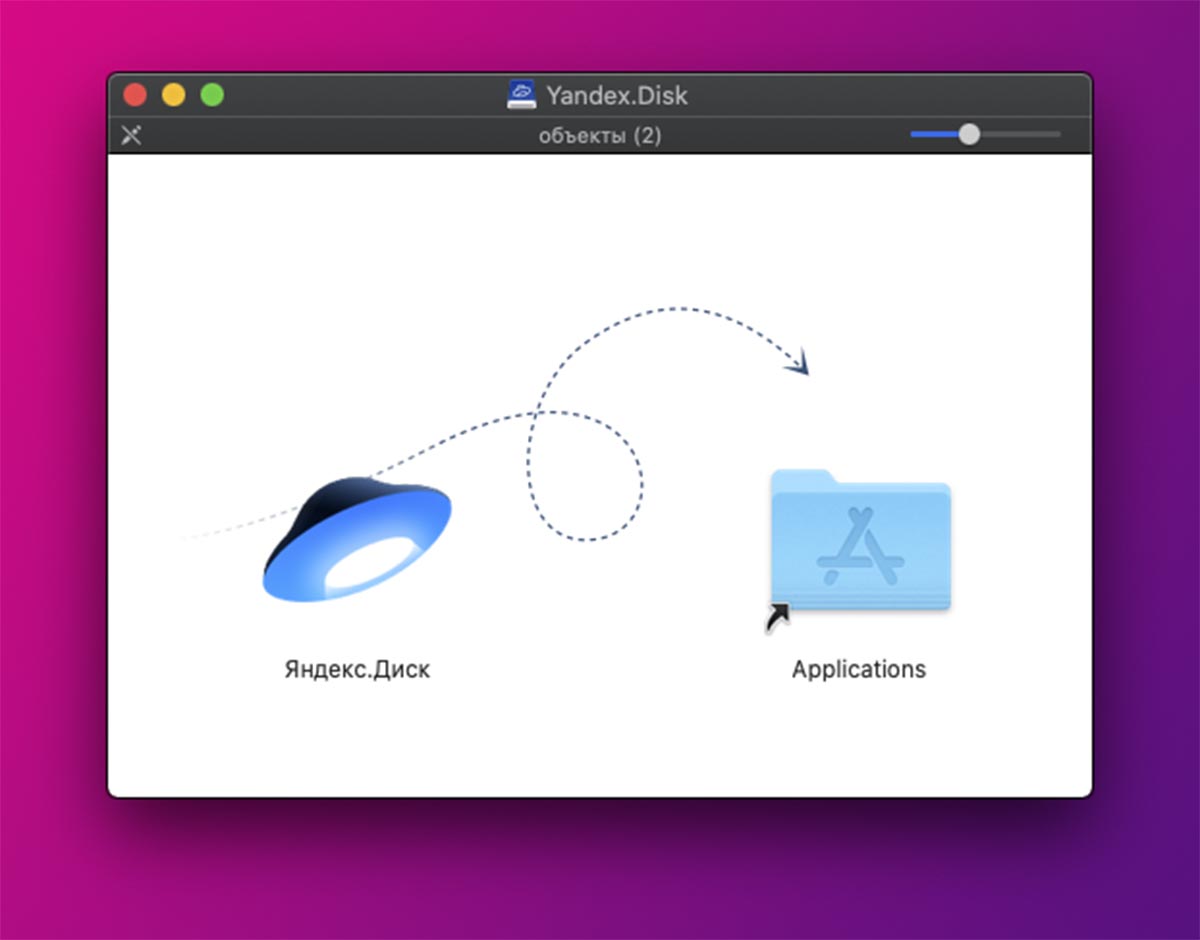
◈ Can transfer files to any cloud service. To do this, use the web interface or a set for macOS.
When all important data has been transferred to a safe place, you can proceed to reinstall the OS. You can do this through recovery mode or using a bootable USB flash drive.
Installing the system through recovery mode
A stable internet connection is available. In this case, the system image will be downloaded from Apple servers.

▶ In the browser of the Apple ID account management site.
▶ Log in with your username and password and rights sections Devices.
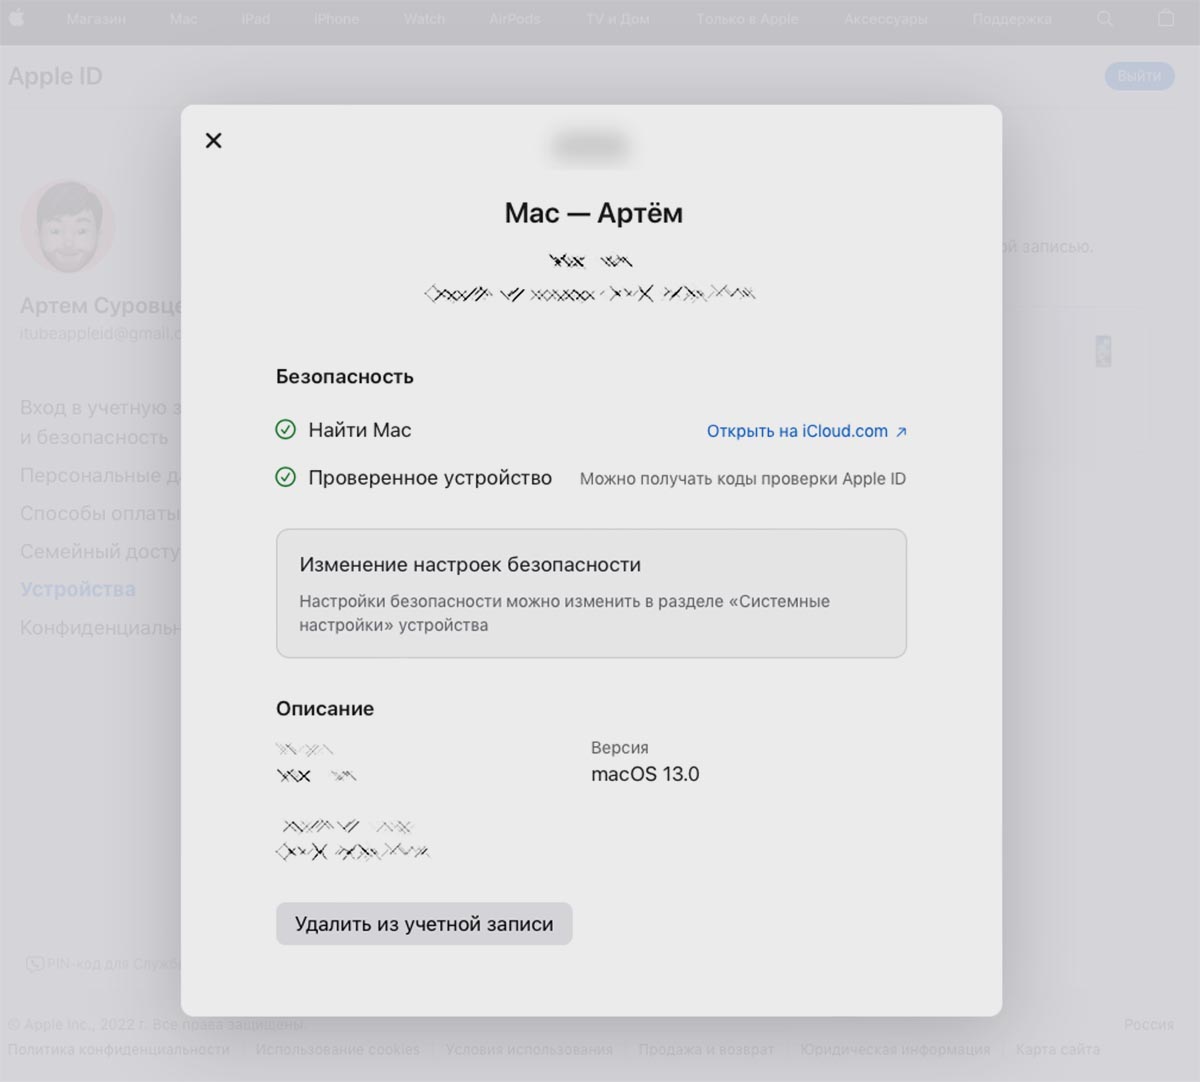
▶ Select your Mac and click on Remove from accounting entry. In the case of a possible recovery over the network, problems or errors may occur.
▶ Shut down your Mac and restart it.
When you turn on the latch Command + Option (Alt) + R (on a Mac with a processor Intel) or do not turn off the power on Mac until the inscription is approved Loading Launch Options (on a Mac with a processor Apple). The computer will start in recovery mode.
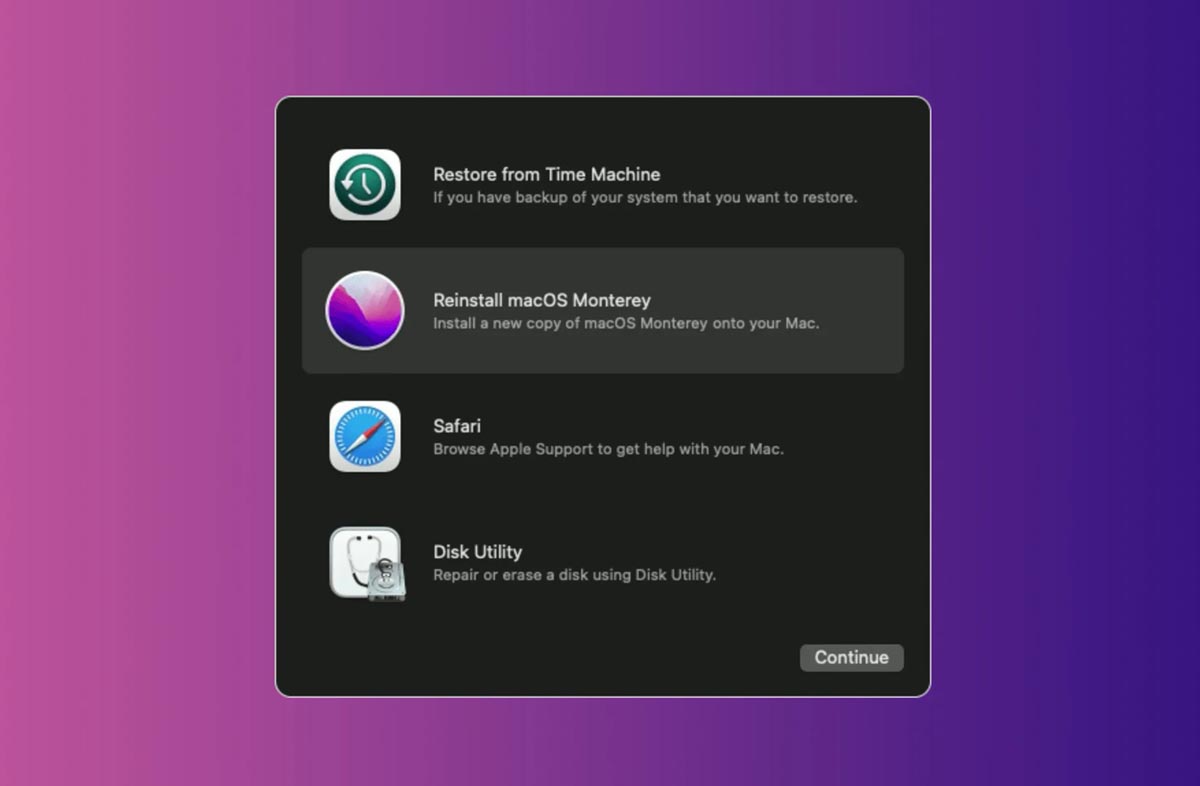
▶ line Select from the menu disk utility and format the system drive.
Attention! After this step, playing the old operating system will no longer be possible.
▶ Return to the main menu of the recovery partition and select Reinstall macOS.
▶ Follow the setup wizard settings and wait for the process to finish.
If you want the Internet connection to be unstable or you need additional insurance, it is recommended to reinstall the system via a bootable USB flash drive.
Reinstalling macOS via a bootable USB flash drive
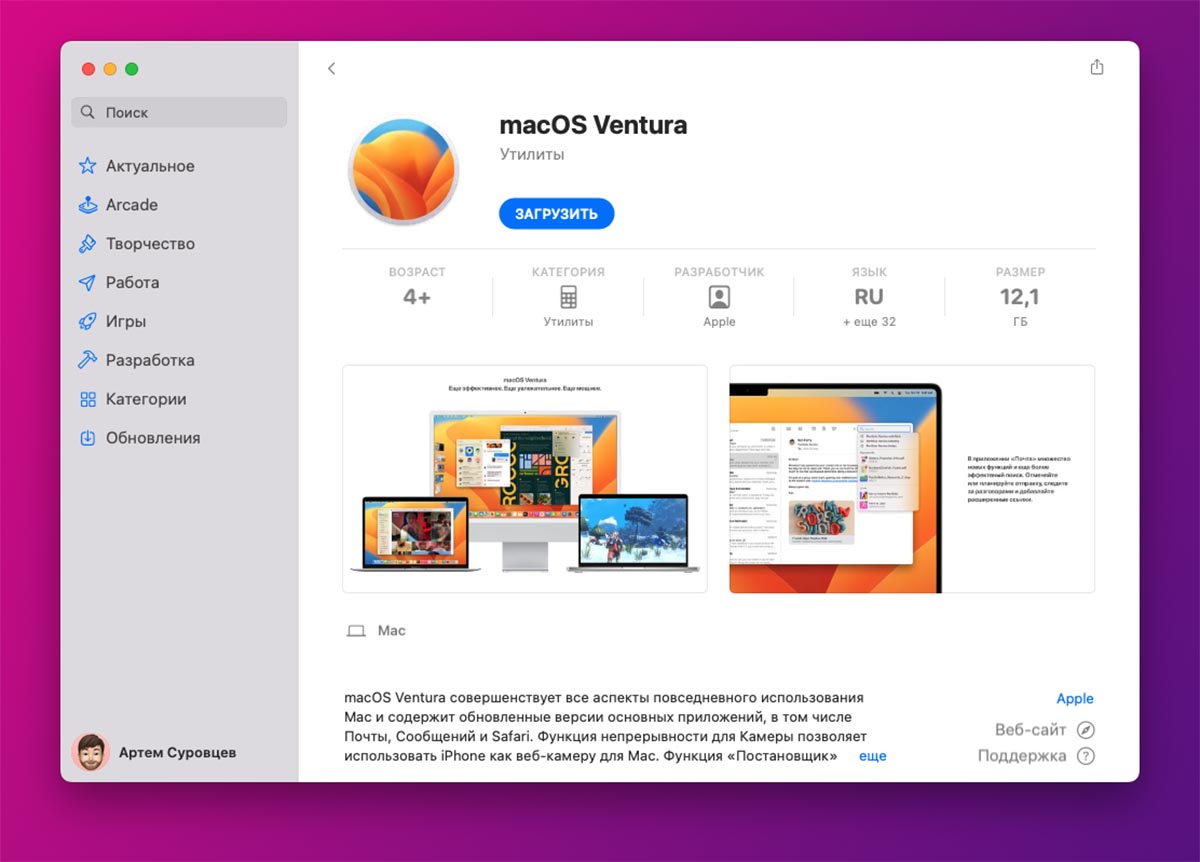
► Download the installation image macOS Ventura from the app store. It will take about 15 GB storage.
► indicator to the computer flash drive or disk space from 16 GB.
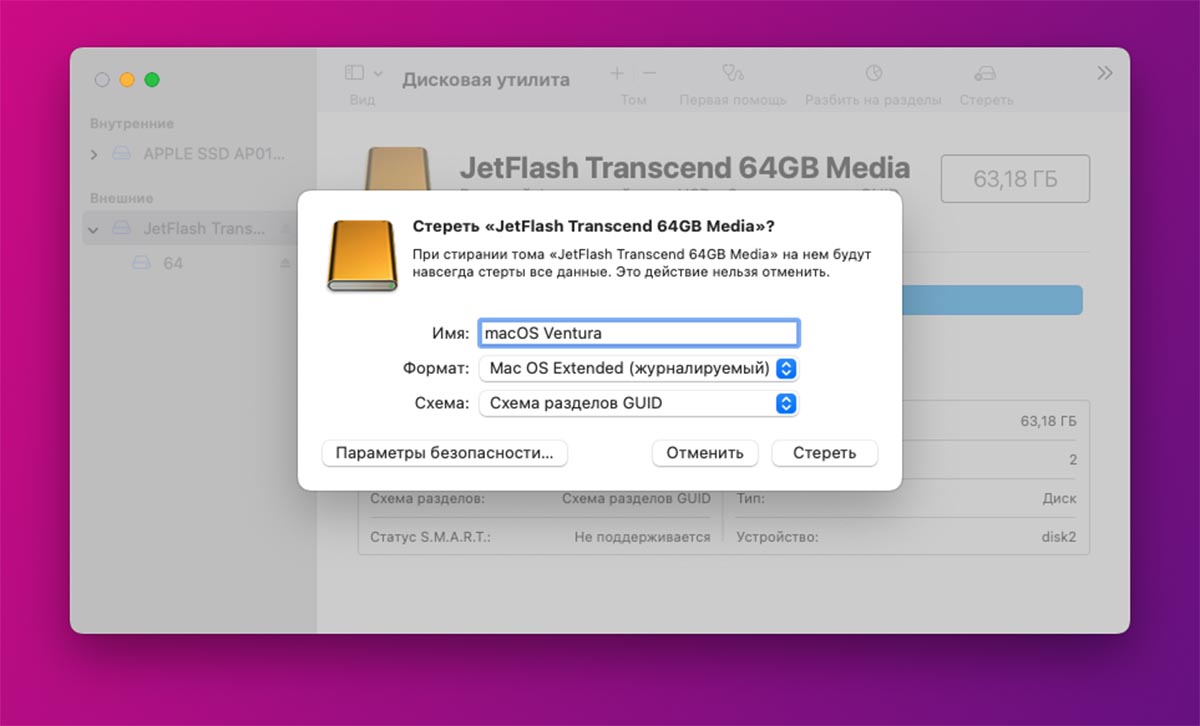
► Launch application disk utility and format the removable disk in the format Extended version of Mac OS.
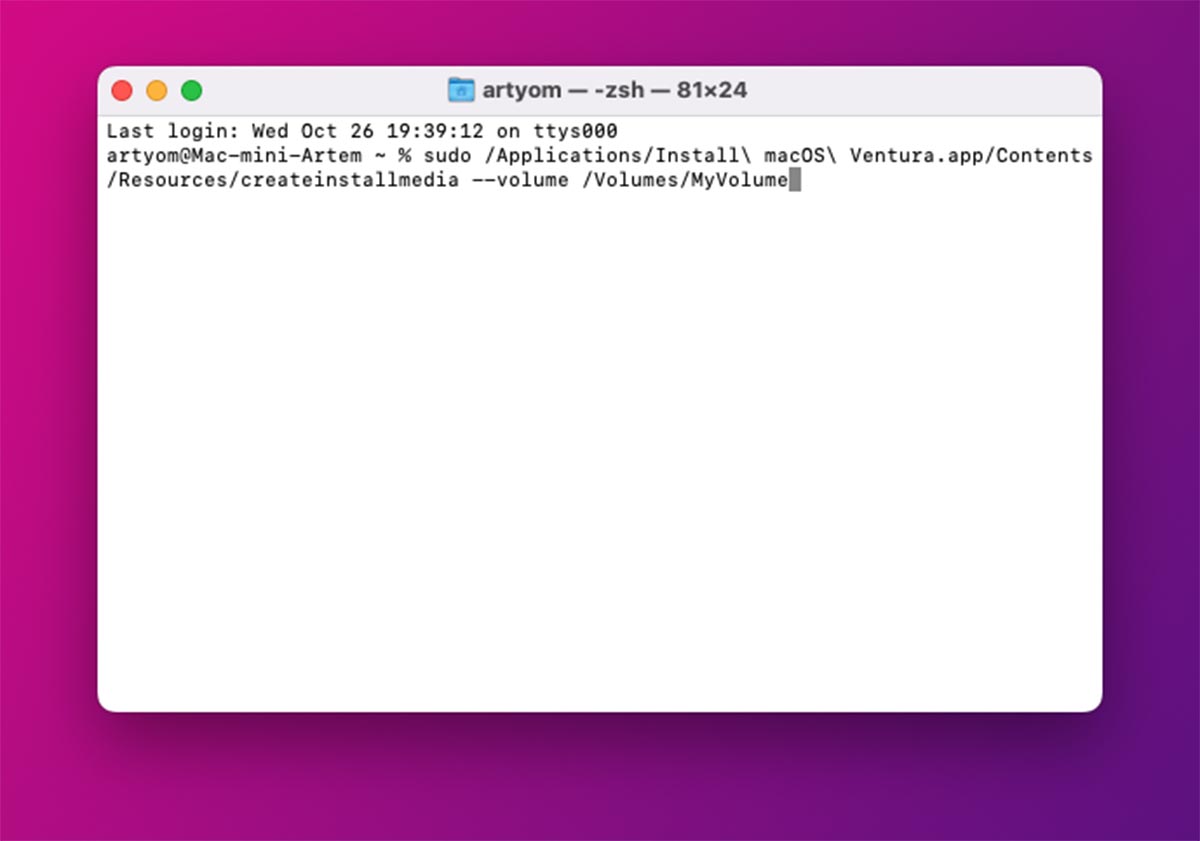
► Open the utility Terminal and enter a command like this:
sudo /Applications/Install\ macOS\ Ventura.app/Contents/Resources/createinstallmedia --volume /Volumes/MyVolume
– On a trip instead My volume substitute the name of the formatted flash drive or disk.
► Press the button Inputconfirm the entry action by the reserve administrator and wait for the process to complete.
► Restart your Mac while holding the button Option (alternative) (on Macs with processors Intel) or power guarantee (on Macs with Apple processors).
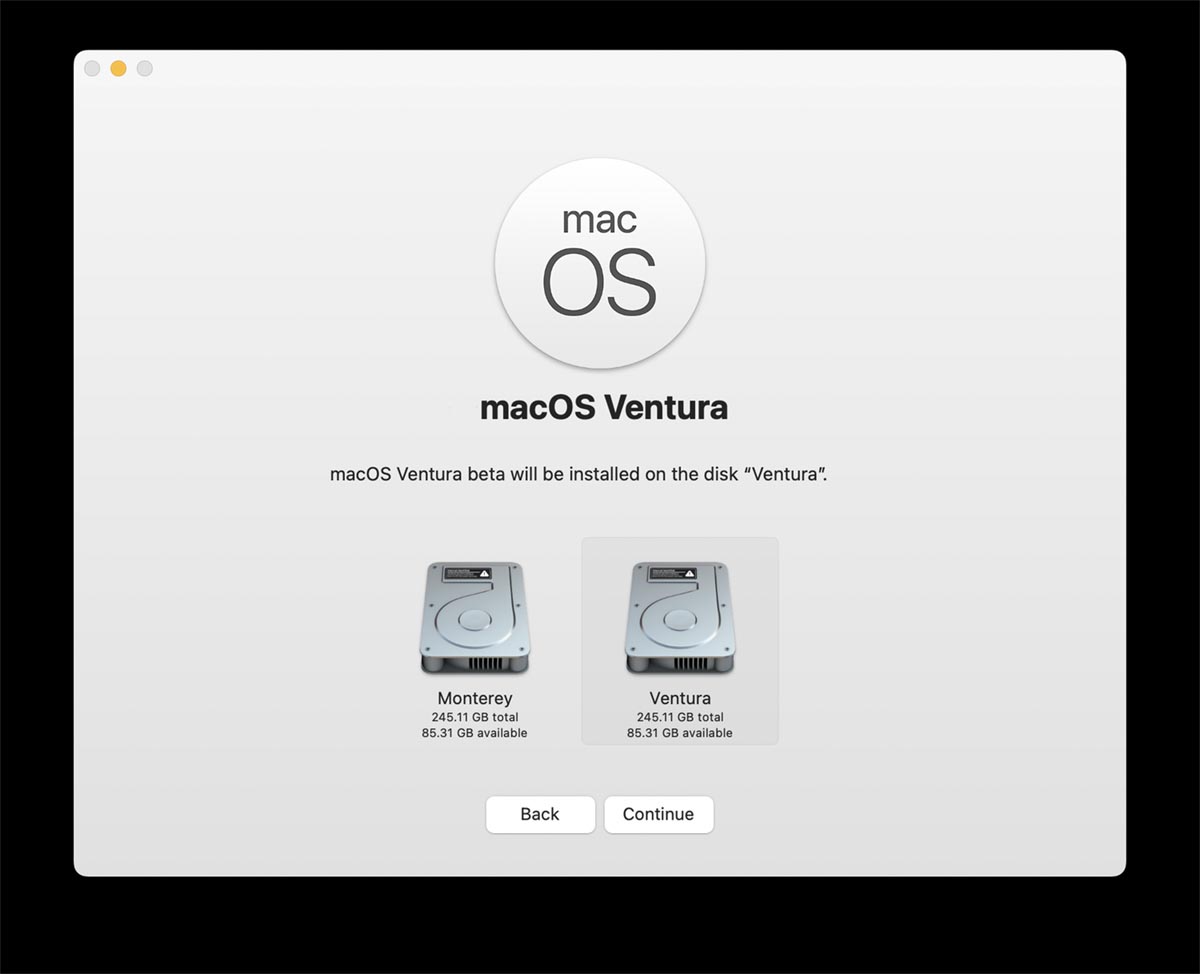
► Select a removable drive as the boot drive and follow the system setup wizard.
In about 30-40 minutes you will receive a computer with a clean usage system macOS Ventura. It remains only to restore all the data saved on the drive, in the cloud or on the computer, install applications and sizes of Mac scales.
Source: Iphones RU
: Everything we know a week after its release")


