


Artificial Intelligence is becoming increasingly common in our daily lives. It’s mainly about rendering, where we can create very different virtual arts with very little guidance. The new craze with automatic sources is creating visuals with PlayStation 2 graphics.
The game means that any existing photo or image can be given a nostalgic version, like the 128-bit era, with just a few commands. For those not keeping up with the moment, it was where 3D gaming became commonplace and pixelated graphics dominated the entire generation.
And today Voxel teaches you how to join this new craze. Check out!
How to render with PS2 graphics using Replicate?
1. Access the Replicate.com website;
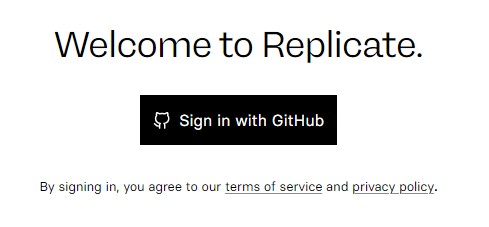
2. On the home screen, click “Sign in” at the top right of the screen to log in to Replicate;

3. You will then need to create a record on GitHub, a source code and file hosting platform with version control using Git or use your login information there;
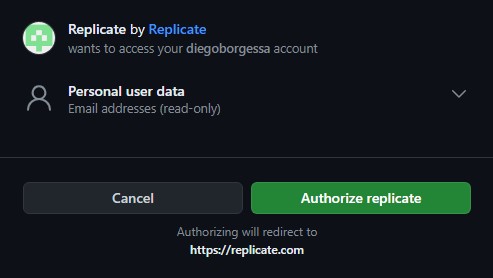
4. Once you log in to GitHub, let Replicate associate it with your record on the other platform;
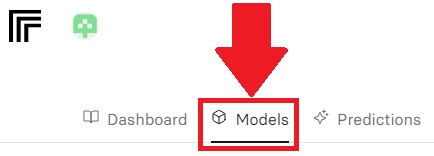
5. When you return to the Replicate main screen, click on the “Models” tab as shown in the image below;
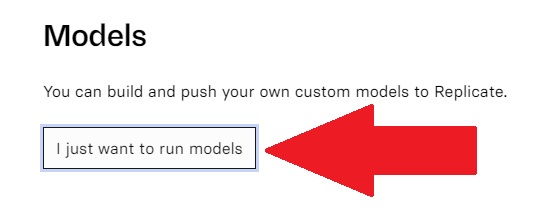
6. Then click on “I only want to run models” so only the models available to choose from are displayed;
7. Next, type “face” in the search field to narrow the search for ready-made models;
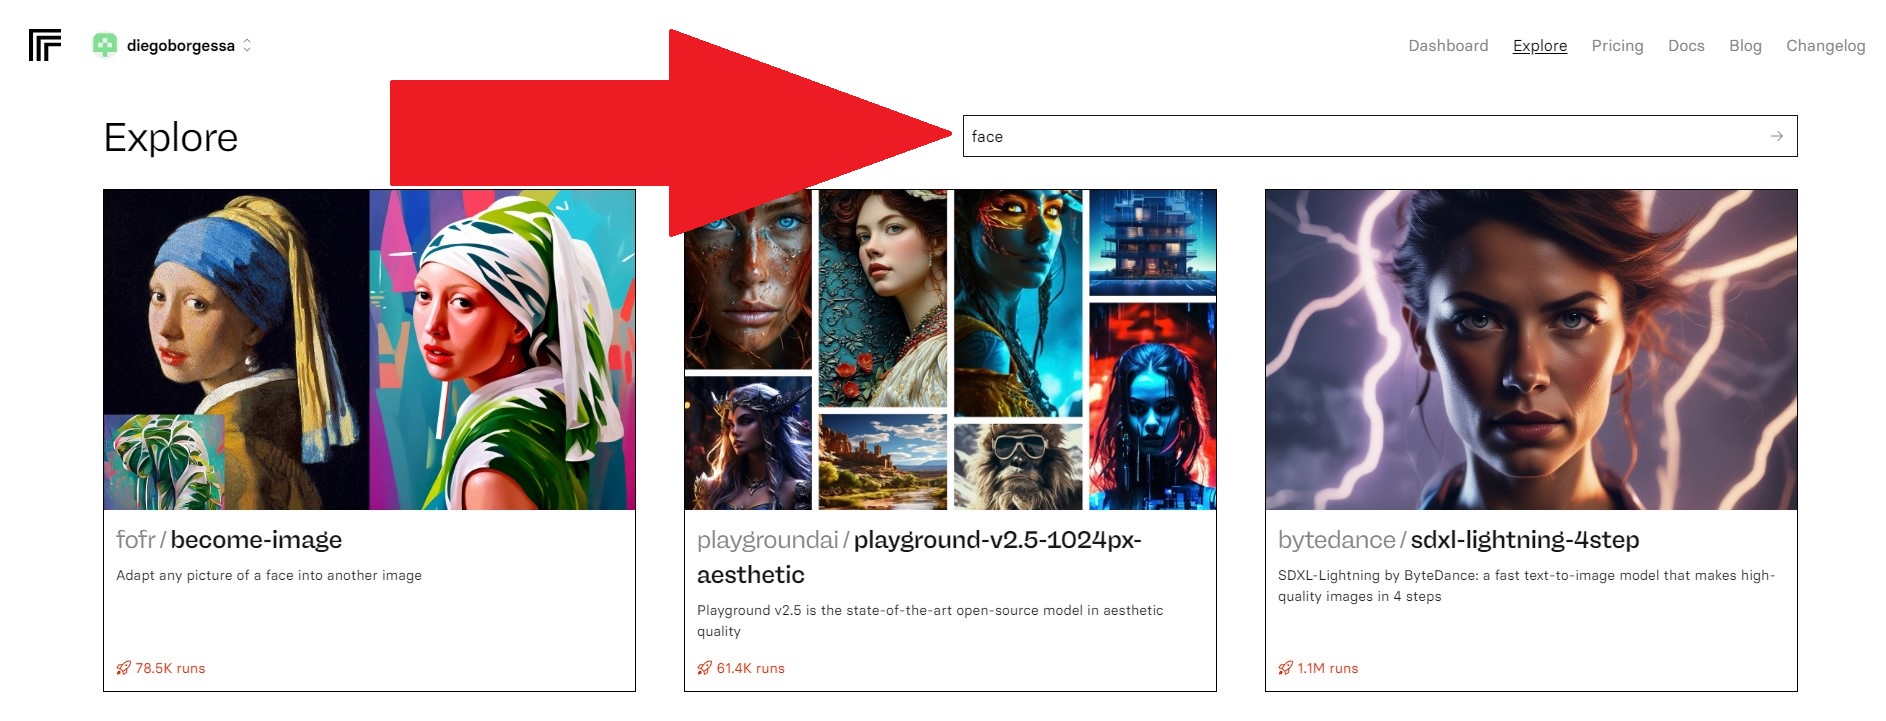
8. Then confirm the search by clicking on the button similar to the one shown in the image below;
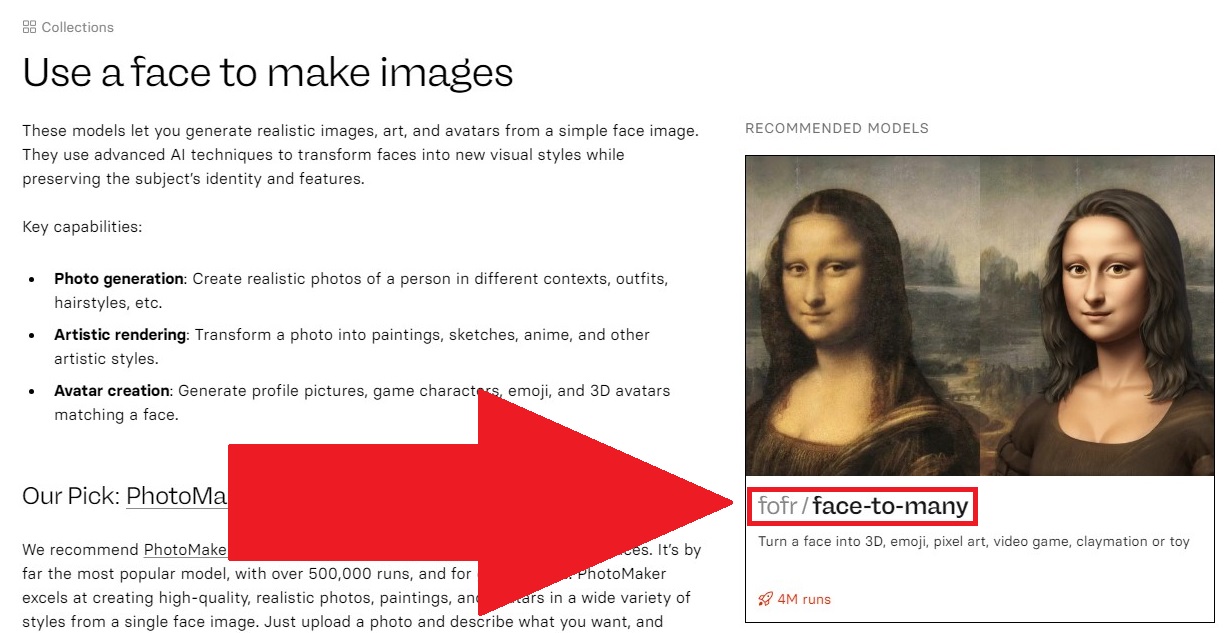
9. In the results that appear, click on “fofr/face-to-many”;
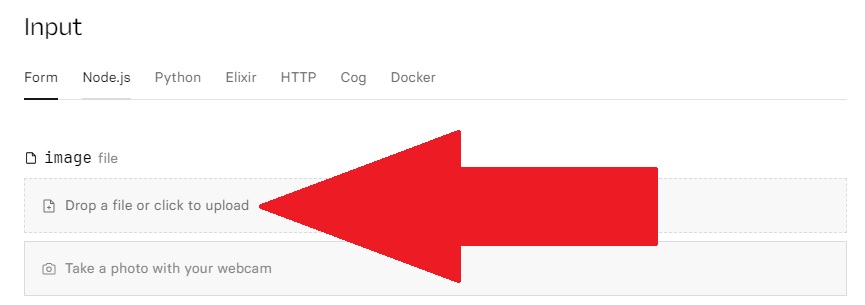
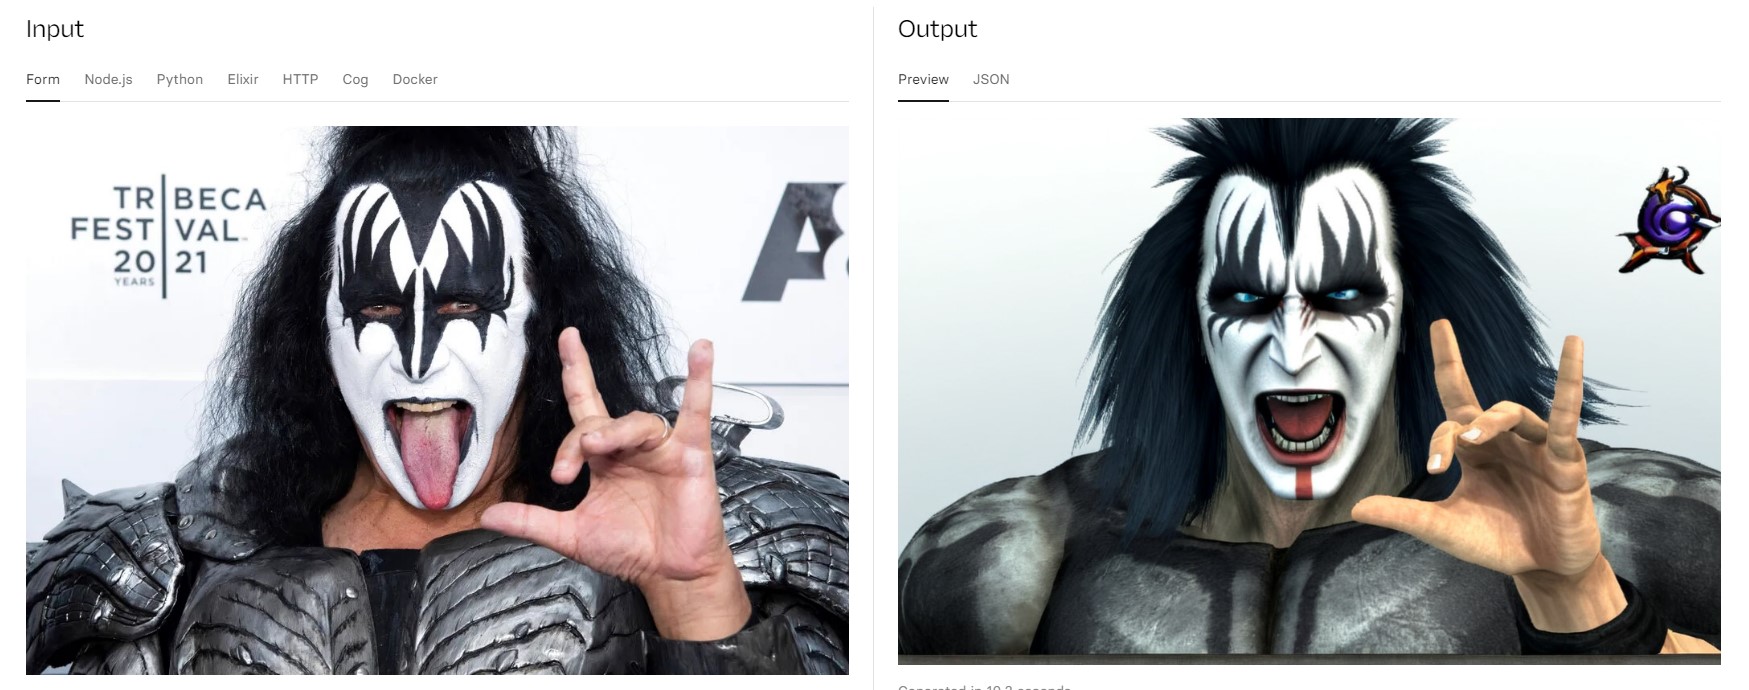
10. On the next screen, drag or click the image into the dotted box and select the image file saved on your computer;
Important: At this point you’ll need to confirm a payment method to continue sending the image. Although this procedure receiving paymentTo continue, you must register your credit card or PayPal account, for example.
11. Then scroll down until the “Style” and “prompt” text boxes appear. Then select and enter the instructions as in the image below;

12. After uploading the image and filling in the fields, scroll down and click “Run”;

13. Ok, now check the result and share your image.
So what do you think about this effect? Tell us about Voxel’s social media!
Source: Tec Mundo
I am a passionate and hardworking journalist with an eye for detail. I specialize in the field of news reporting, and have been writing for Gadget Onus, a renowned online news site, since 2019. As the author of their Hot News section, I’m proud to be at the forefront of today’s headlines and current affairs.
: Everything we know a week after its release")


