Photoshop Camera is a smart photography app that breaks down all barriers when it comes to ‘computerized’ photography. It’s not an app for everyday use, it’s an app to take private photos very quickly and without post-editing. And then immediately share it with the rest of the world via social media.
Buy your new smartphone on Bol.com
You do not need an Adobe subscription to use Photoshop Camera. But it’s useful because this app (in terms of records and parts of them) integrates with your other Adobe packages. At first start, you must sign in with an Adobe account; or make one. After logging in, it is important to give permission for various things.
First of all – of course – the application must have access to the camera, otherwise there is not much to photograph. Tap on the appropriate checkbox and grant this permission in the iOS system notification that appears. repeat for Photos Library Access, otherwise you can take photos but not save them to your iPhone’s camera roll. Then you can also enable the third and final option: Location Access.
It’s handy in itself, because that way you always know where a photo was taken. If you don’t trust Adobe 100% for data collection, only allow this option while using the app. If you close the app (swipe up), you don’t have to worry that everything is constantly collecting in the background.

Pay attention to privacy settings
A ‘hidden’ option where usage data is passed to Adobe is enabled by default. It is better to turn this off for privacy reasons. To do this, tap the three-dot (…) button at the top of the app screen (as soon as the viewfinder is activated) and then tap the gear. Tap on About Photoshop Camera and put the key in the back Submit usage information from.
Also check below (one level back) preferences, whether there is anything else you like out there. For the rest, you don’t really need to set anything exciting here. Although it’s always practical to have a look at this after an app update. Maybe something useful will be added one day!

Live effects and filters
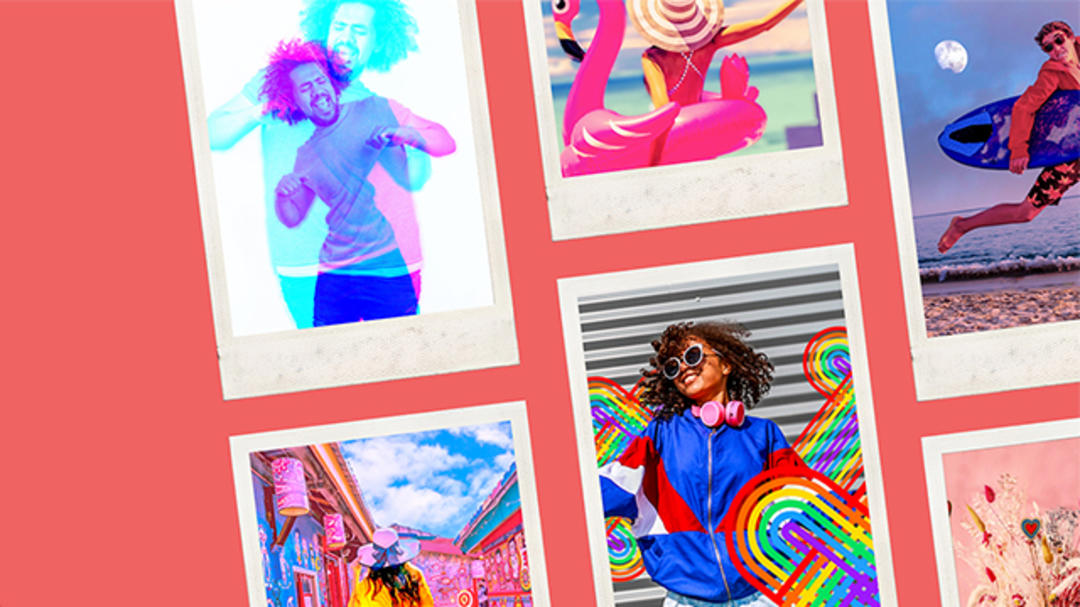
The nice thing about Photoshop Camera is the live application of filters and effects. What you see is what you get, so to speak. By default, you just take a photo without any effect. To activate a filter, tap the button with the stars to the left of the shutter button in the bottom center of the screen. Choose one of the filters and you will see the effect live. Note that you can swipe from right to left to apply the effects available in this filter.
It’s kind of weird: this swipe won’t ‘rotate’ if you rotate your device in landscape orientation. In other words: in this case you have to scroll from top to bottom.
Also order Smartphone Photography Course!


Not enough with the standard filter set? Don’t worry, there are many more available! To do this, tap the globe in the upper left corner of the screen. Or slide the filter bar all the way to the right and click the + sign there. You’ll find a number of extra filters here, categorized (scrollable bar at the top of the screen).
Tap a filter you like, read exactly what the filter does, and ADD LENS to add. It is then ready for use. Return to photo mode by tapping the camera button in the top right. Select the added filter, swipe to view the filter settings if you want and press the shutter button if you like the image.
Available filters
There are several filters that are quite practical. No plague weather and blue skies? It’s a filter for! Not a portrait hero but still want to be able to shoot professional-looking black and white portraits? Be sure to try the filter Sandstone. The filter has four modes, all of which can be accessed again with a swipe action. Interesting are the versions where the background is filtered or blurred. It’s not always 100% accurate, a little change of position usually helps.
The results can sometimes be called quite impressive. The filters in the library can also be downloaded for other types of portraits (selfies!). This is partly related to the famous Instagram-like bling toys. But there are definitely useful things out there.
Downloadable filter is nice and useful golden hour. As you know, the golden hour is just after sunrise or just before sunset, when everything turns into a golden glow. However, sometimes you may not be where you want to be at that moment. Or – perhaps more often – the sun is missing. You can solve this with the Golden Hour filter.

The result is a little less beautiful than what the real gold watch offers, but in an emergency, it’s a nice surrogate solution to have on hand. Although it does not work miracles in heavy rain or heavy snowfall…
Finally, and perhaps unnecessarily: all of your photos taken with Photoshop Camera arrive on your iPhone’s camera roll after you press the shutter button. So no in-app storage, which is nice.
Source: Computer Totaal


