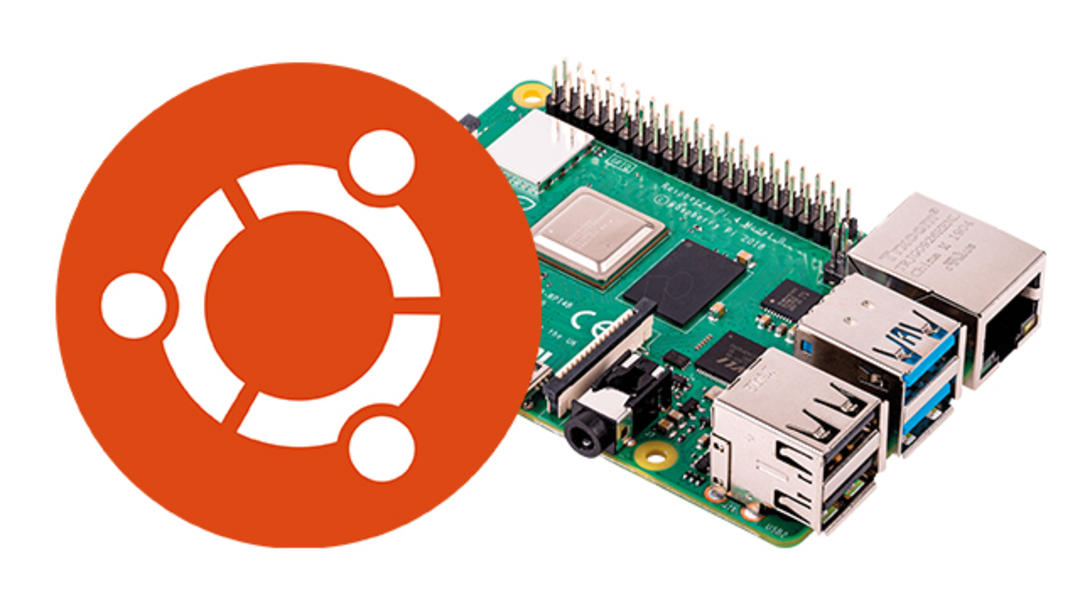
Ubuntu feels right at home on the Raspberry Pi these days. Especially if you choose the 4GB version or the 8GB version. In this article we explain how to install Ubuntu on your Raspberry Pi and which settings are worth checking.
The Raspberry Pi in the fourth version is actually still a bit of a ‘heavy’ SoC – although it runs on a System-on-Chip consisting of various CPU and GPU cores and adjacent things to essentially build a computer-on-a-chip – it’s fast stuff. The most limiting factor is actually the efficiency of the SD card used.
So, as soon as possible, buy a copy of at least 64GB (128GB gives you a ton of extra software and of course even more options for storing data). 64GB is already more than enough for the ‘basic’ version of Ubuntu on Raspberry.
The good thing is that in addition to Ubuntu, as we know from the regular ‘PC version’, a number of additional software is also installed. In terms of functionality, therefore, it is not inferior.
What’s special is that Ubuntu is also available in 64-bit version for Raspberry Pi 4. This – finally – unlocks the full 64-bit potential of the little versatile processor. Ubuntu’s default browser is Firefox, which is significantly ‘lighter’ than memory-hungry Chrome under the hood in terms of system load.
In short: by installing Ubuntu on Raspberry you have an excellent alternative to the more educational standard Raspbian.
Also read: Which Raspberry Pi is best to buy?
flash ubuntu to sd card
Nowadays it is very easy to install ‘alternative’ operating systems on Raspberry. For some time now, raspberry makers have a universal installer for the device with which all the more well-known and popular operating systems can be quickly installed. Download the Raspberry Pi Imager available for Windows, macOS and Linux here.
Launch the installer and select it from the selection menu below. OS choice UBUNTU DESKTOP 22.04 LTS (RPI 4/400)† Or – if ever there is one – a newer variant. Insert a microSD memory card into the card reader of your PC or laptop and make sure it is selected under. storage device† Check very carefully whether you have selected the correct driver.
For example, if you are using a laptop with a permanently attached SD card to store data, you should not select that copy! Card, that is – after confirmation of the installation options that appear after a click TO WRITE – deleted.

Install and Configure
‘Write’ is a mix of downloading, typing and validation. When this batch is over, you will see a notification telling you to remove the memory card. Do this and close the installer. You no longer need a PC or laptop with an installer on it.
Insert the microSD card into Raspberry Pi’s card slot and connect the keyboard, mouse, power supply and display to it. You can now turn on the system (or plug in the power supply). Ubuntu takes a little longer than usual to start up for the first time; Some things are being prepared. Finally, a wizard starts where you set your personal preferences and regional settings.
By the way, in our case, this wizard ended with an obscure error message. After the (automatic) reboot, it turned out that some of our settings were not applied. The solution turned out to be simple: Settings From Ubuntu (If you don’t see Settings, use the dots button in the left slot to access all programs) and still configure as you wish.
Pay special attention to the language settings and the settings of your keyboard, in most cases you will choose USA International here. Unless you have a very specific Dutch (or other language) keyboard, the list of keyboards to choose from is vast!
Getting used to the Dock
After everything is configured, you can start. It’s good to know that the Raspberry version of Ubuntu behaves exactly the same as the regular desktop versions we know from PC. This includes searching for updates to install if available. This is already a huge and practical advantage over Raspbian, where you have to set up the search and installation of updates yourself.
The downside to Ubuntu – for Windows users – can be the dock. A traditional start menu is missing. For Mac users, it’s a feast of recognition: they’re always familiar with the dock and ‘dot button’ somewhat alike from their computer.

If you wish, you can also place the dock at the bottom of the screen horizontally via the dock settings in the Settings app; this works much nicer in practice than the vertical on the left. You can start your installed Ubuntu right away, in fact you will find all the necessary software in it. The blockbuster includes LibreOffice, Firefox and Thunderbird.
If you want to add the software yourself, that is of course possible. For this you use the system’s built-in software store, which is open source and therefore full of free software. It can be found in the Dock by default – how could it be otherwise – as an icon in the form of a shopping bag.
for maximum speed
It all works surprisingly fast. We just noticed that things were a little tame in terms of software load times. Again, this is an SD card blocking factor. If you want sustained speed, you may want to consider an enclosure like the Argon One where you bought the SSD slot bottom plate. By installing a standard M.2 SSD and installing Ubuntu on it, a much faster whole is created.
An added advantage of the Argon One is that it has a cooling system with a built-in fan. Follow the installation instructions of the Ubuntu version of the tool for it to work properly.
Widely applicable
You can use your installation system – SSD equipped or not – as a set-top box for your TV, so you always have a full-fledged computer. And if you’re mainly someone who works remotely, then you’re basically done with this whole thing. Connect to a remote desktop or log into your company’s CMS and get to work.
The whole is extremely energy efficient, which makes it interesting to use, for example, in a caravan or on a boat. Lots of options in any case!
Source: Computer Totaal


