7 useful ways to organize photos on your iPhone
Get better organized and discover new ways to view your content in the Photos app
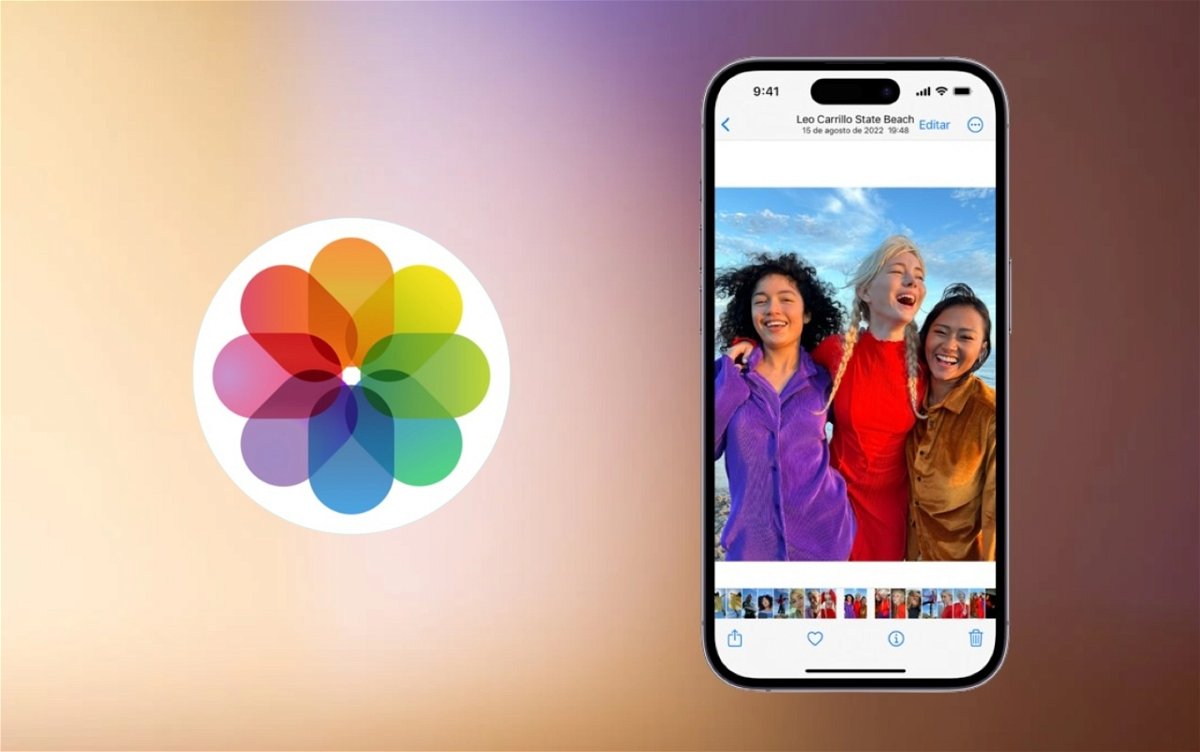
Our life is full of moments, each of them can remain in our minds as an indelible memory or one more. iPhone is our ideal companion to immortalize each of these moments. From iPhone SE to Pro Max, each one us different capabilities to produce them. Between each of these photos or content like videos, Live Photos, screenshots, It’s getting harder to remember every captured moment. For this reason Today we’ll show you 7 useful ways to organize yourself on your iPhone.
1. Sort your content on iPhone by days, months or years
Intuitively, each of my contents Photos app by period, from newest to oldest. This makes it easier for me to search for a memory over time and more than anything else because of the iPhone’s self-imposed order. If you’re not using this view yet, let’s get organized.
- Open the Photos app on your iPhone and Tap the bottom bar in Photo Library
- You will now see the content with the newest at the bottom and the oldest at the top.
- Tap Years, Months or Days to see your content during these time periods

Sort your photos and videos by creation time
Do you find it easier to search for or manage yourself by using the time of each of these memories?
2. View recently added content
When saving any new content sometimes that bottom does not appear in the last line; This happens when we position ourselves in the Photo Library view by time. To really see what content we’ve added recently, we’ll do the following.
- Open the Photos app and Click the Albums tab
- Tap Recents and you will see Sort the contents in the order they were recently saved.
Need a better way to search for your content? You can also mark them as favorites and keep them in a special album.
3. Add your content to your favorites
This applies to all content hosted in the Photos app. A new album called Favorites will be activated.

Classify your photos as favorites and create a new album
- Open a photo or video and tap the heart icon
- Go back to Photo Library and tap Albums
- You will see that a favorites album has been created
- Mark all the content you want to be favorites on the heart icon, think about it next time you get new photos or videos
4. Create your albums from scratch
If you don’t want to manually bookmark or search by dates, there is another manual option you can run if you want specific photos or videos in an album.
- Open the Photos app and In the album view, tap the + button and select the new album
- Type a name for the new album and tap Save
- Now select the photos and/or videos to add to that album and tap Add to finish
- You will now have a new album containing only the photos and/or videos you want.

Create an album to organize your photos or view them by content type
5. Search your content by categories
Enabled for various versions of iOS great content types section in album view. This can help you filter the specific content you’re looking for.
- Open the Photos app in album view
- Scroll down to see content types
- Tap the type you want to see
Here you can see everything from selfies, Live Photos, portraits, screenshots, screen recordings and much more.depending on the stored content.
6. Use search engine
This is an absolute wonder because you won’t be tied to any particular date or type of content here. The Photos Search section is great because you only need to enter a single word to find content.
- Open photos and Click Search at the bottom
- Tap the search bar and enter a word that describes what you’re looking for
- Related searches will appear

Search for content and view hidden content
From photos or videos by location, whether they are hosted by an app like Facebook, whether there are pets, etc.
7. Hide photos and videos
Finally, This function is to block certain content that is private with Face ID or access code or you don’t want them to appear on your iPhone. This way they are also filtered by content types.
- Open the Photos app and Tap the Select button
- Choose the content to hide
- When you’re finished, tap the three-dot circle icon
- Tap on Hide and confirm the procedure on the last button below
- Content will be hosted in the album view in the Hidden category at the bottom of the page..
Thanks to these 7 ways to organize content, you’ll have no problem searching for, remembering, or showing an important memory or moment on your iPhone to a friend or family member. If you want to enhance your photos, here we recommend the 7 best effect apps.
Source: i Padizate

